When I started self-hosting essential digital services via YunoHost in December 2024 I was taken aback by how easy and smooth the process was. Something that had appeared daunting to me just days before became a child’s game. A catalog with hundreds of free-open source apps available at the click of a button. It was joyful and pleasant and… a little addictive I dare say?
In the previous chapter in this series (Part 4: Backups) I wrote:
With great power comes great responsibility. […] The freedom and power to host your own essential internet services and social media come with something else: the responsibility to maintain and backup your precious system and data.
This absolutely applies to app upgrades.
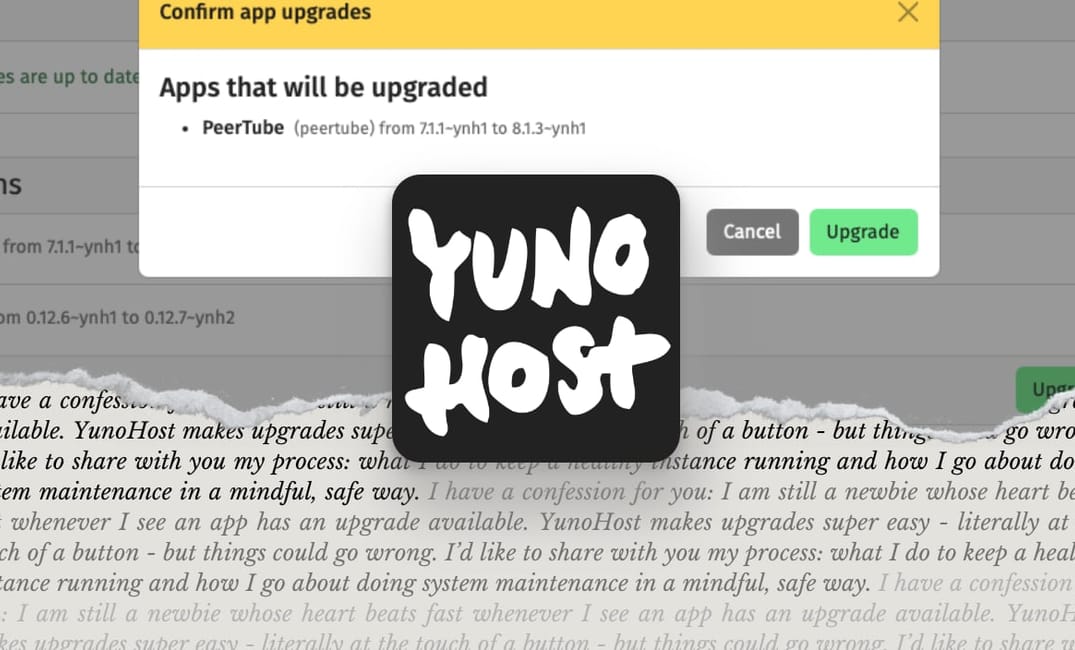
And I have a confession for you: I am still a newbie whose heart beats fast whenever I see an app has an upgrade available. YunoHost makes upgrades super easy - literally at the touch of a button - but things could go wrong.
I’d like to share with you my process: what I do to keep a healthy server running and how I go about doing system maintenance in a mindful, safe way.
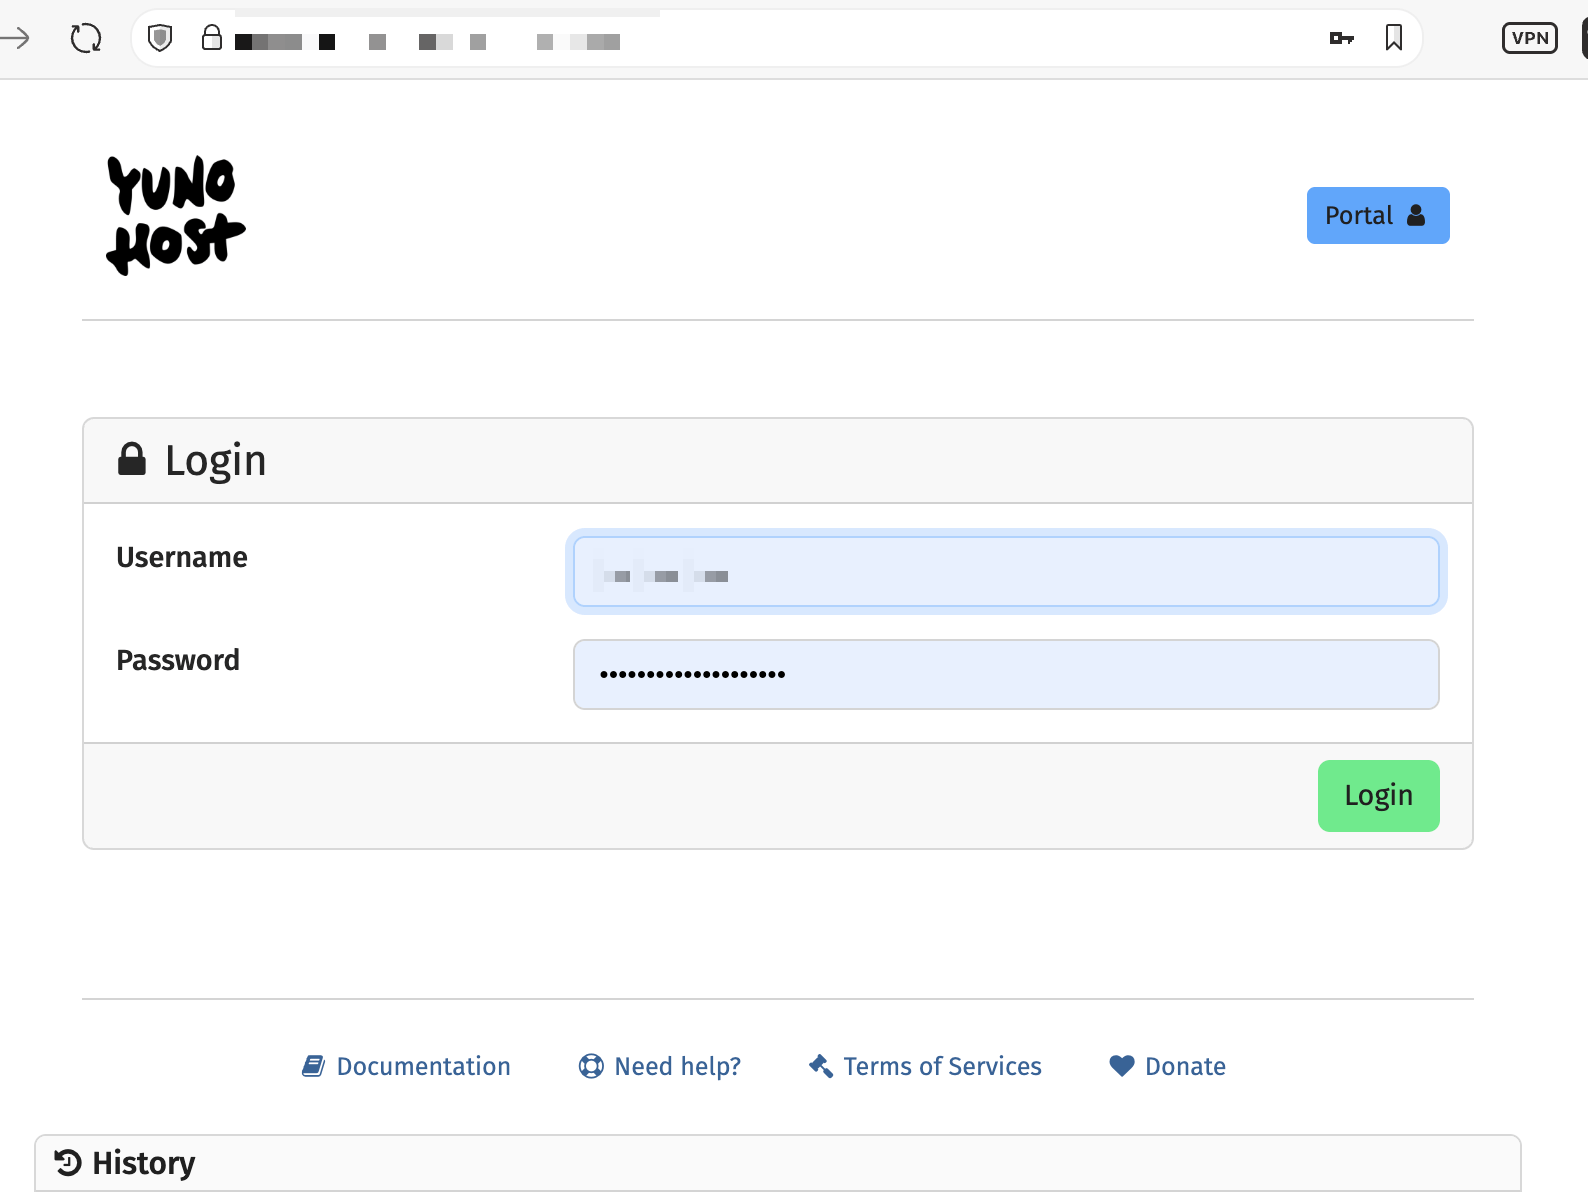
Step 1: Log into the Admin page of your YunoHost installation
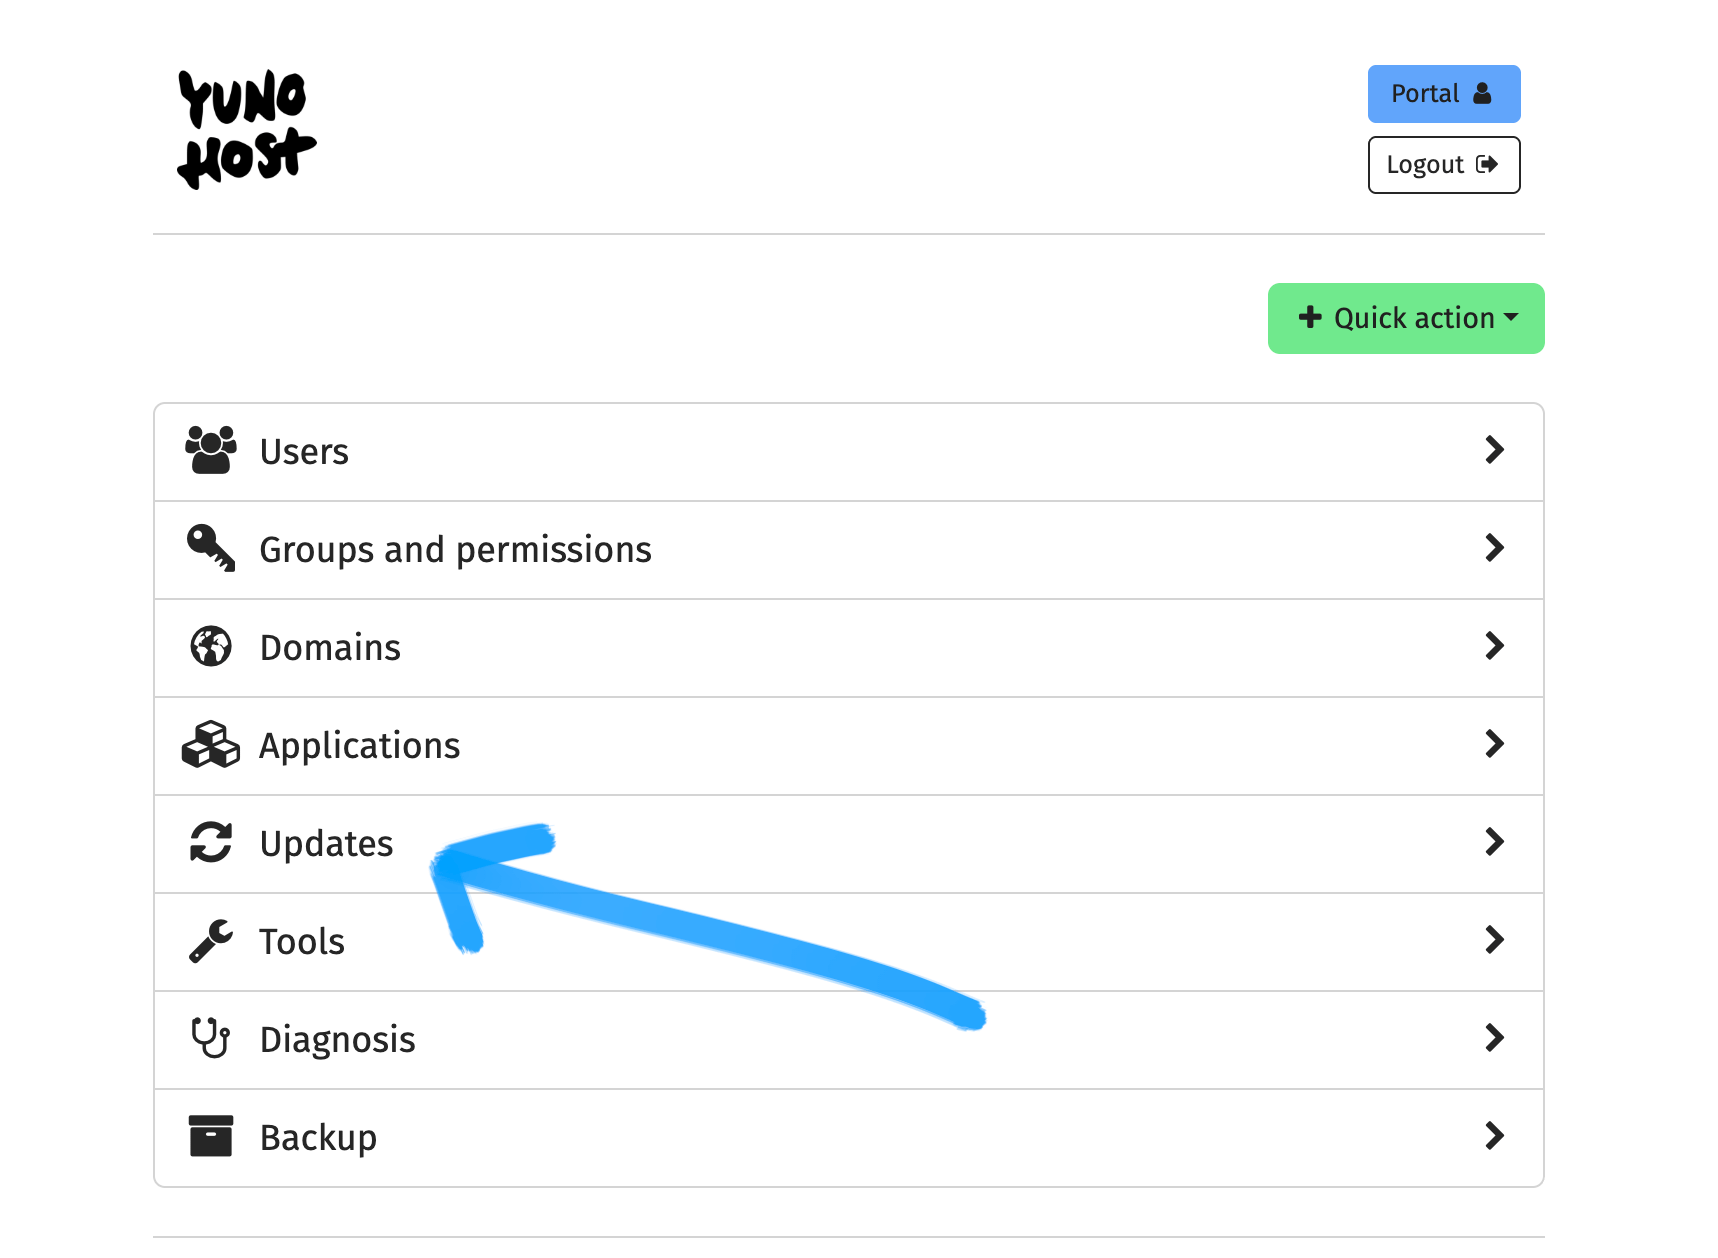
... and then click on Updates:
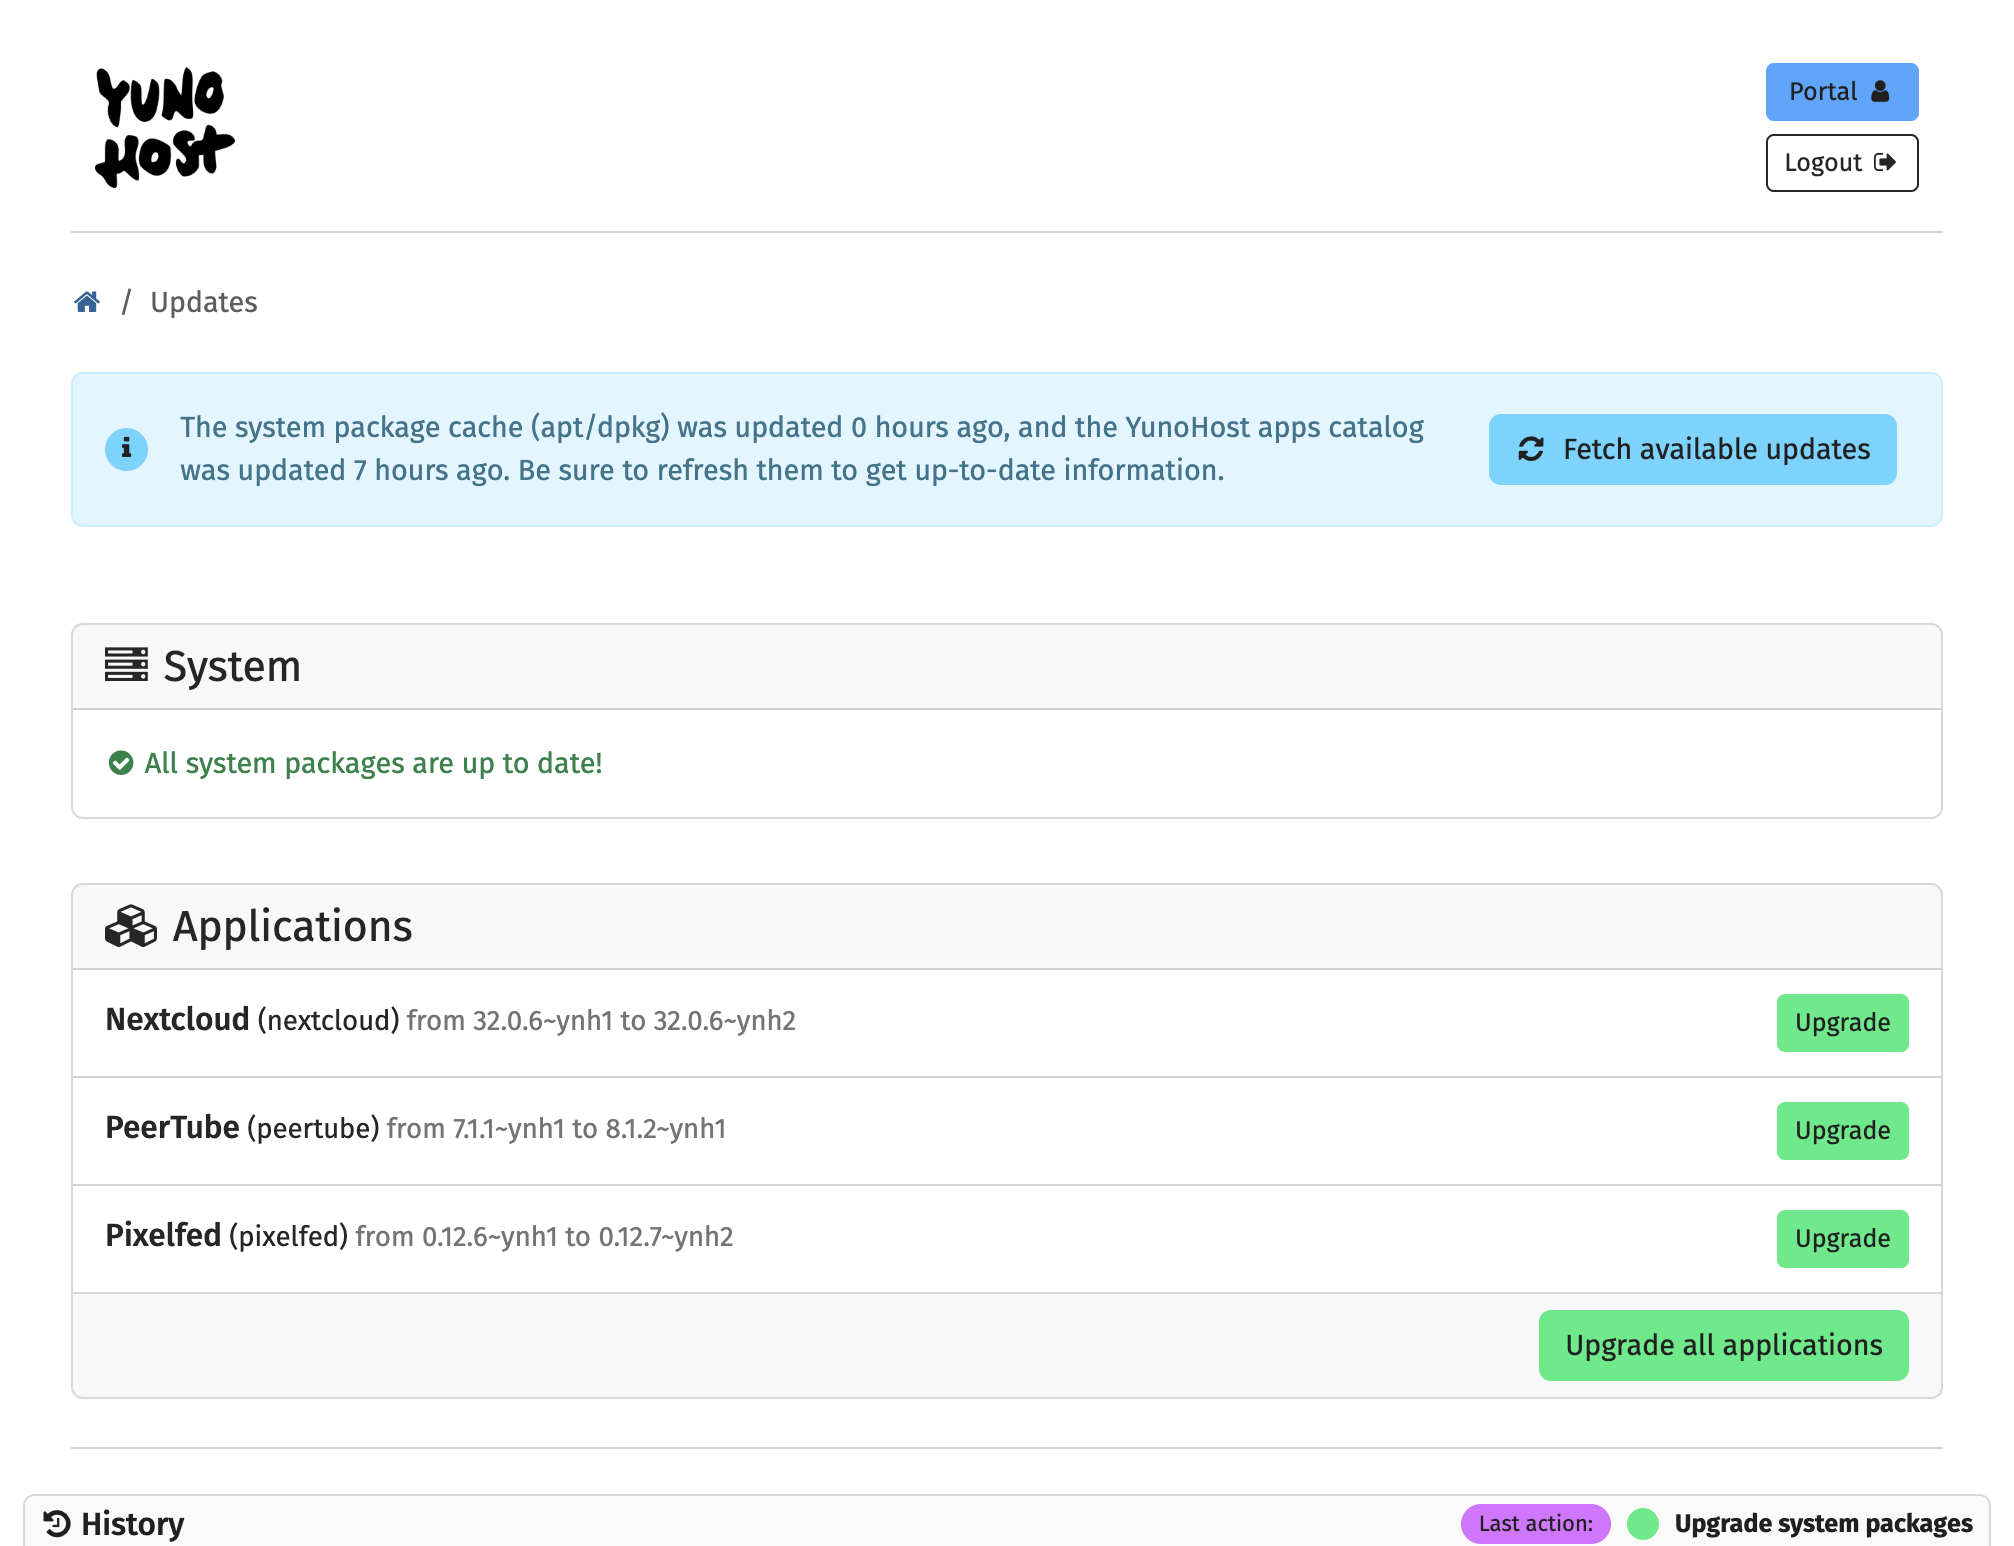
Check out if the Systems and/or Applications tab(s) have updates available:

In my case, I could update system packages and three applications: NextCloud, PeerTube and Pixelfed.
Now is the time to take a snapshot of the VPS, essentially cloning it, so that if something goes wrong with an update, I can revert back to things pre-update.
Step 2: Take a Snapshot of your VPS
In the first installment of this series I shared how Hostinger (a VPS provider based in Lithuania - buy European!) is truly beginner friendly:
If you haven’t started on your self-hosting journey yet and need a VPS, I would highly recommend it. I have a referral code that gets you an extra 20% off, in case you are interested (link).
From your Hostinger (or other VPS dashboard) you should navigate to Manage -> Backups and Monitoring -> Snapshots & Backups and Create a Snapshot, which will capture the state of your VPS as it is right now:
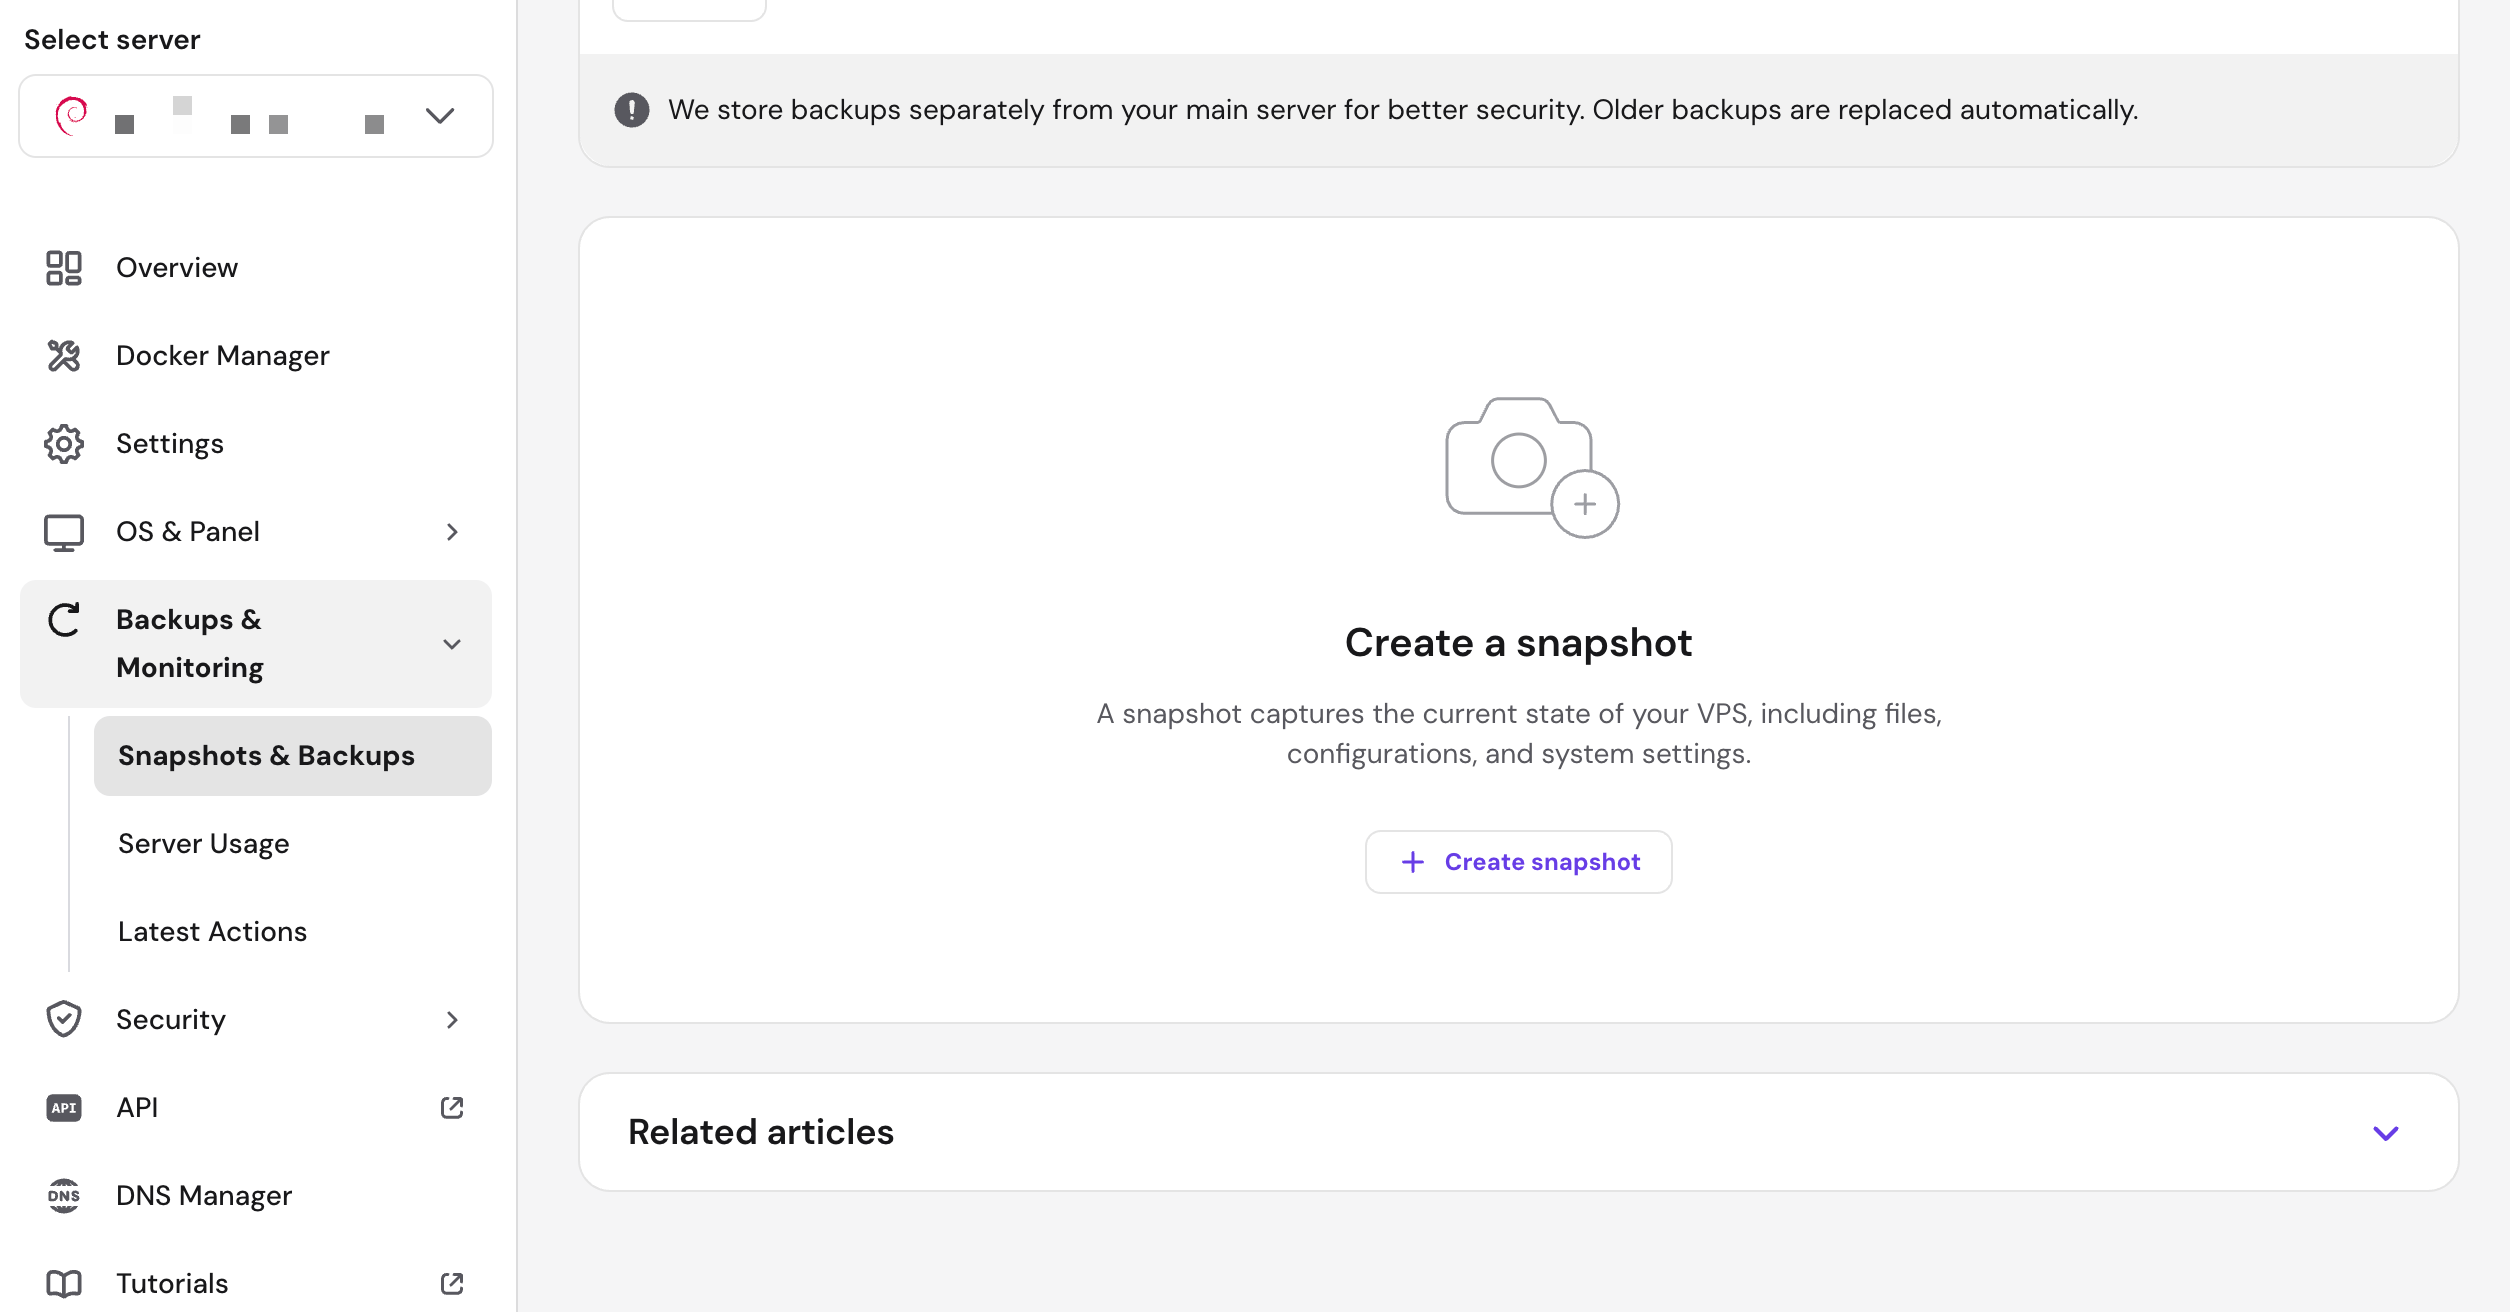
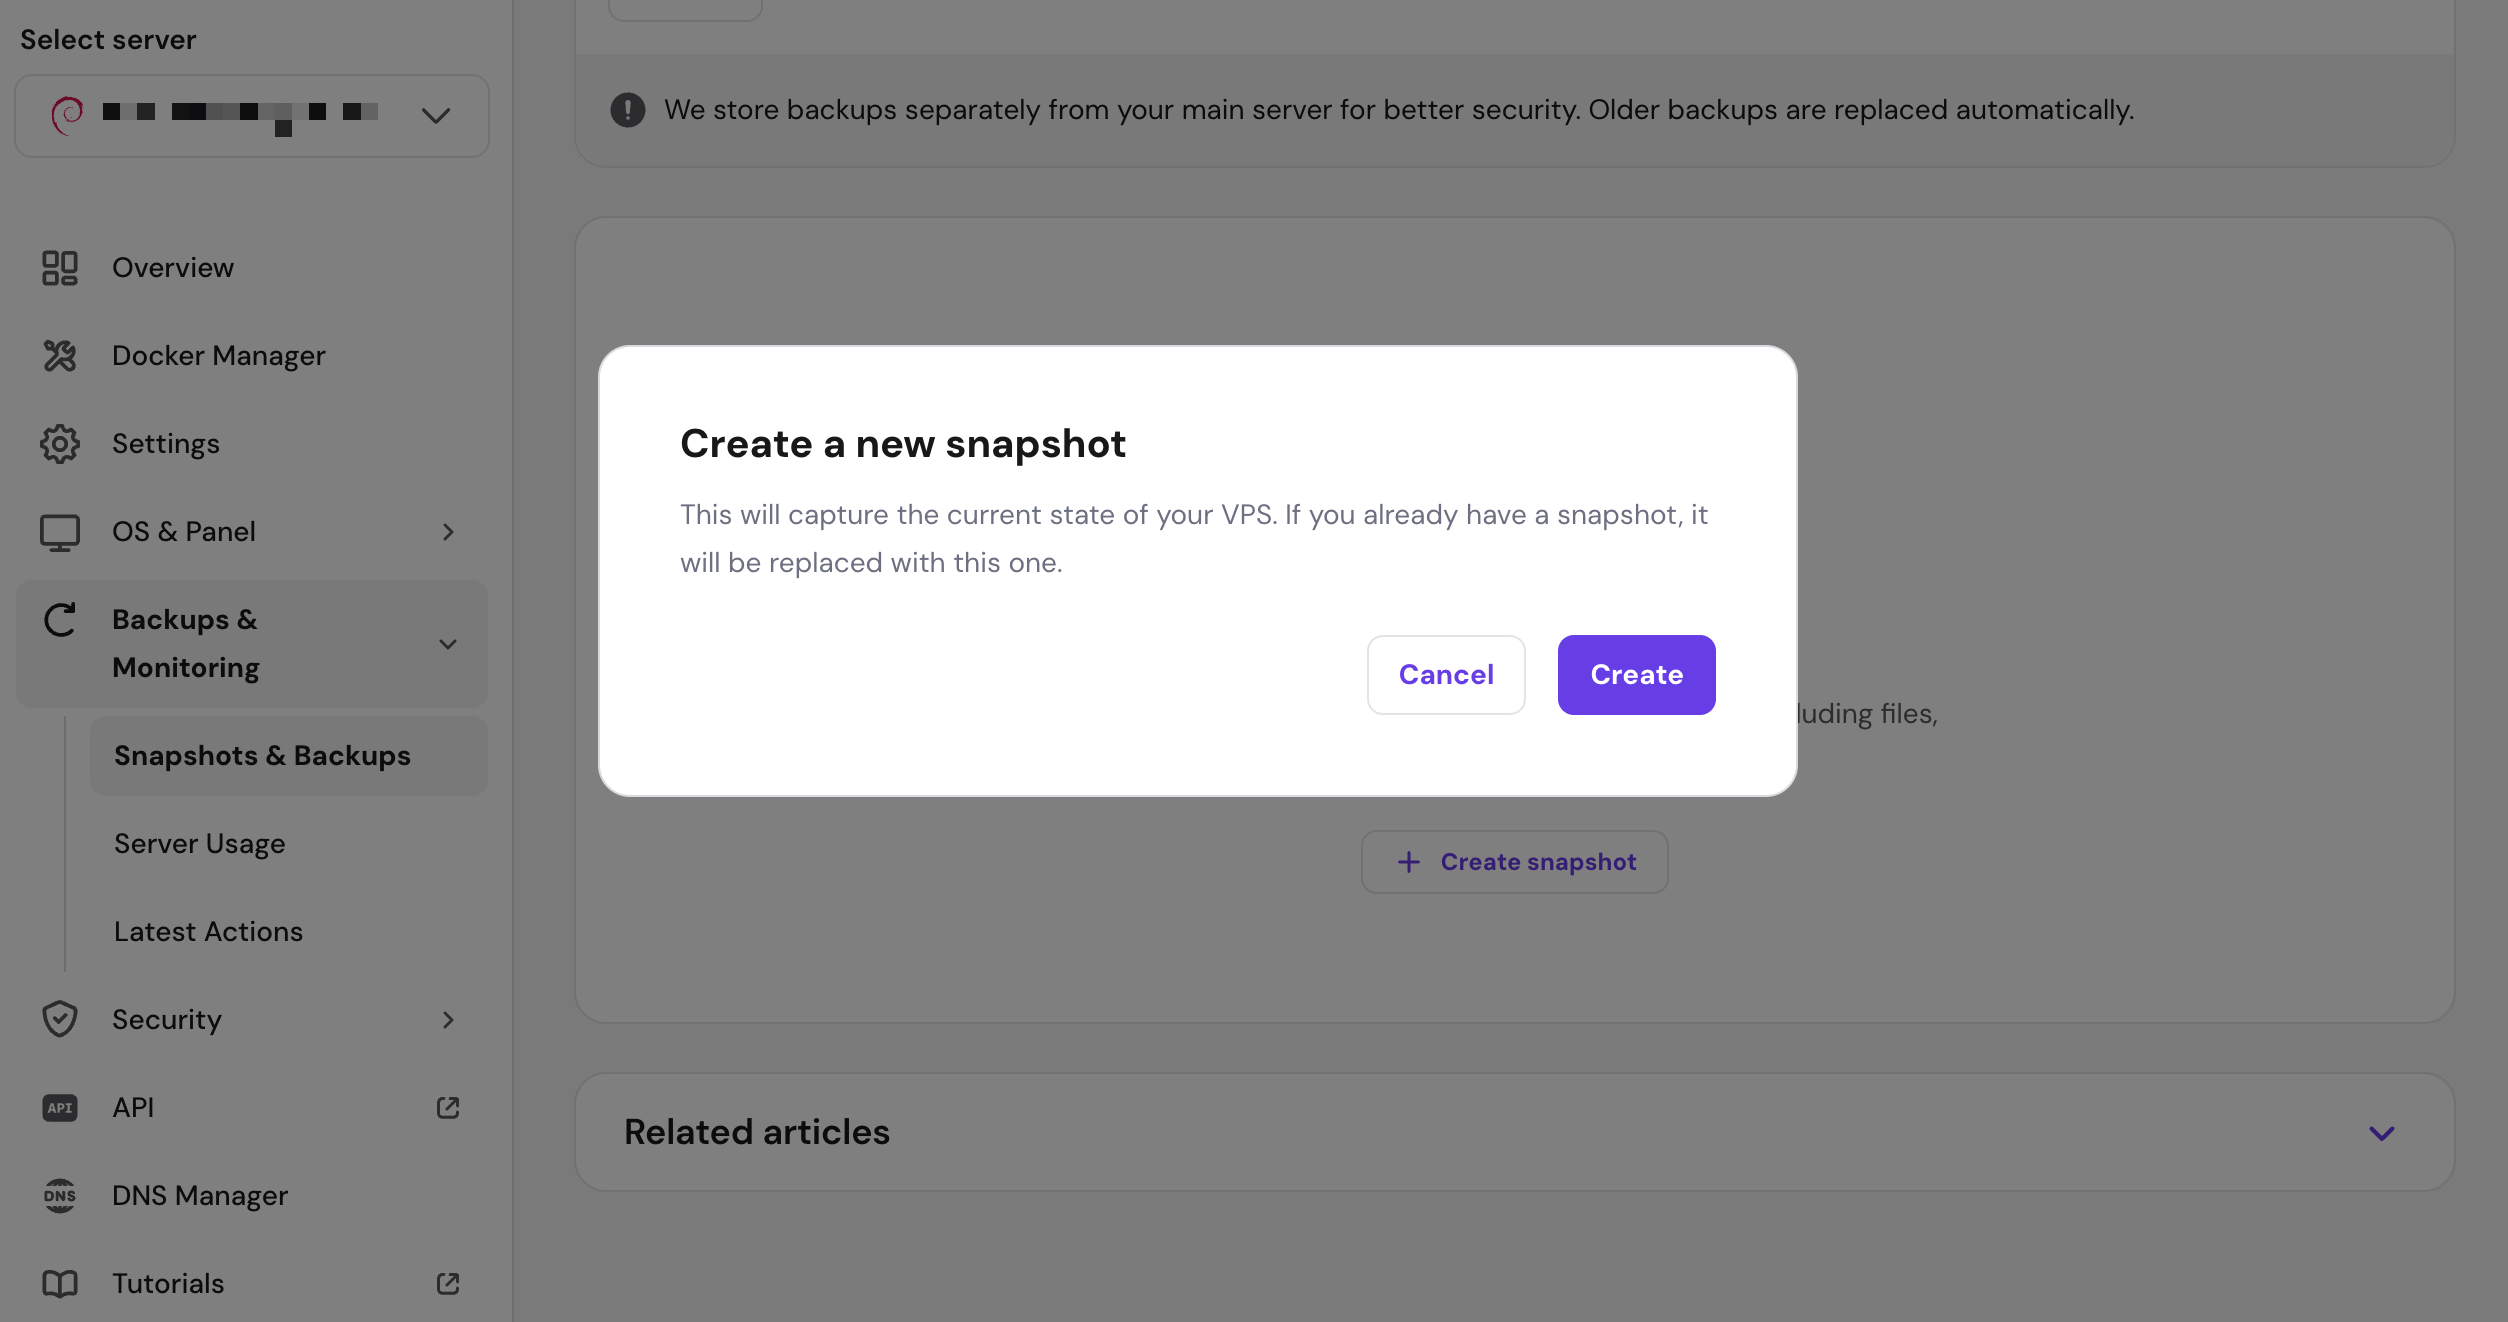
two screenshots showing the prompts to create a snapshot, with the instructions: "This will capture the current state of your VPS"
Once the snapshot has been safely created, go back to your YunoHost Administration page and navigate to Updates.
Step 3: YunoHost Basic Upgrades
I typically do System updates first and then Applications.
Under the tab “System” when you click the green button “Upgrade all your Packages” this is what you will see:
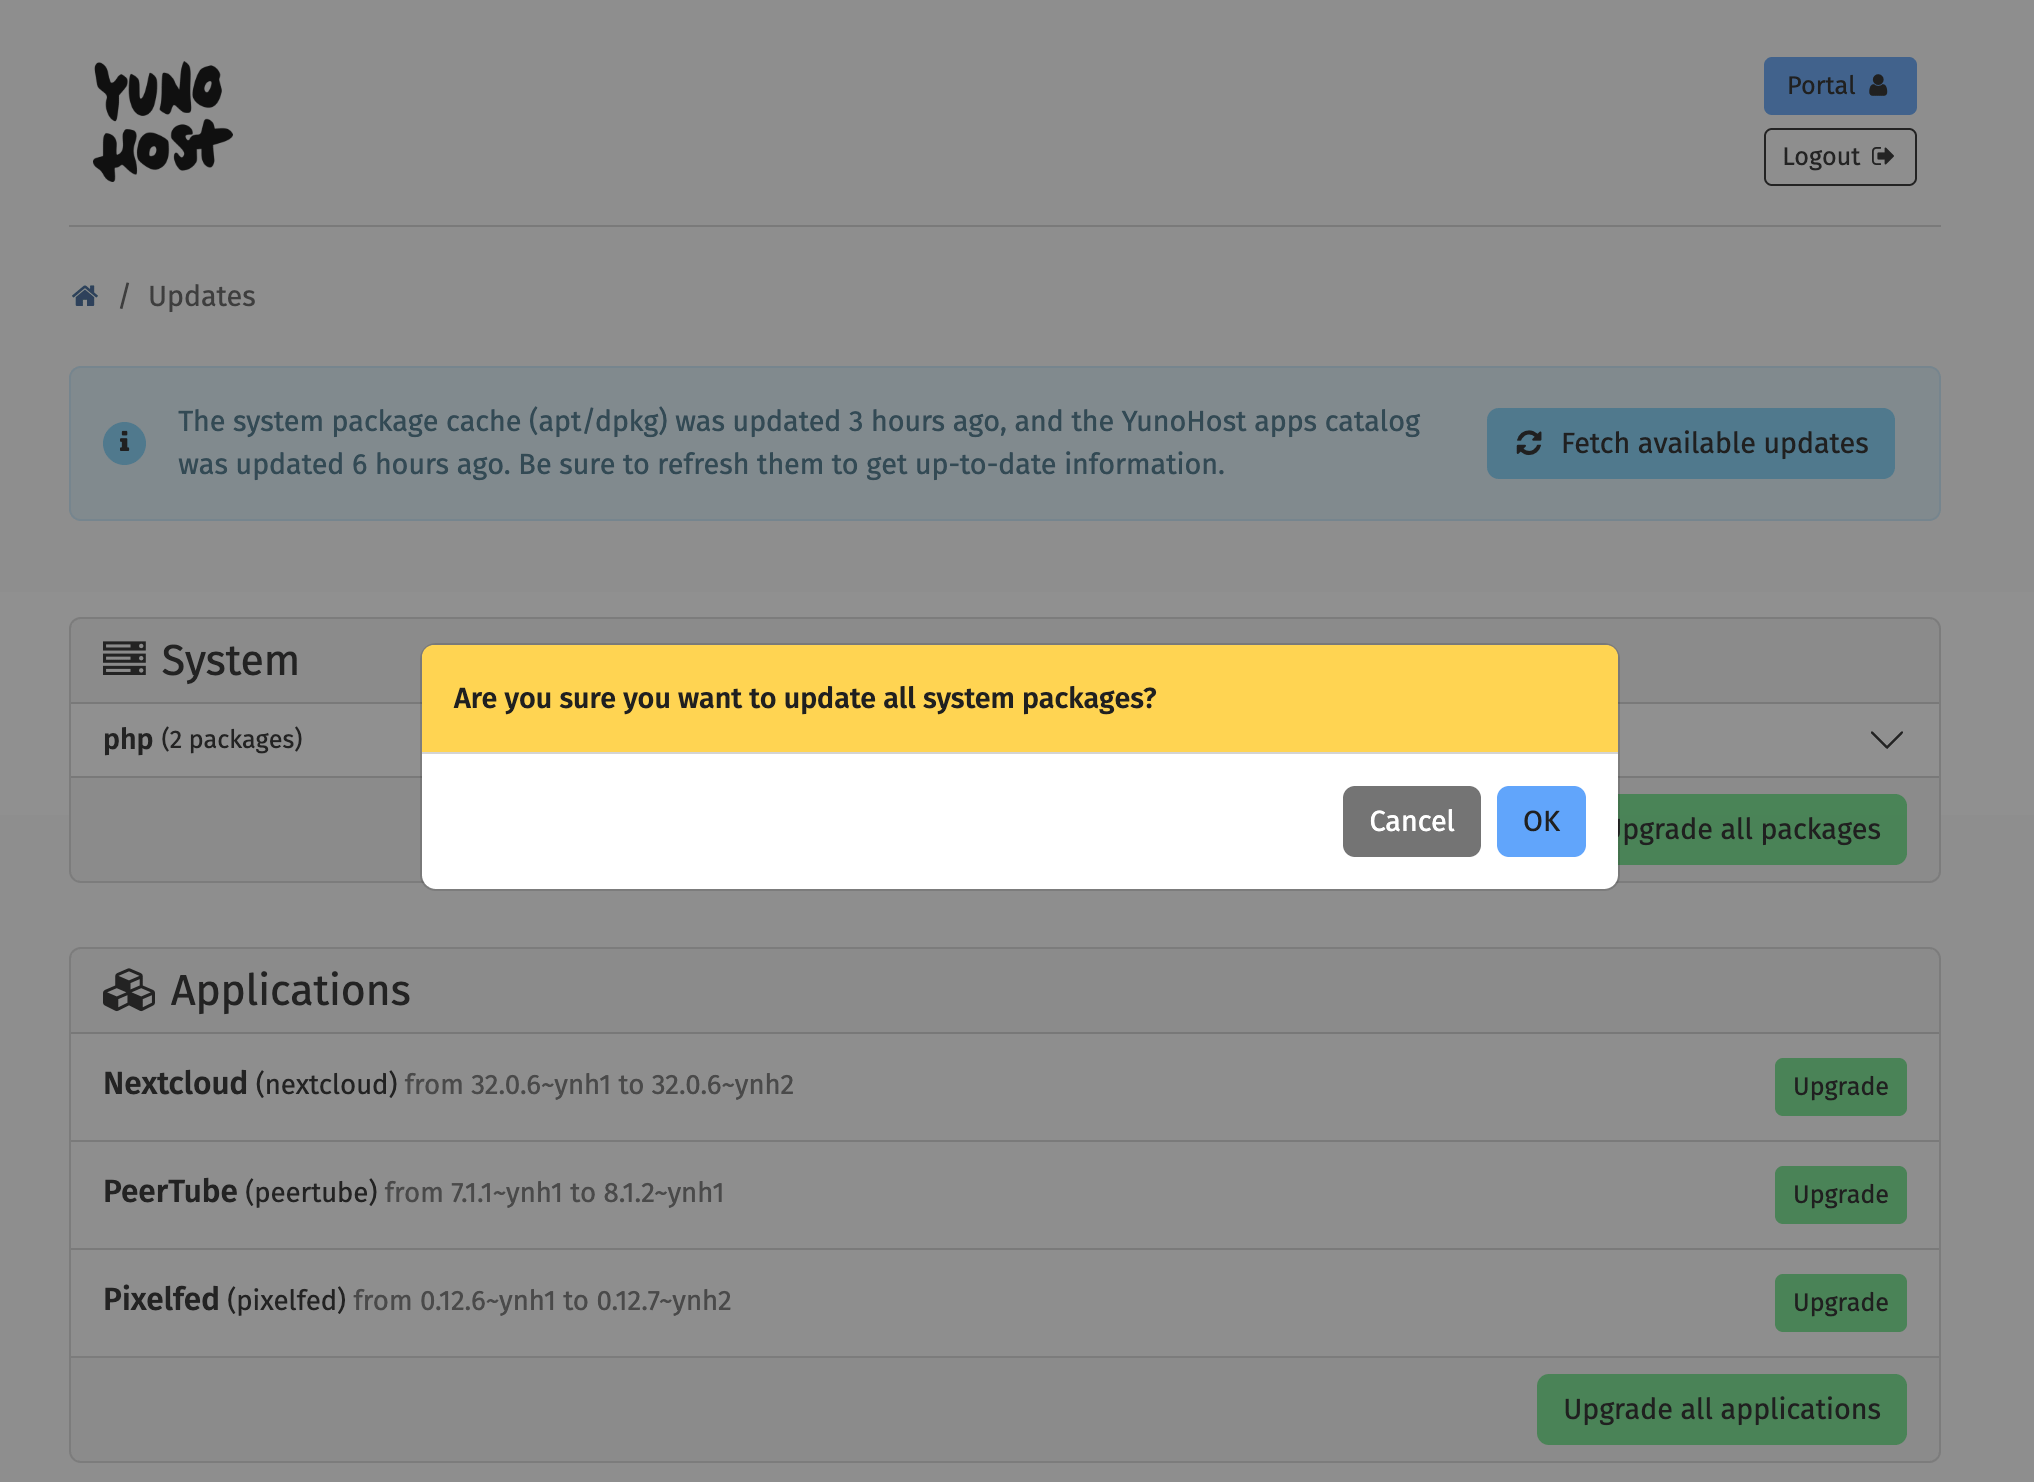
Click on OK and let YunoHost do its magic.
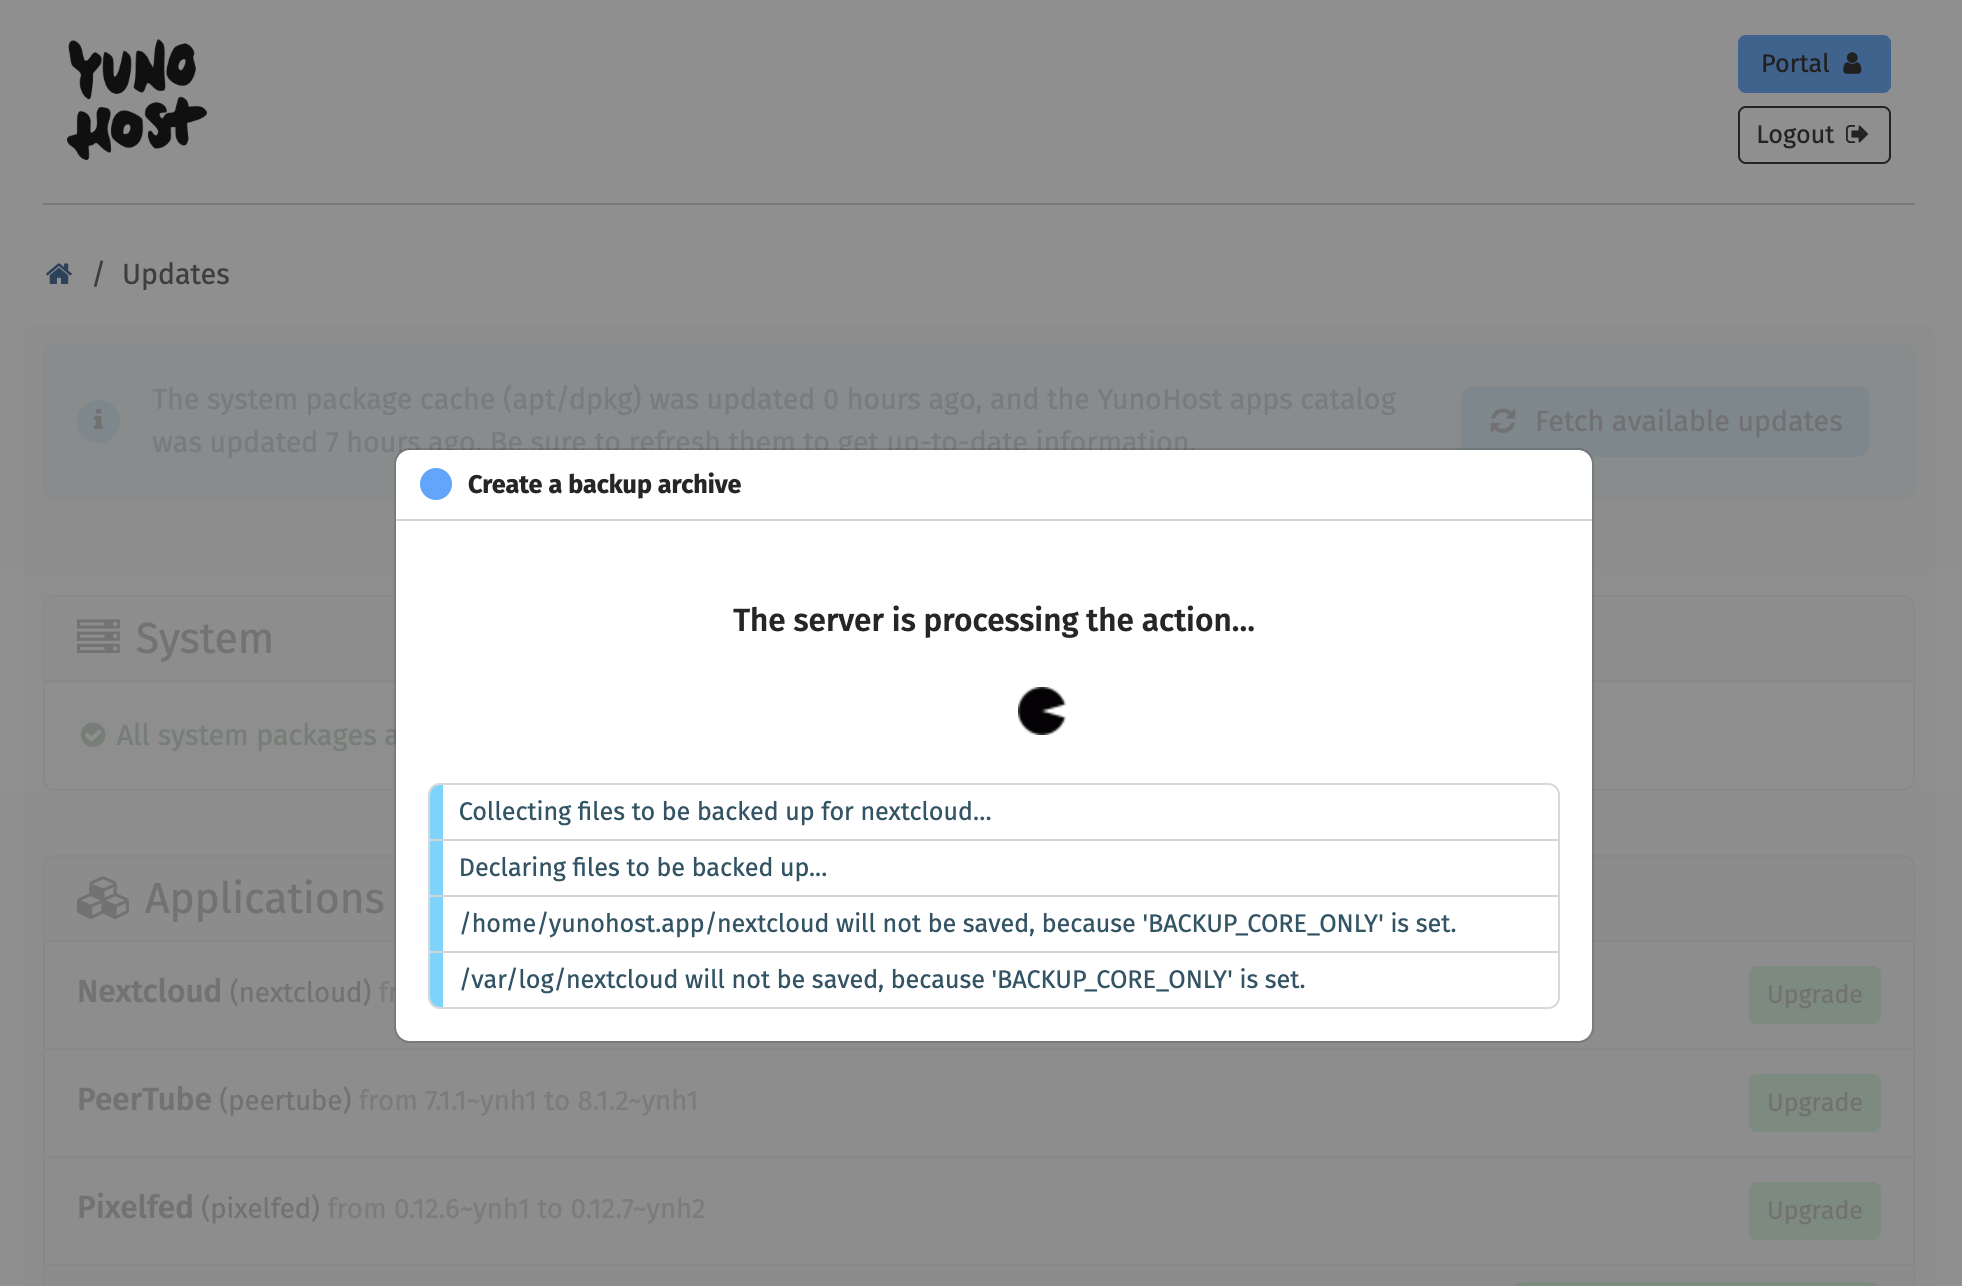
The update process looks like this:
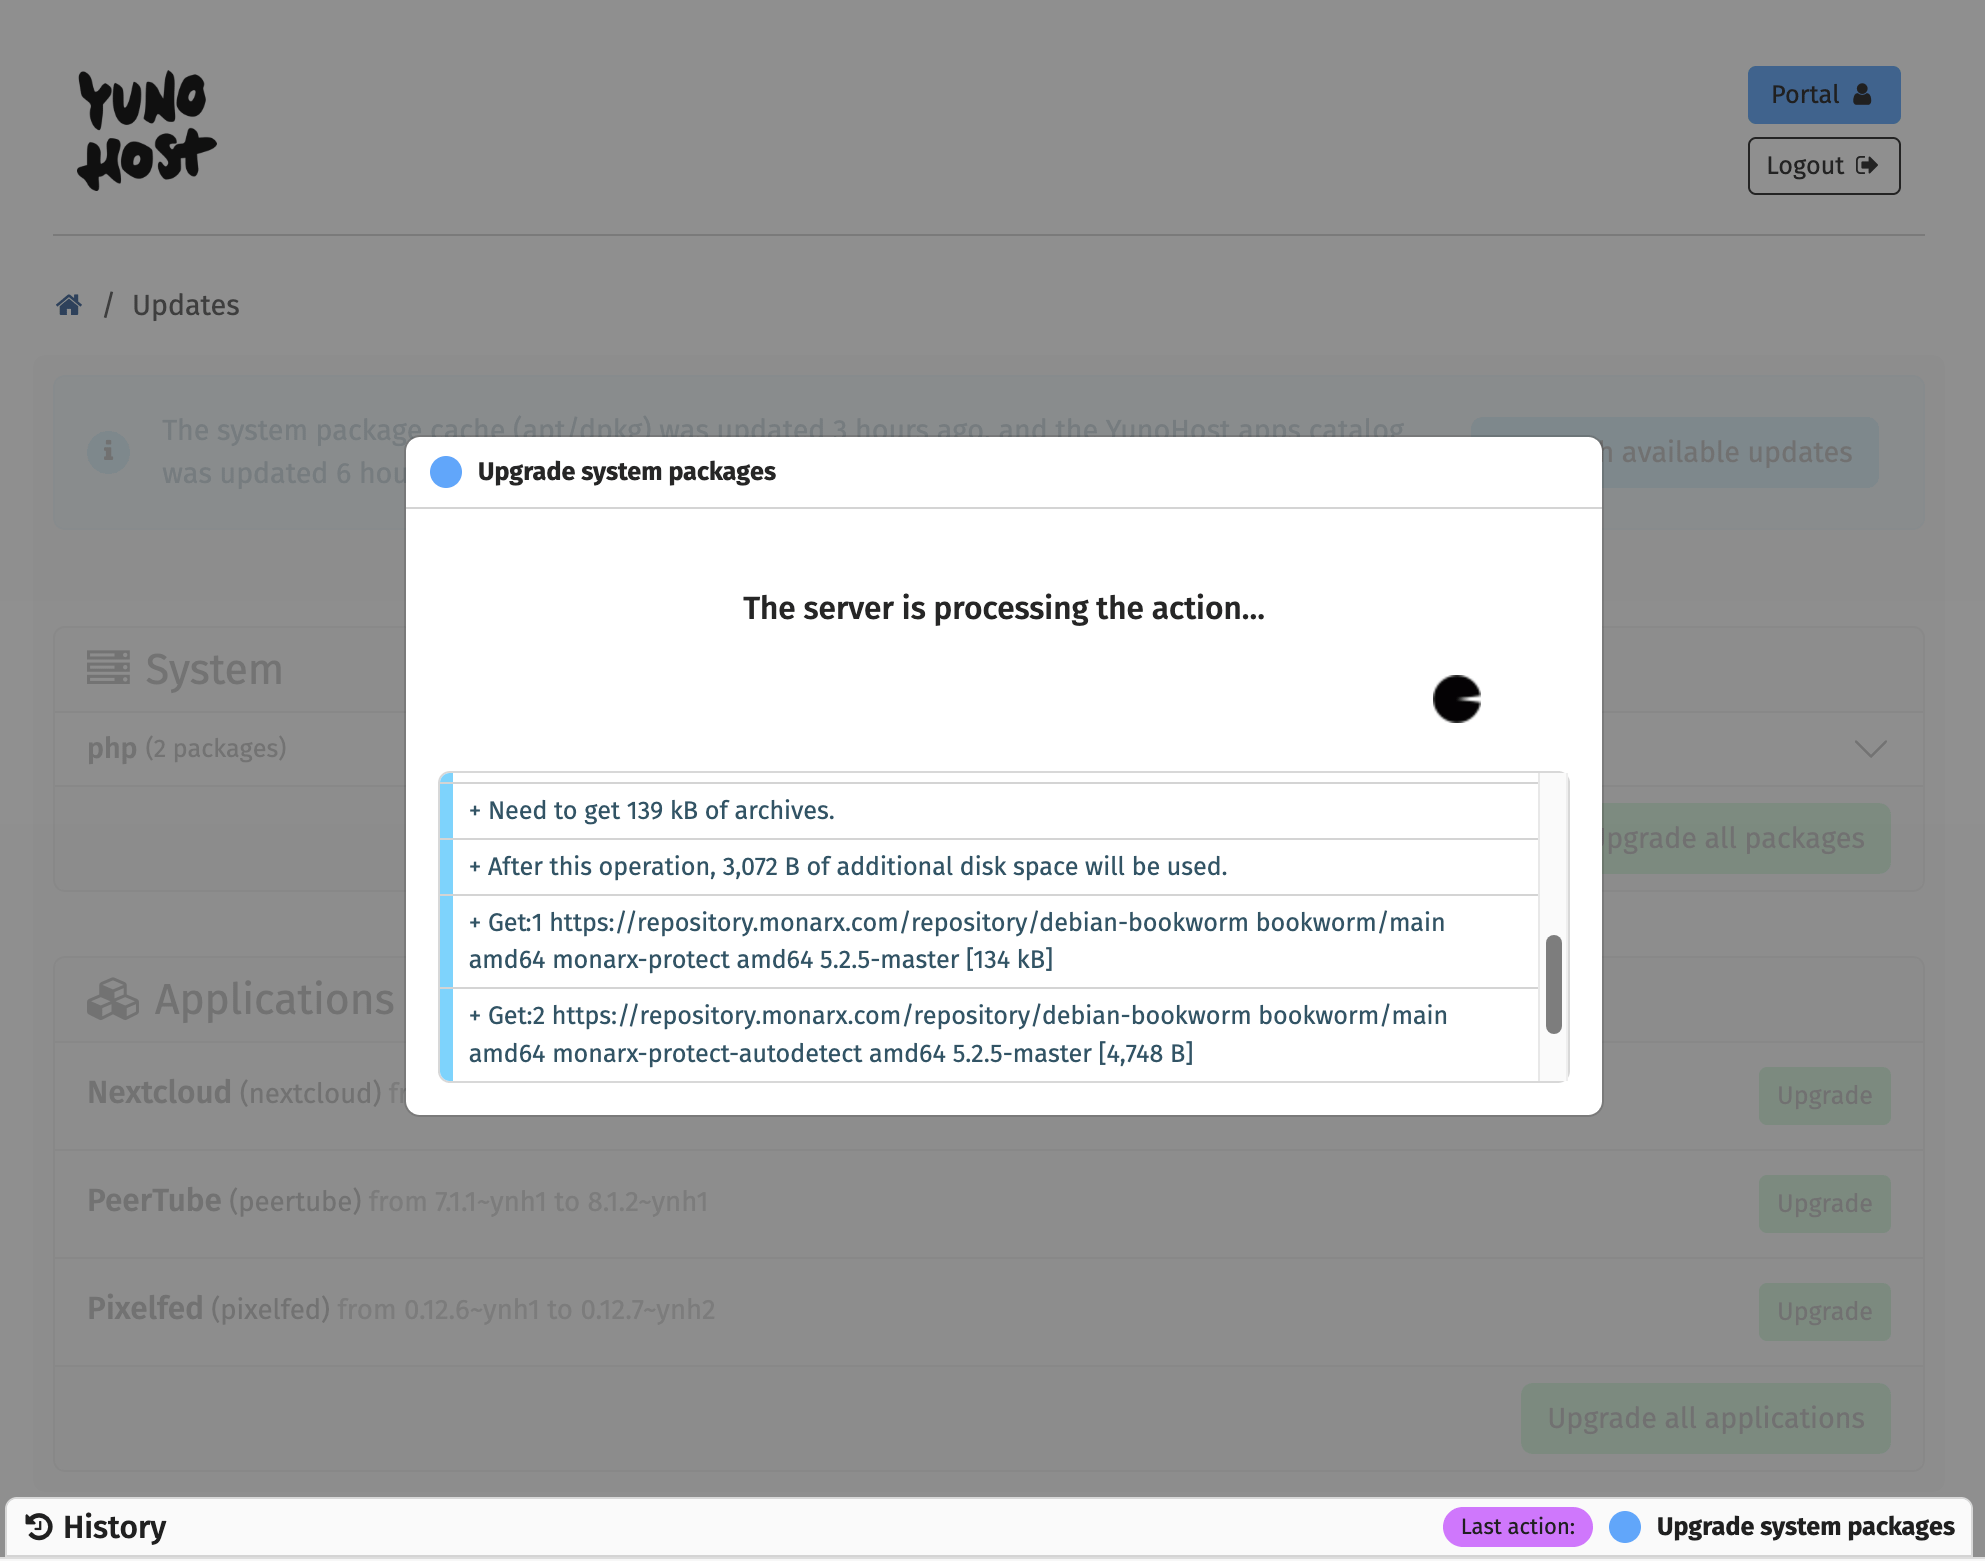
In my case the system upgrade completed successfully in less than 5 seconds.
The Updates page now looks like this:
Now moving on to Applications, I always exercise extreme caution and never click on “Upgrade” right away. I do my research first.
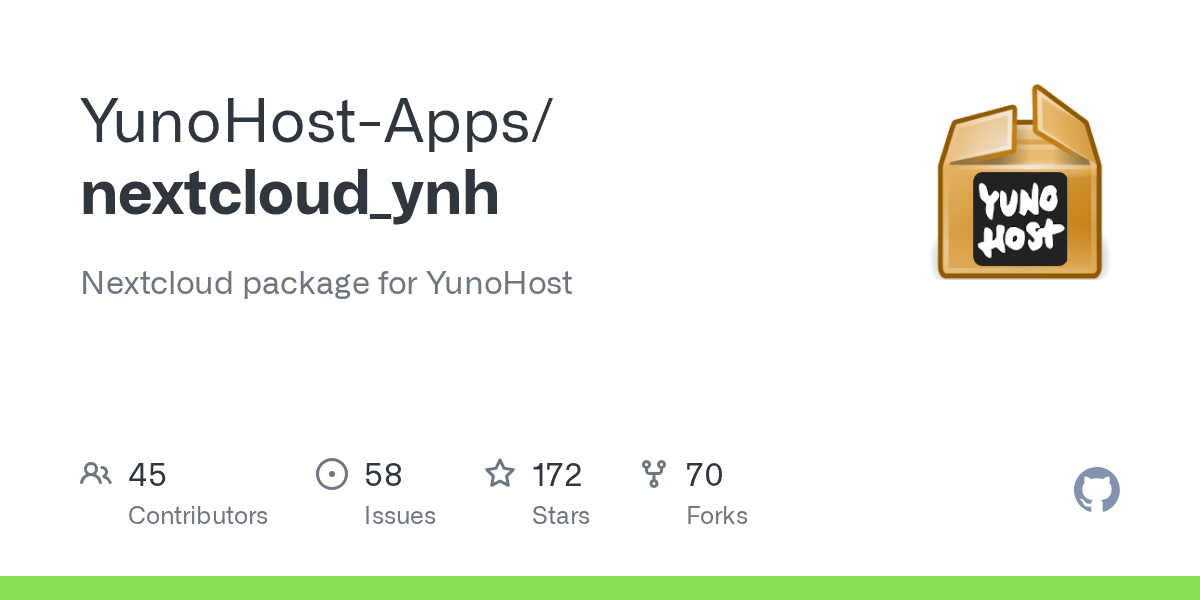
YunoHost’s development work is incredibly transparent with app upgrades and communication on bugs and fixes shared on their GitHub page:

If I’m hosting multiple apps on my YunoHost system and several apps have available updates, I typically rank them in my head by importance and start with the less critical one.
In this case I have NextCloud, PeerTube and Pixelfed available for updates. PeerTube is absolutely essential to me and is a major upgrade going from 7.1.1 to 8.1.2 so I would wait a bit to do that, putting it on the backburner.
I use NextCloud daily but if it really breaks it’s not as big of a deal as PeerTube (which hosts my Fediverse intro video). So let’s look at the NextCloud package page on YunoHost’s GitHub. Are there reports of issues with the latest update?
To find out, I go to the package page:
and click on the tab “Issues” and sort posts by “Newest.”
I don’t see any reports of things breaking.
So I go back to my YunoHost Updates page and feel pretty confident about upgrading Nextcloud. So I click on “Upgrade.”
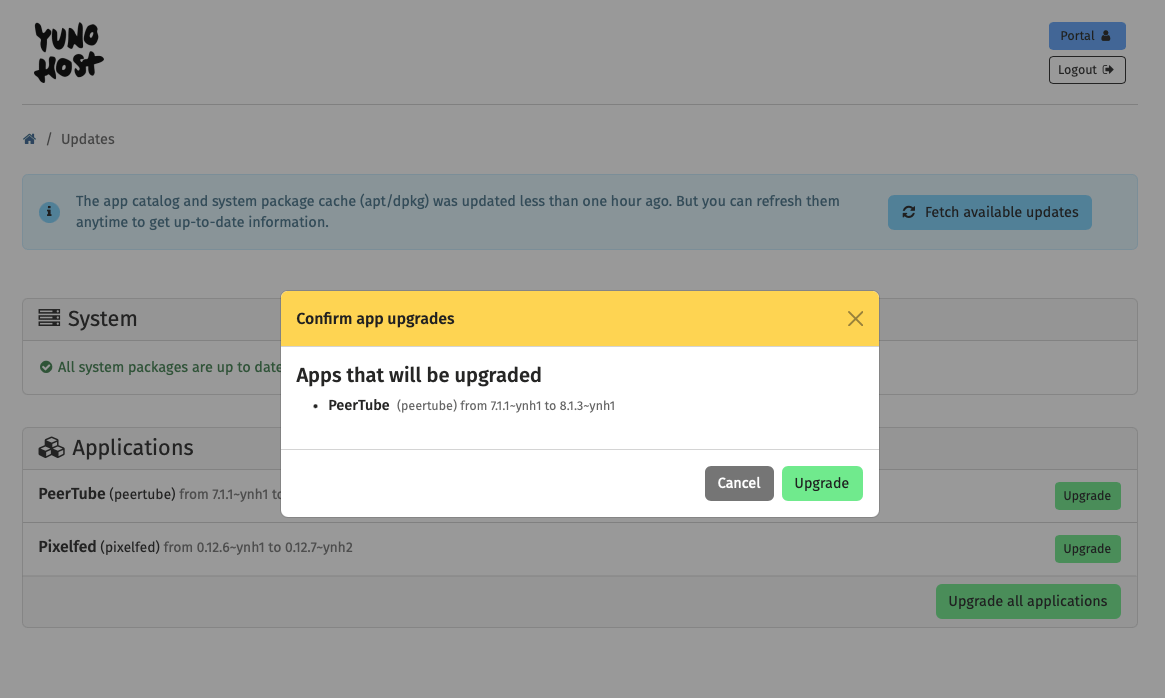
Here is the confirmation screen I get:
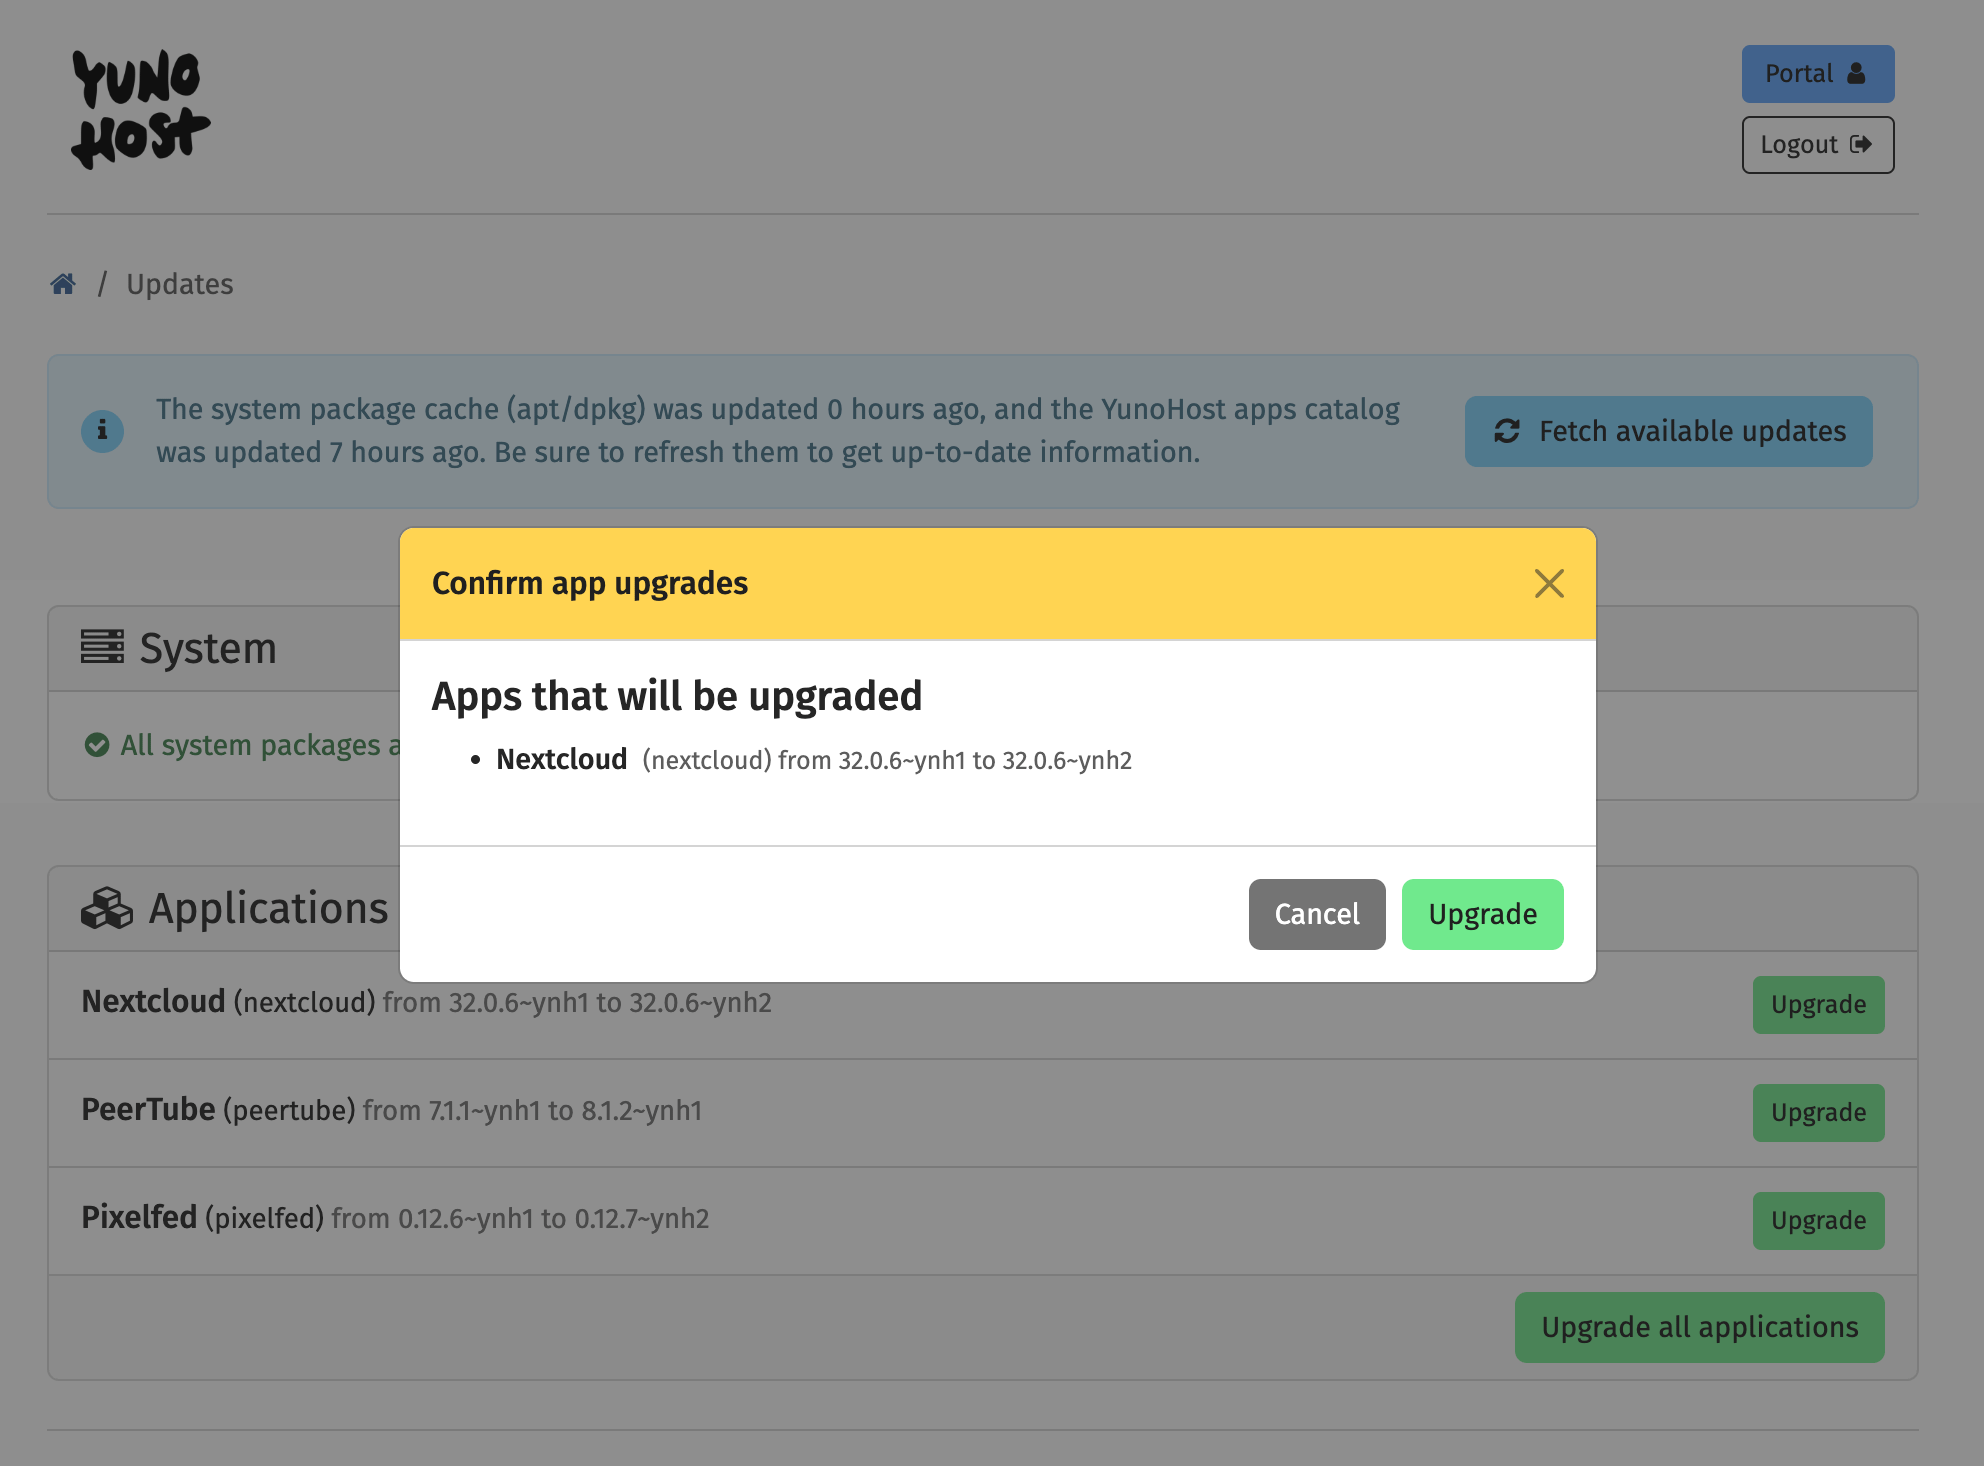
I click on the green button "Upgrade" thus launching the upgrade process.
At the end of the upgrade you will get a confirmation that says “It appears that things went well.”
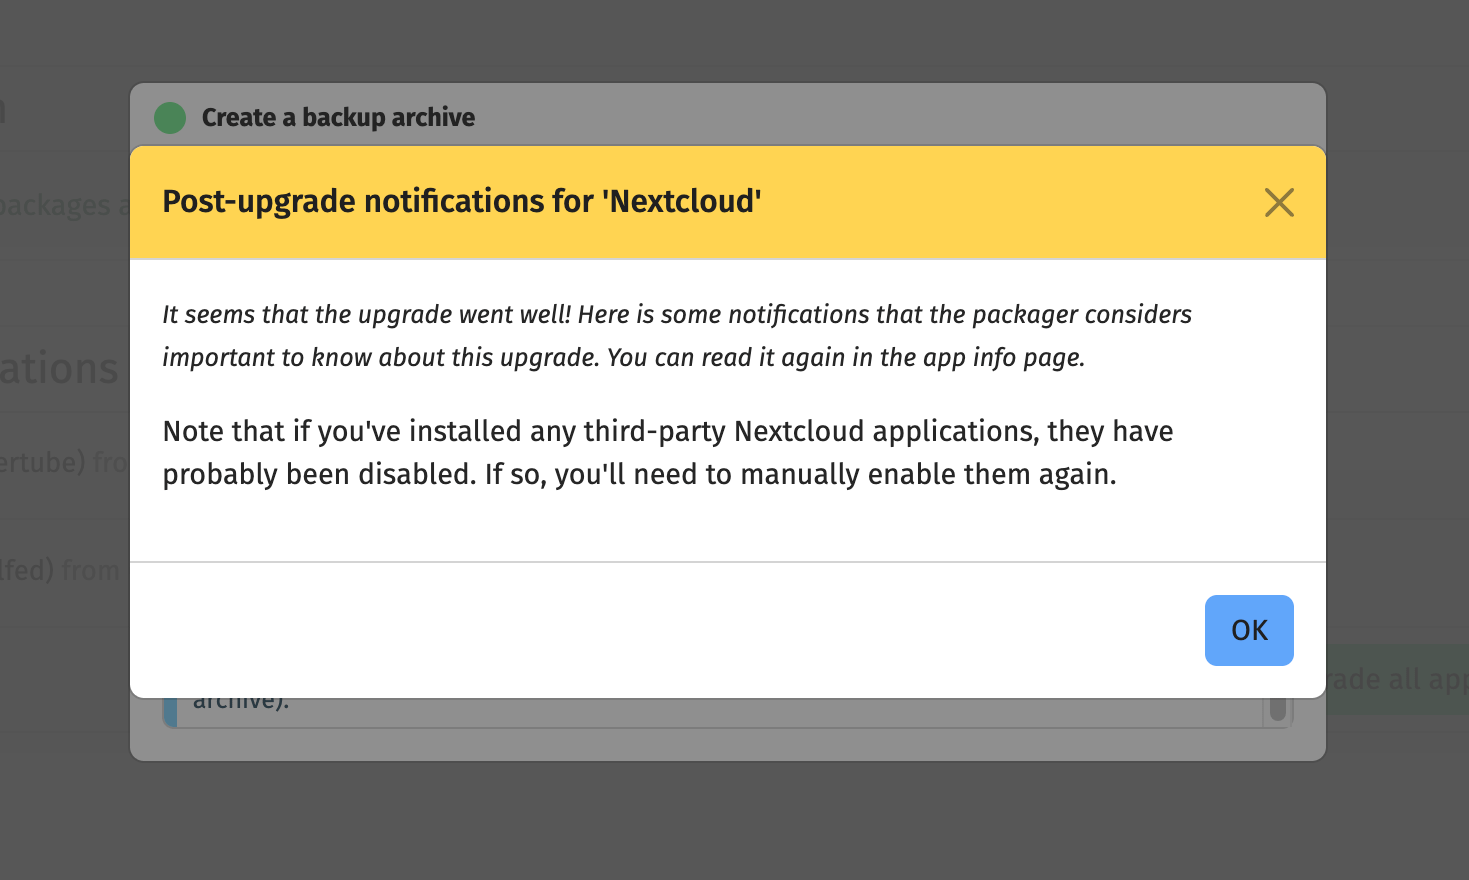
I typically like to check for myself but yes, it’s true, everything is working correctly on my NextCloud.
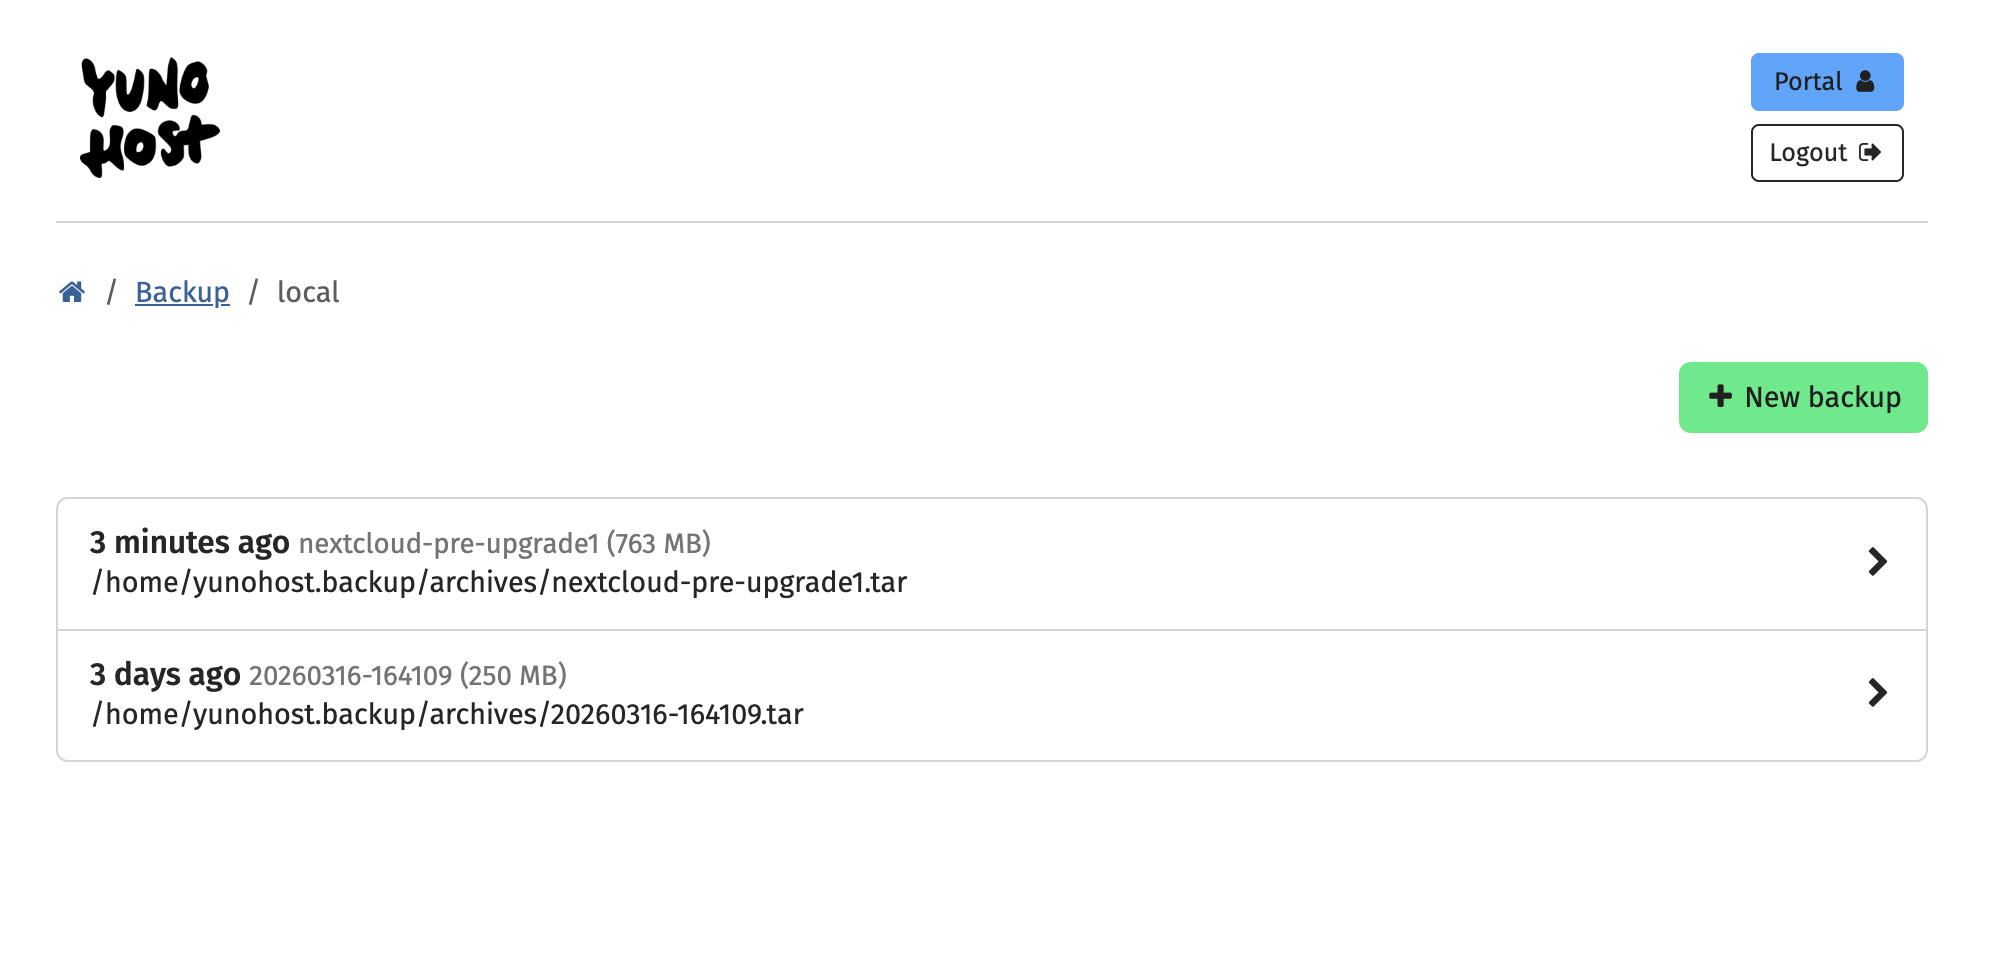
If I go to Backups - Local Archives I will find the backup of NextCloud pre-upgrade... (so I could have reverted to it if things hadn't gone as expected):
Now moving on to Pixelfed.
Same process: I check out the Pixelfed package page on YunoHost’s GitHub:
Under “issues” I see a report that several upgrades failed - in a thread, multiple users reported the same problem:
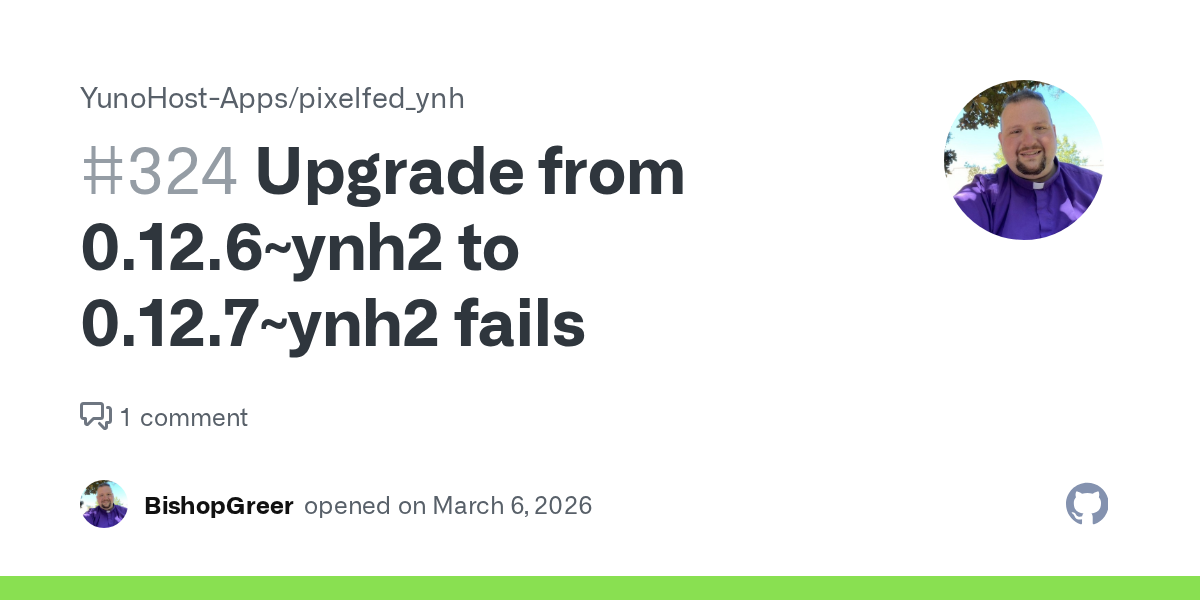
So I let it be for now (a note that this article was written in late March 2026 and a fix may become available in the future).
Moving on to PeerTube: this is an absolutely essential service I am running. My PeerTube instance - the fediverse’s answer to YouTube - is hosting my popular video introducing the Fediverse to people not familiar with it: “Introducing the Fediverse: a new era of social media”. The video was released almost a year ago but it is still receiving many views and is being regularly used at conferences about the Fediverse. Breaking my PeerTube installation would be disastrous.
So I proceed with extra caution.
As usual, I check out the YunoHost GitHub page for PeerTube. I see a handful of reports about issues with upgrades:
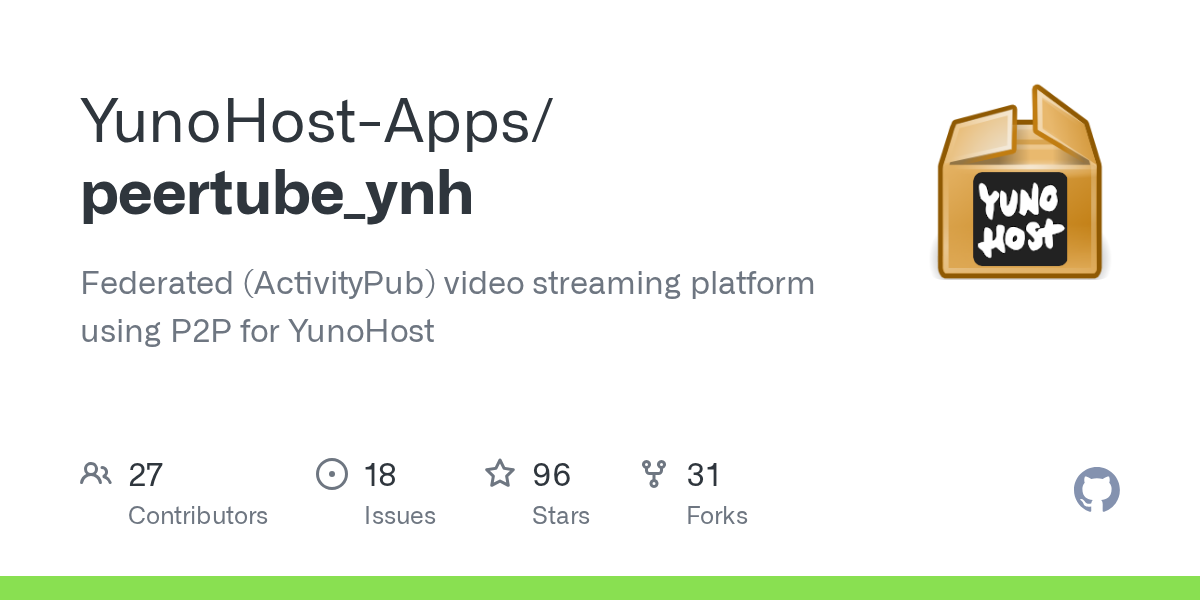
I am currently on PeerTube v. 7.1.1 and the app has been upgraded to 8.1.3. Because PeerTube is so essential to me, I feel like I shouldn’t let it stuck on an old version.
The Magic of VPS Snapshots
To recap: before doing any application upgrades, I took a snapshot of my VPS, which captured its current state. Then I successfully upgraded NextCloud and decided to not upgrade PixelFed. It is now PeerTube’s turn.
Because my previous snapshot captured my VPS pre-upgrades, I go back to my Hostinger VPS dashboard, delete the previous Snapshot (which didn’t have the system and NextCloud upgrades) and capture a new Snapshot (which will replace the previous one).
Once the process is confirmed, I go back to my YunoHost Administration dashboard and check out the Updates page. I click on the green “Upgrade” button for PeerTube.
The upgrade process starts… and within a minute I lose the connection to the server.
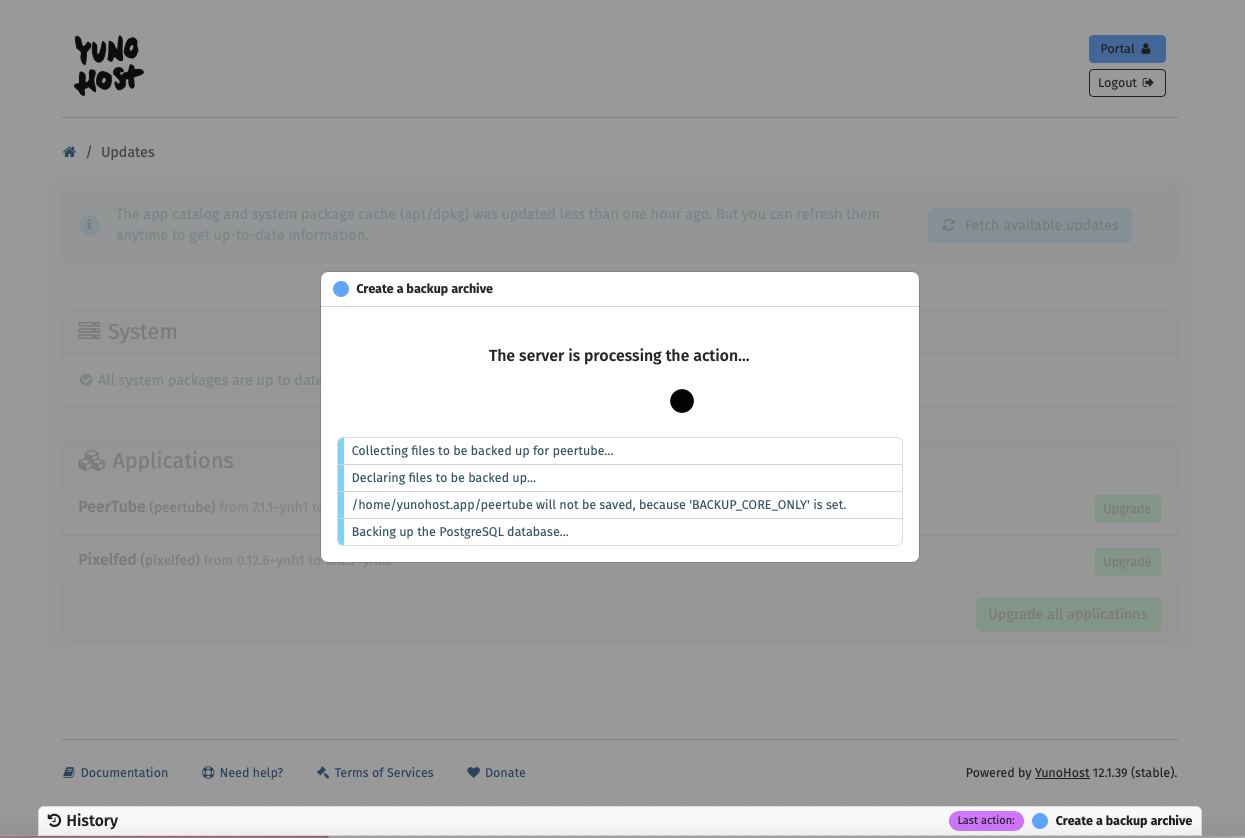
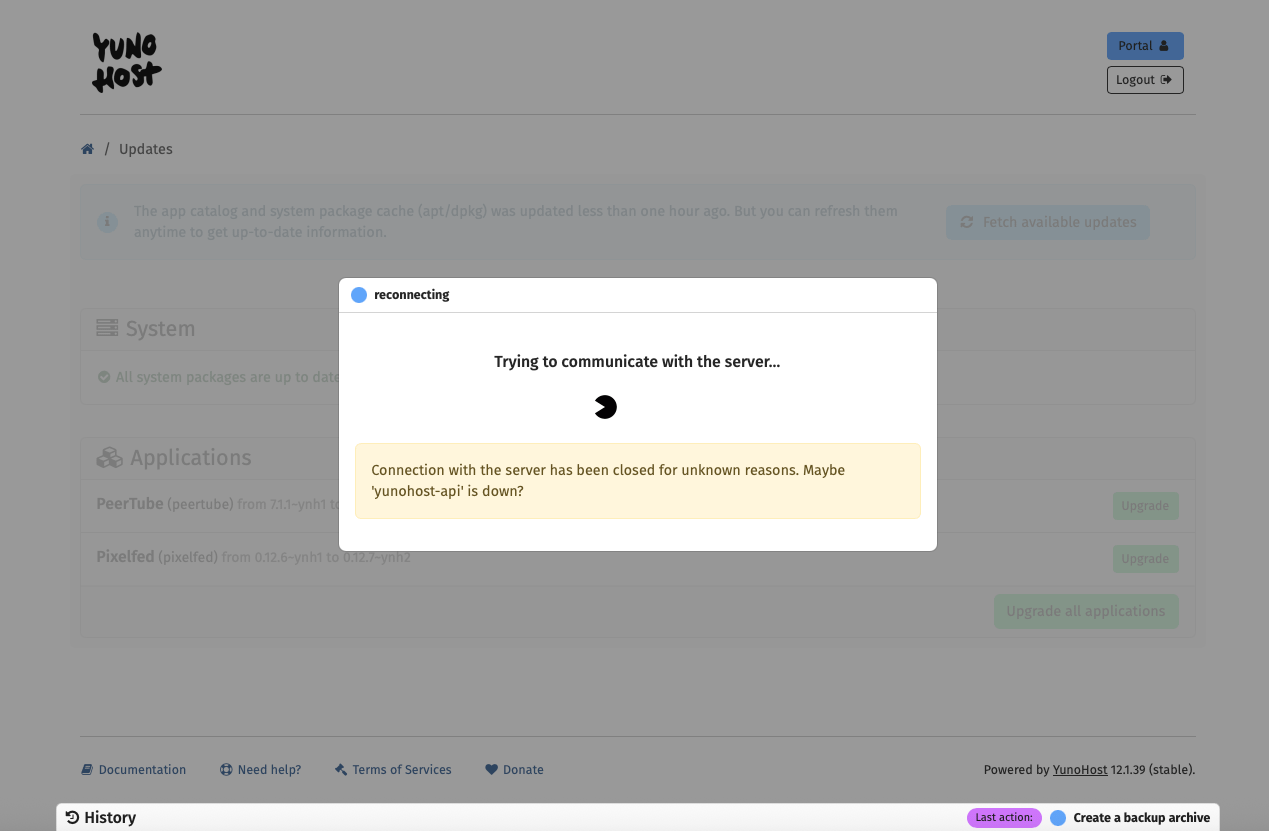
screenshots showing the PeerTube upgrade process, which is interrupted by a server connection loss
No big deal, this has happened many times before, but upgrades for some reason completed successfully. Except: my PeerTube installation is quite heavy and the connectivity issue occurred early on in the upgrade process.
I keep the page open and go do other work on another computer.
I return to the browser that was processing the upgrade and notice something odd. The PeerTube shortcut is missing from the welcome screen of my YunoHost server. So I click on “Applications” and notice that PeerTube isn’t listed anymore amongst the apps my YunoHost server is hosting. Wait what?
I check the history of the actions that my YunoHost server took recently and - alarmingly - there is a “remove PeerTube” in the list. So my botched app upgrade resulted in PeerTube being completely removed from my server.
Deep breaths.
I go to backups and attempt to restore the automated backup of the previous PeerTube installation that YunoHost did.
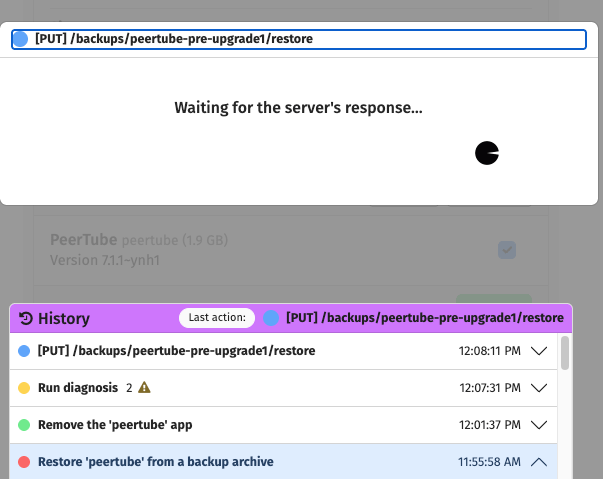
The restore seems to be successful, except for one thing: when I type in my browser the address of my PeerTube site, I get a “welcome to Nginx” message. This is not good.
There is no need to panic, though. Why?
I can restore my VPS and turn back the clock a few minutes to the time when it was working perfectly running PeerTube 7.1.1, pre-upgrade.
I go to my Hostinger VPS dashboard, click on Backups and restore the Snapshot I had taken:
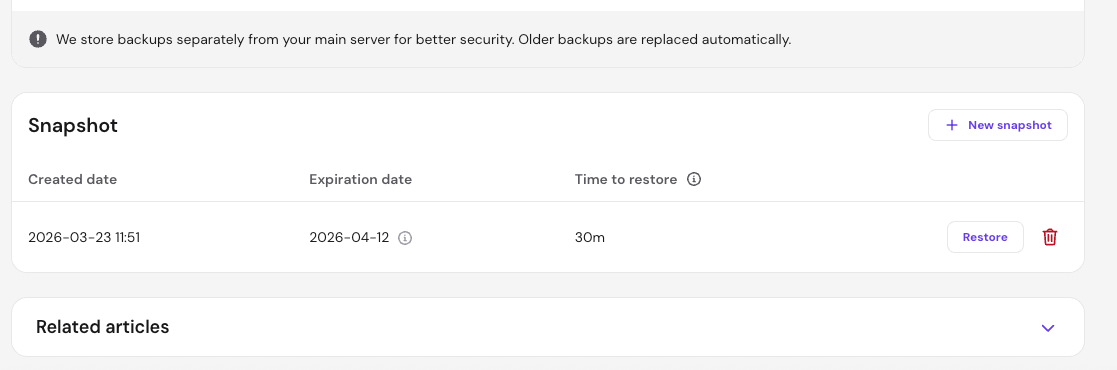
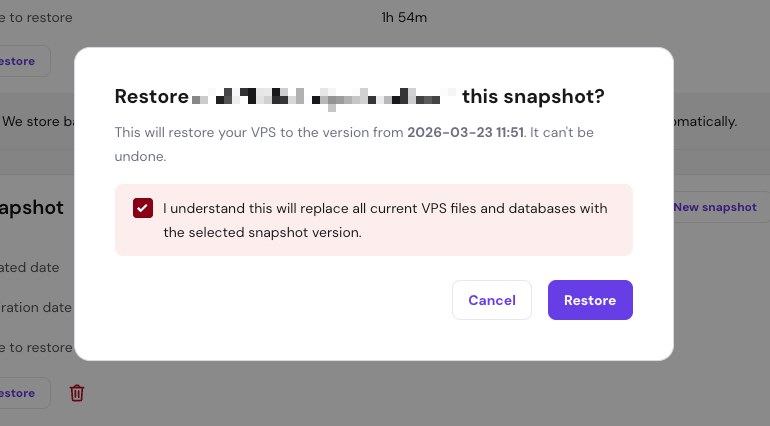
screenshots showing the VPS snapshot I had taken with a confirmation message before restoring it
A few minutes later, my PeerTube instance is back up and running perfectly like before. Magic!
I share this mishap on my GoToSocial account and I am advised by Teapot Ben and Dr. Fyzziks to do app upgrades from Terminal using a Terminal multiplexer called tmux. Teapot Ben writes:
If you lose your connection, your terminal session continues to run on the VPS uninterrupted, and you can reconnect again as if nothing happened.
YunoHost has instructions about how to carry out app upgrades from Terminal. Inspired by the advice about tmux, I try doing just that: YunoHost app upgrades using the command line interface and running a session inside tmux.
YunoHost App Upgrades from Terminal, using tmux
First up, let's install tmux. That's really easy and takes about 5 seconds. Just open up a Terminal window, connect to your VPS (no need if you're using Hostinger, just open Terminal from the Dashboard and you're in). Then copy and paste the following command:
apt install tmux
And confirm you want to install it.
Once the process is over, run tmux by typing:
tmux
(Here I am assuming you already took a snapshot of your VPS that you could revert to if things go awry).
Once you're inside tmux, copy and paste:
yunohost app upgrade [name of the app]
For example: yunohost app upgrade peertube
and the app upgrade will start. It will look something like this:
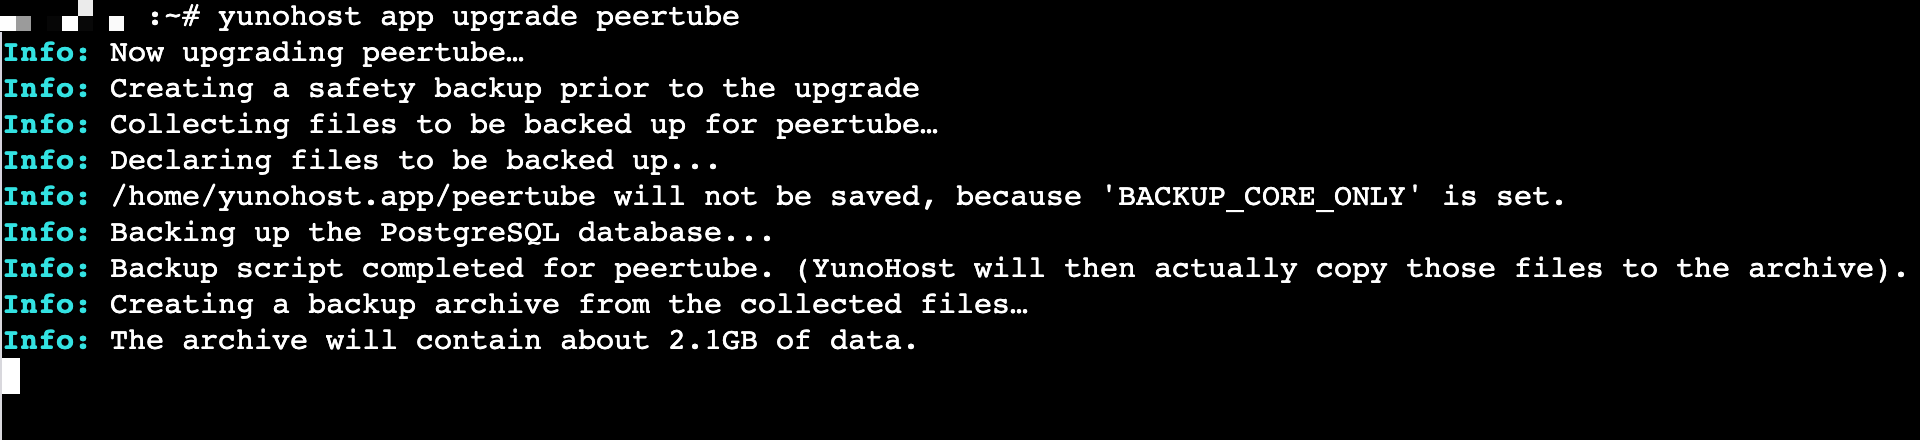
Leave the window open and let it do its thing. Check back in a few minutes and follow the instructions, should YunoHost recommend you run extra commands post-installation. And that's it. This is how I was able to upgrade my PeerTube installation drama-free:
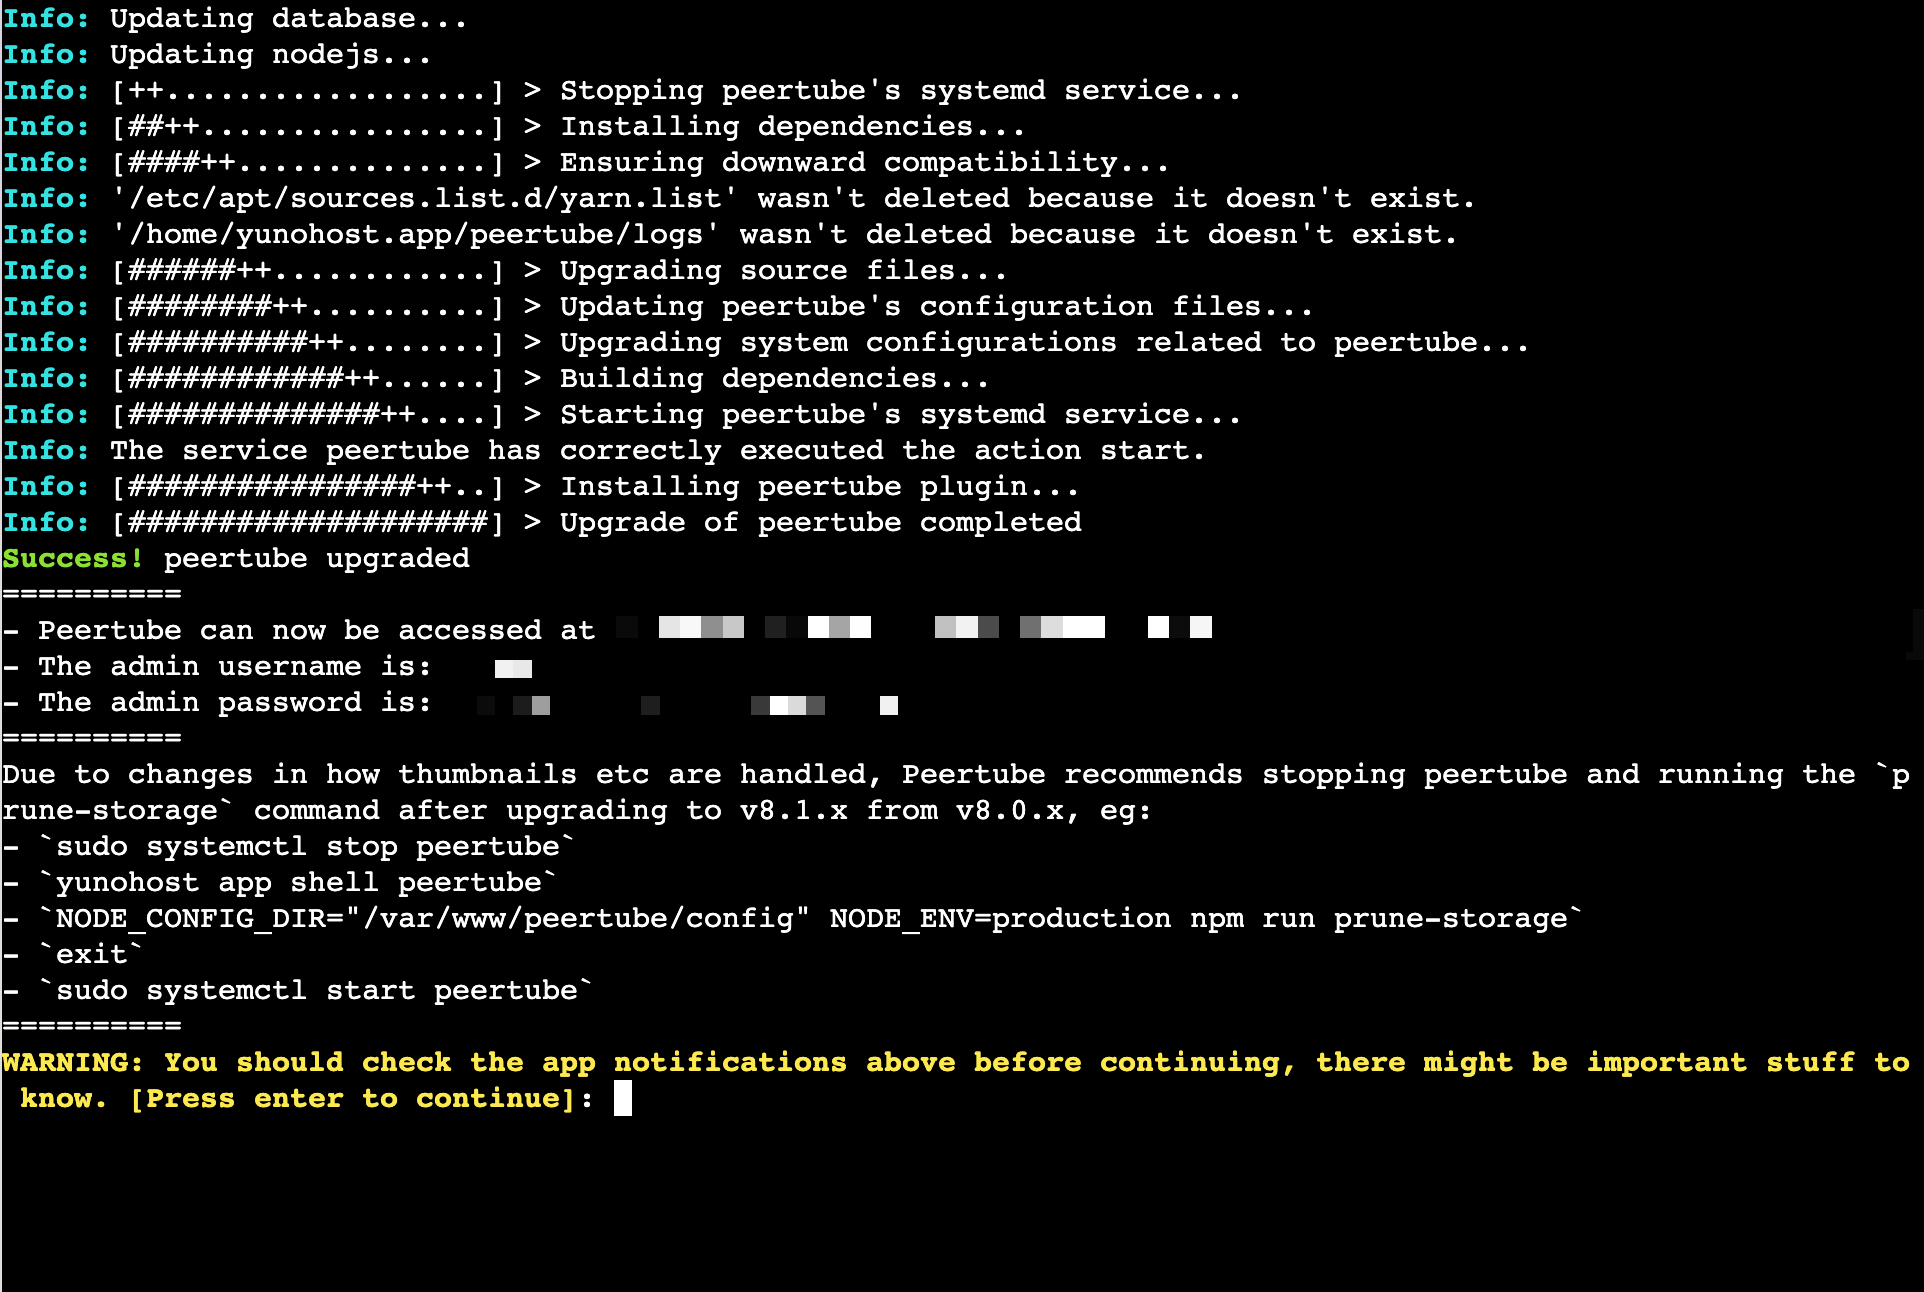
To get out of tmux, simply type the command exit
It's so easy to run YunoHost app upgrades inside terminal that I think this is how I will do things from now on.
Wrapping up
I hope this post showed you how easy it is to upgrade apps installed via YunoHost… and to restore them via VPS Snapshots should things go awry.
If you have any specific questions about YunoHost or run into problems, their Forum is your best place to find a solution:

Happy self-hosting,
Elena

💓 Did you enjoy this post? Share it with a friend!
👫 Follow me on Mastodon. All my other links are available here: elena.social
💌 If you'd like to say hi, my contact information is here