You know how some of your most vivid memories go back to moments when you were scared or you tackled a difficult thing for the first time? Well, I still remember the fear and trepidation I felt when I was about to install and set up my first self-hosted app: the microblogging app GoToSocial. This was back in December 2024 when the world of self-hosting was still novel to me. A year later, empowered by the ease of use of YunoHost and several adventures running commands in Terminal, I am here to tell newbies: welcome to this exciting new adventure! My goal is to guide you and make the process simpler and less stress-inducing.
I ran a poll on Mastodon last fall, asking people which FOSS app I should showcase in my first self-hosting tutorial. NextCloud won by a large margin.
How to describe NextCloud for someone who has never heard of it? It’s a bit of a challenge because NextCloud does so much and has an app store where you can install numerous add-ons to add wonderful functionalities. So, to simplify things, let me share with you how I have personally been using NextCloud: as a replacement for Google Drive, WeTransfer and Dropbox.
In June of last year I set up a NextCloud server in order to make it easier to share alternate cuts of my Fedi intro video and to allow people to download screenshots and foreign language subtitles:
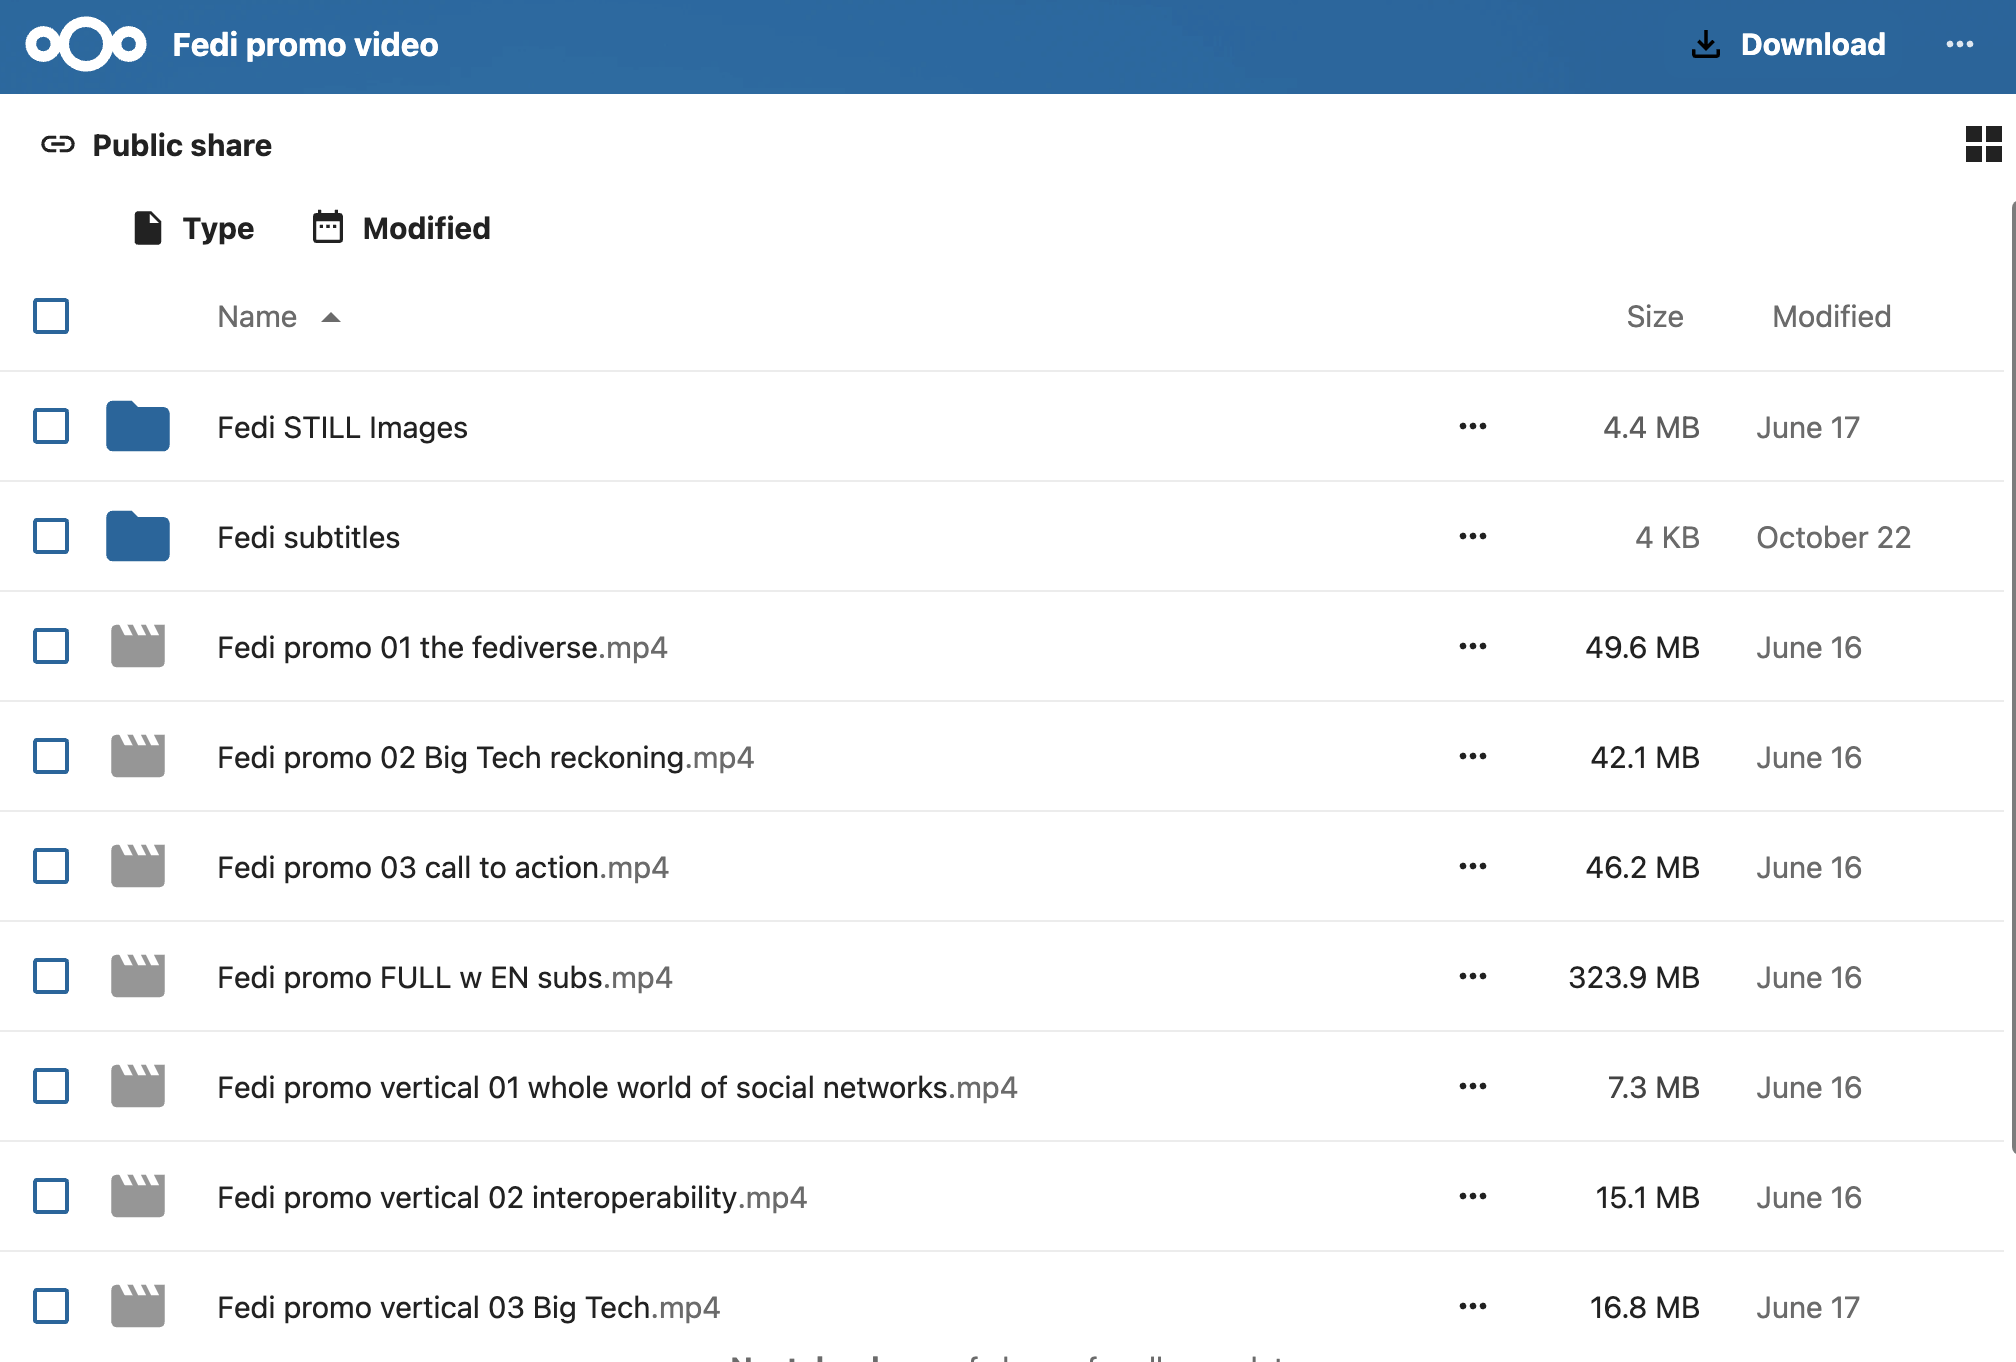
Typically I would have used Dropbox for something like this, but I quit Dropbox in early November 2024 when I began my personal journey of independence from U.S. based Big Tech platforms. NextCloud became a natural replacement for Big Tech services I had relied on. And it has worked wonderfully.
Now, if you are just starting with your self-hosting adventures, I would not recommend using your brand new personal NextCloud to store sensitive documents or things for which you do not have a backup. But it’s a good starting place for a journey to tech independence. If in your job or daily life you collaborate with others and need a place to store and share files quickly and easily, then NextCloud is for you. I’d love to show you how you can set it up.
If you followed my previous tutorials (part 1, part 2) and you have a VPS with YunoHost installed and a domain name associated to it, then you’re ready go get started. Otherwise I would recommend you follow the steps in my previous tutorial ("A newbie's guide to self-hosting with YunoHost. Part 2: installation & setup"); from start to finish the process should take about 30 minutes.
Ready to install NextCloud?
Preparation: some good housekeeping practices first
One of the most important lessons I learned in my first year of self-hosting is that you can never be too careful with backups. Before running any operations that may go wrong, it's always a good idea to take a snapshot of your VPS: this will record the state of the VPS as it is and allow you to go back to it, restoring it, in case anything goes awry.
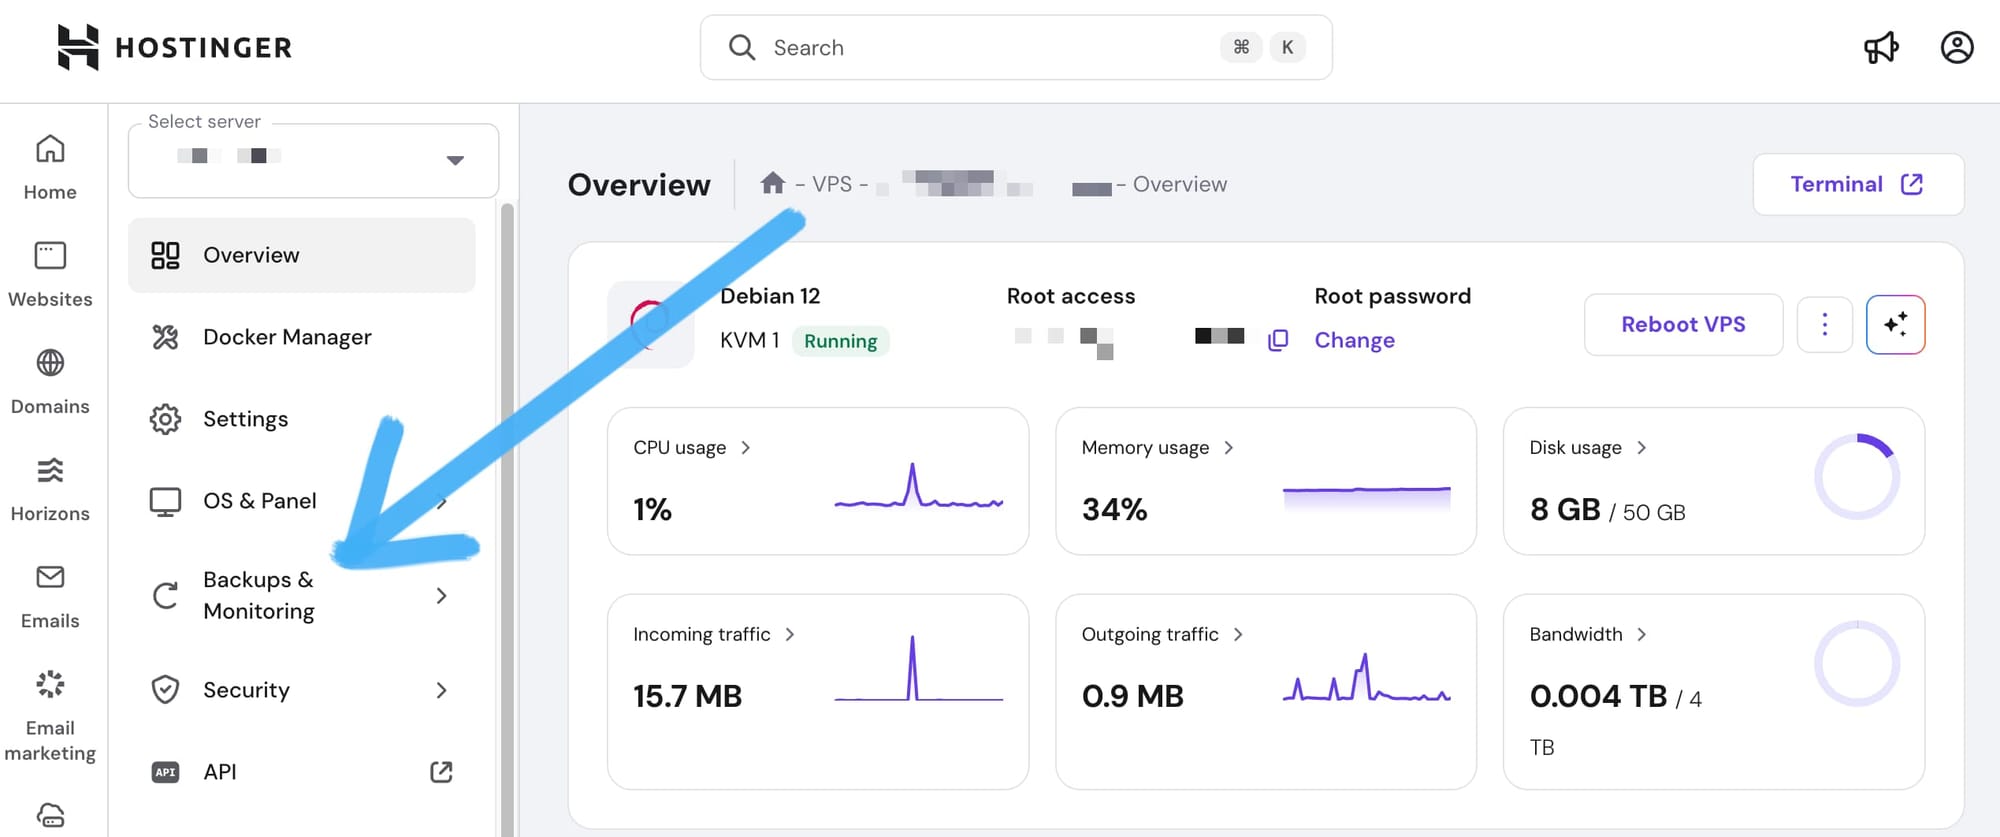
Before I install or update any apps, I typically log into my VPS dashboard on Hostinger, click on VPS, select my VPS running YunoHost, and click on the button "Manage." This opens up the dashboard for my VPS. On the left, there is a menu with various options... select "backups and monitoring" and then "snapshots & backups."
Scroll down the page, past "auto backups", until you see "Snapshot".
Click on the button that reads "New snapshot" - this will make a copy of your entire VPS and keep it here in case you want to revert back to it:
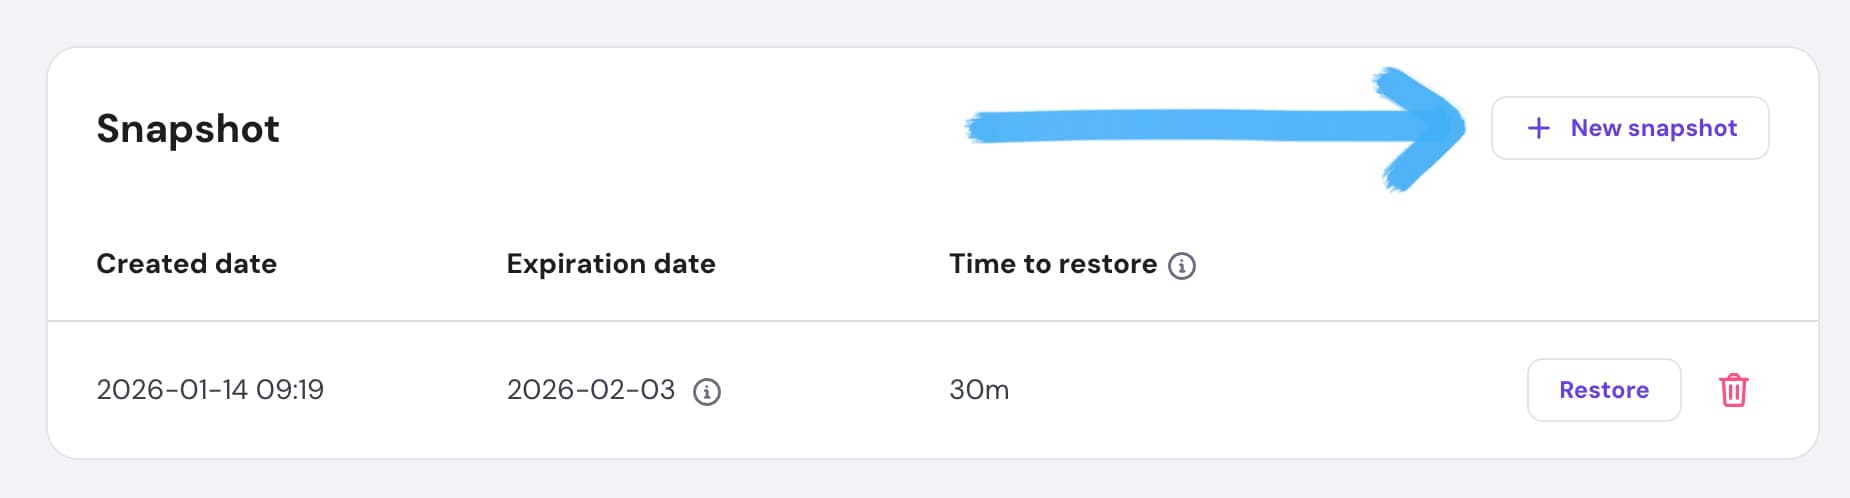
Better safe than sorry. Honestly the few times I messed up in my self-hosting adventures I was either happy I took a snapshot... or smacked my forehead and lamented my stupidity for forgetting to do so.
Moving on...
Step 1: log in and add a subdomain
⏳ Estimated time: 5 minutes
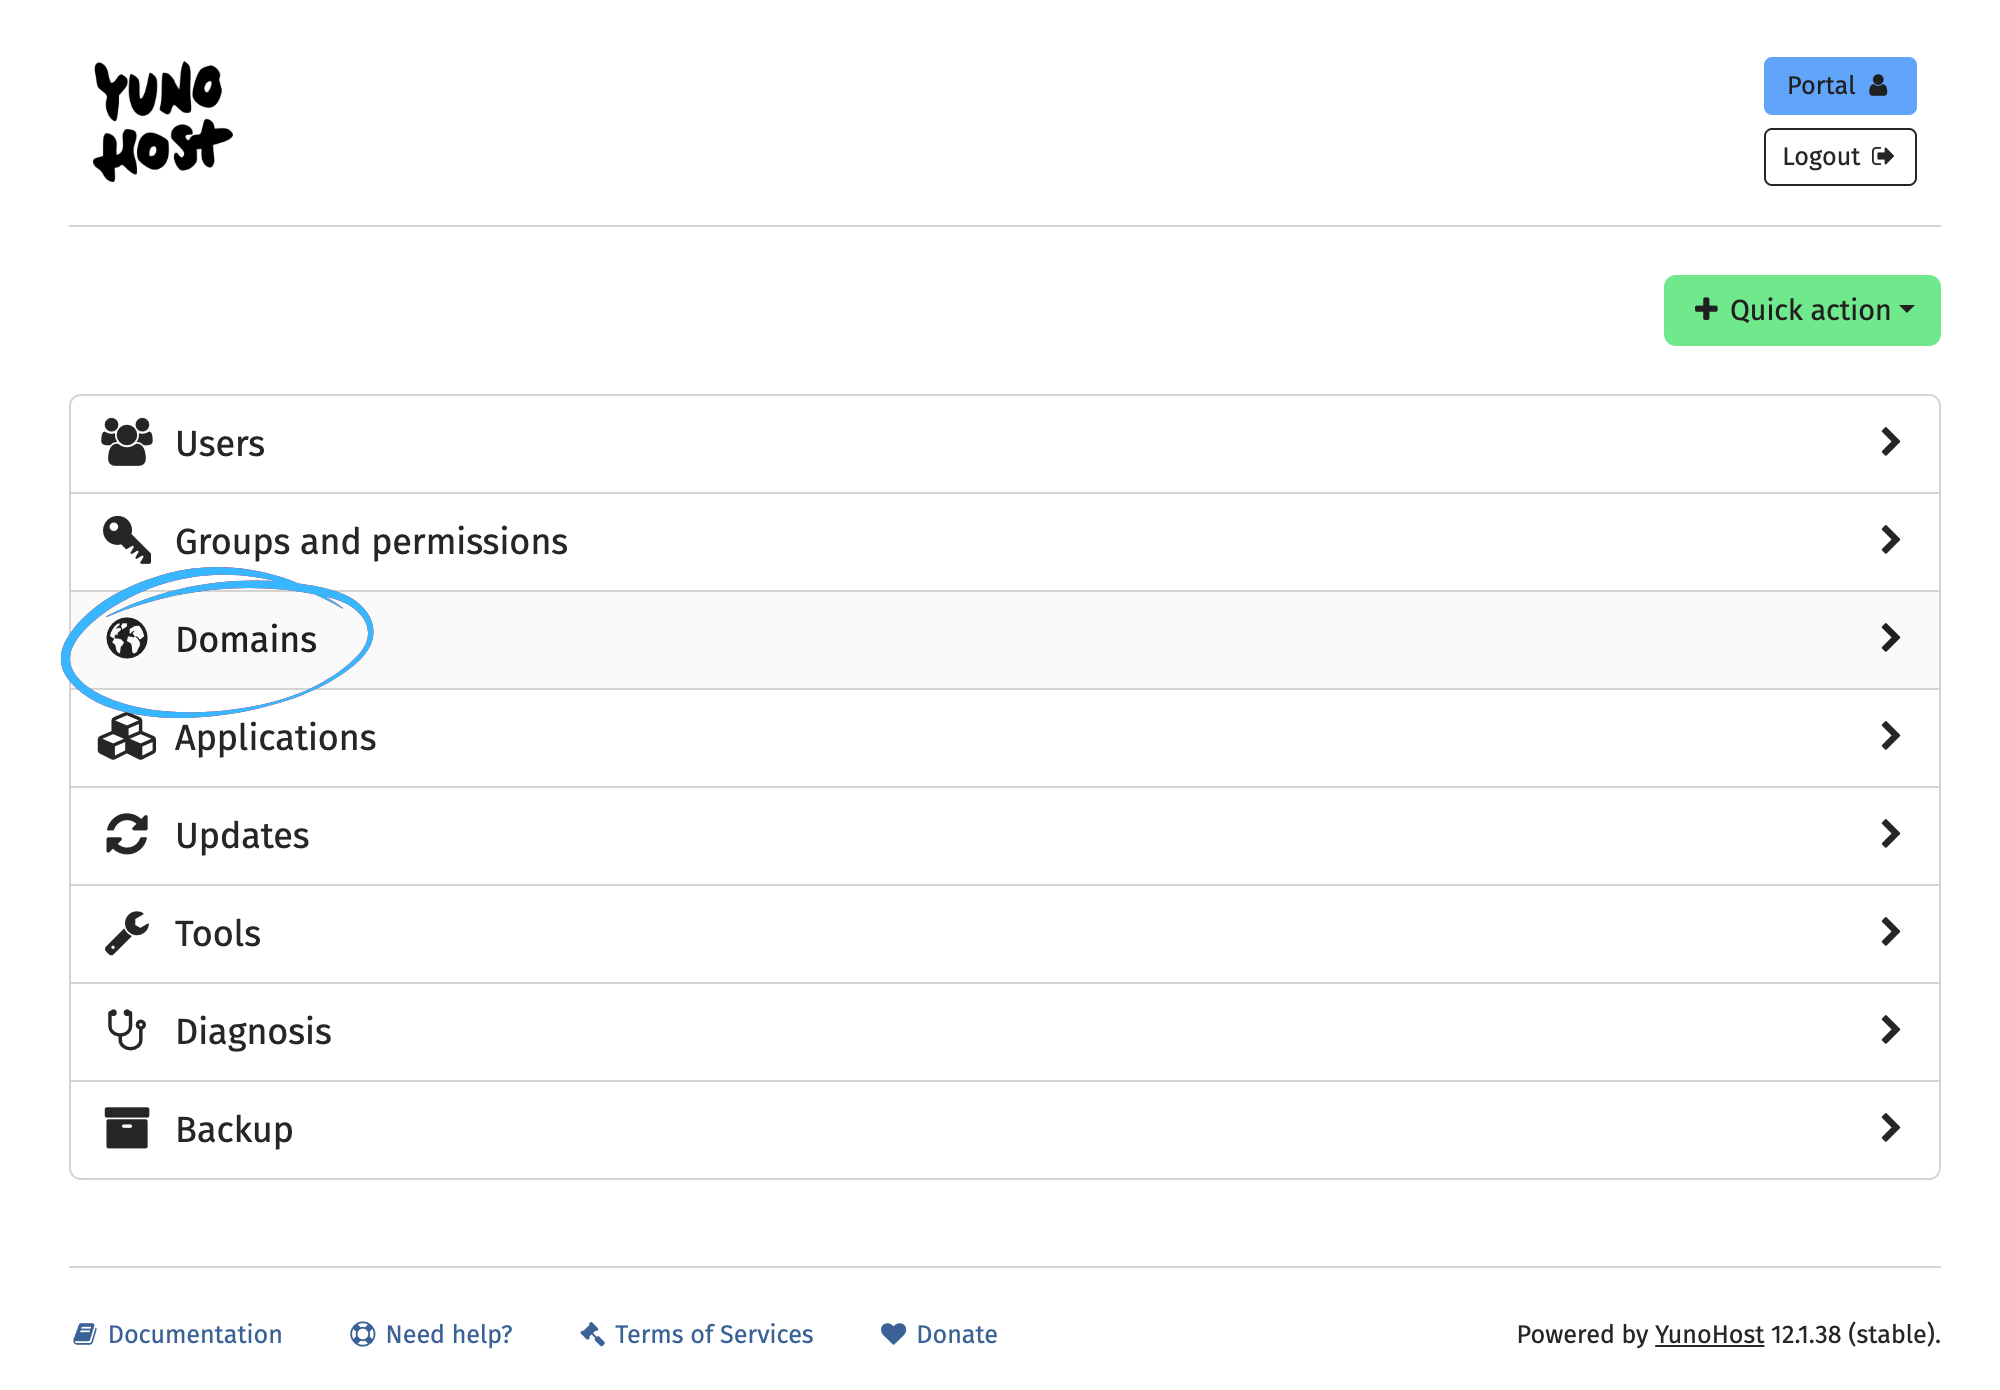
Log onto your YunoHost server and from the dashboard click on "Domains":
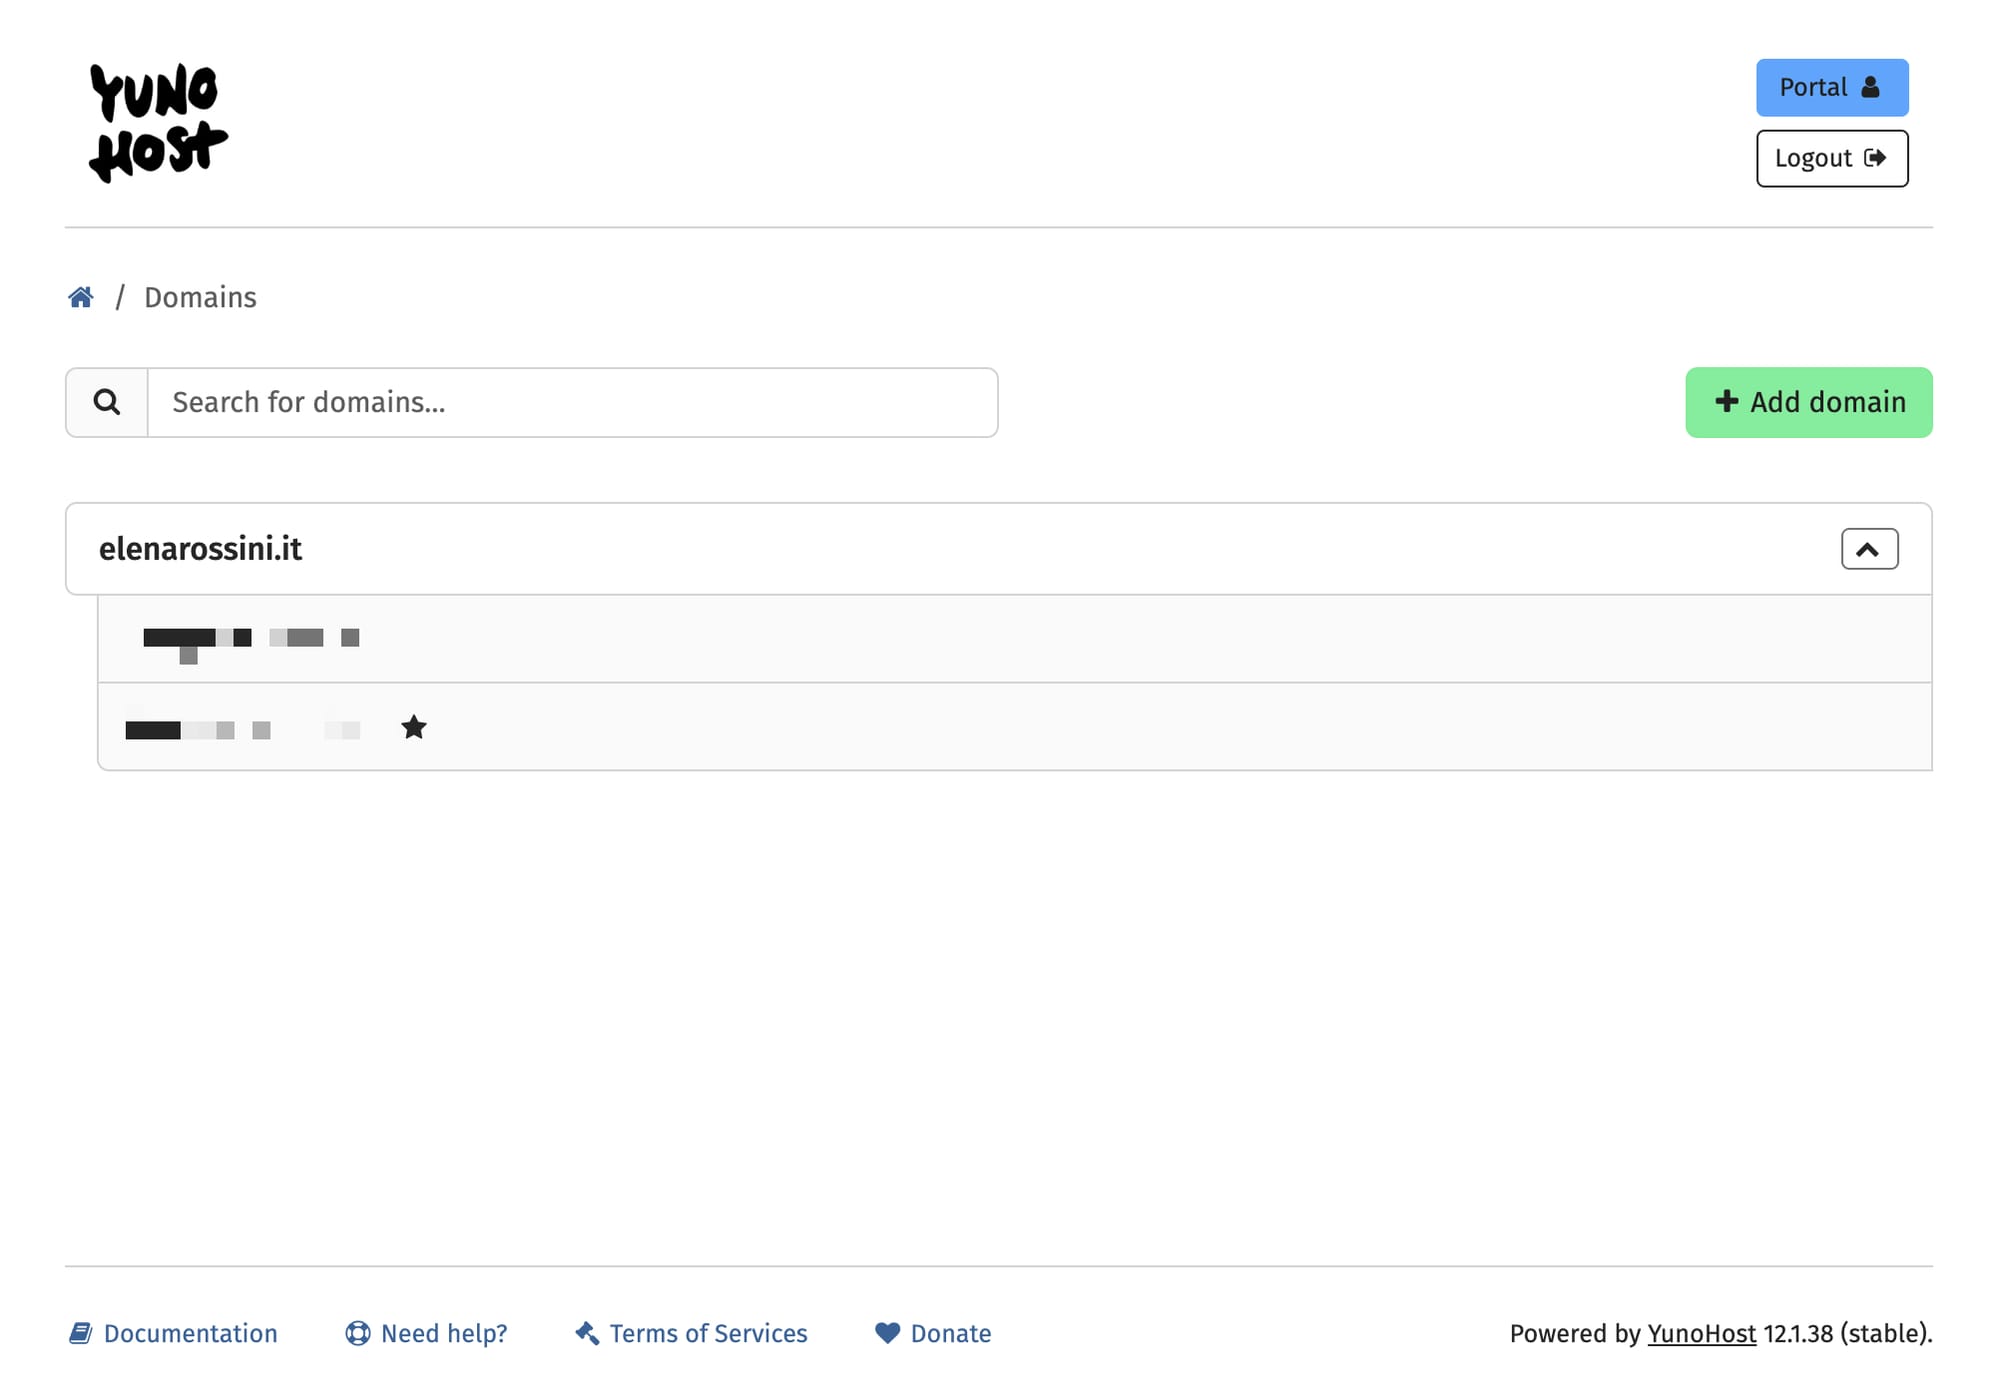
On the "Domains" page, click on the green button "Add domain":
Then check the option "I want to add a subdomain of an already added domain" (again, here I am assuming you followed all the steps in my previous tutorial and you have a main domain associated to your YunoHost installation):
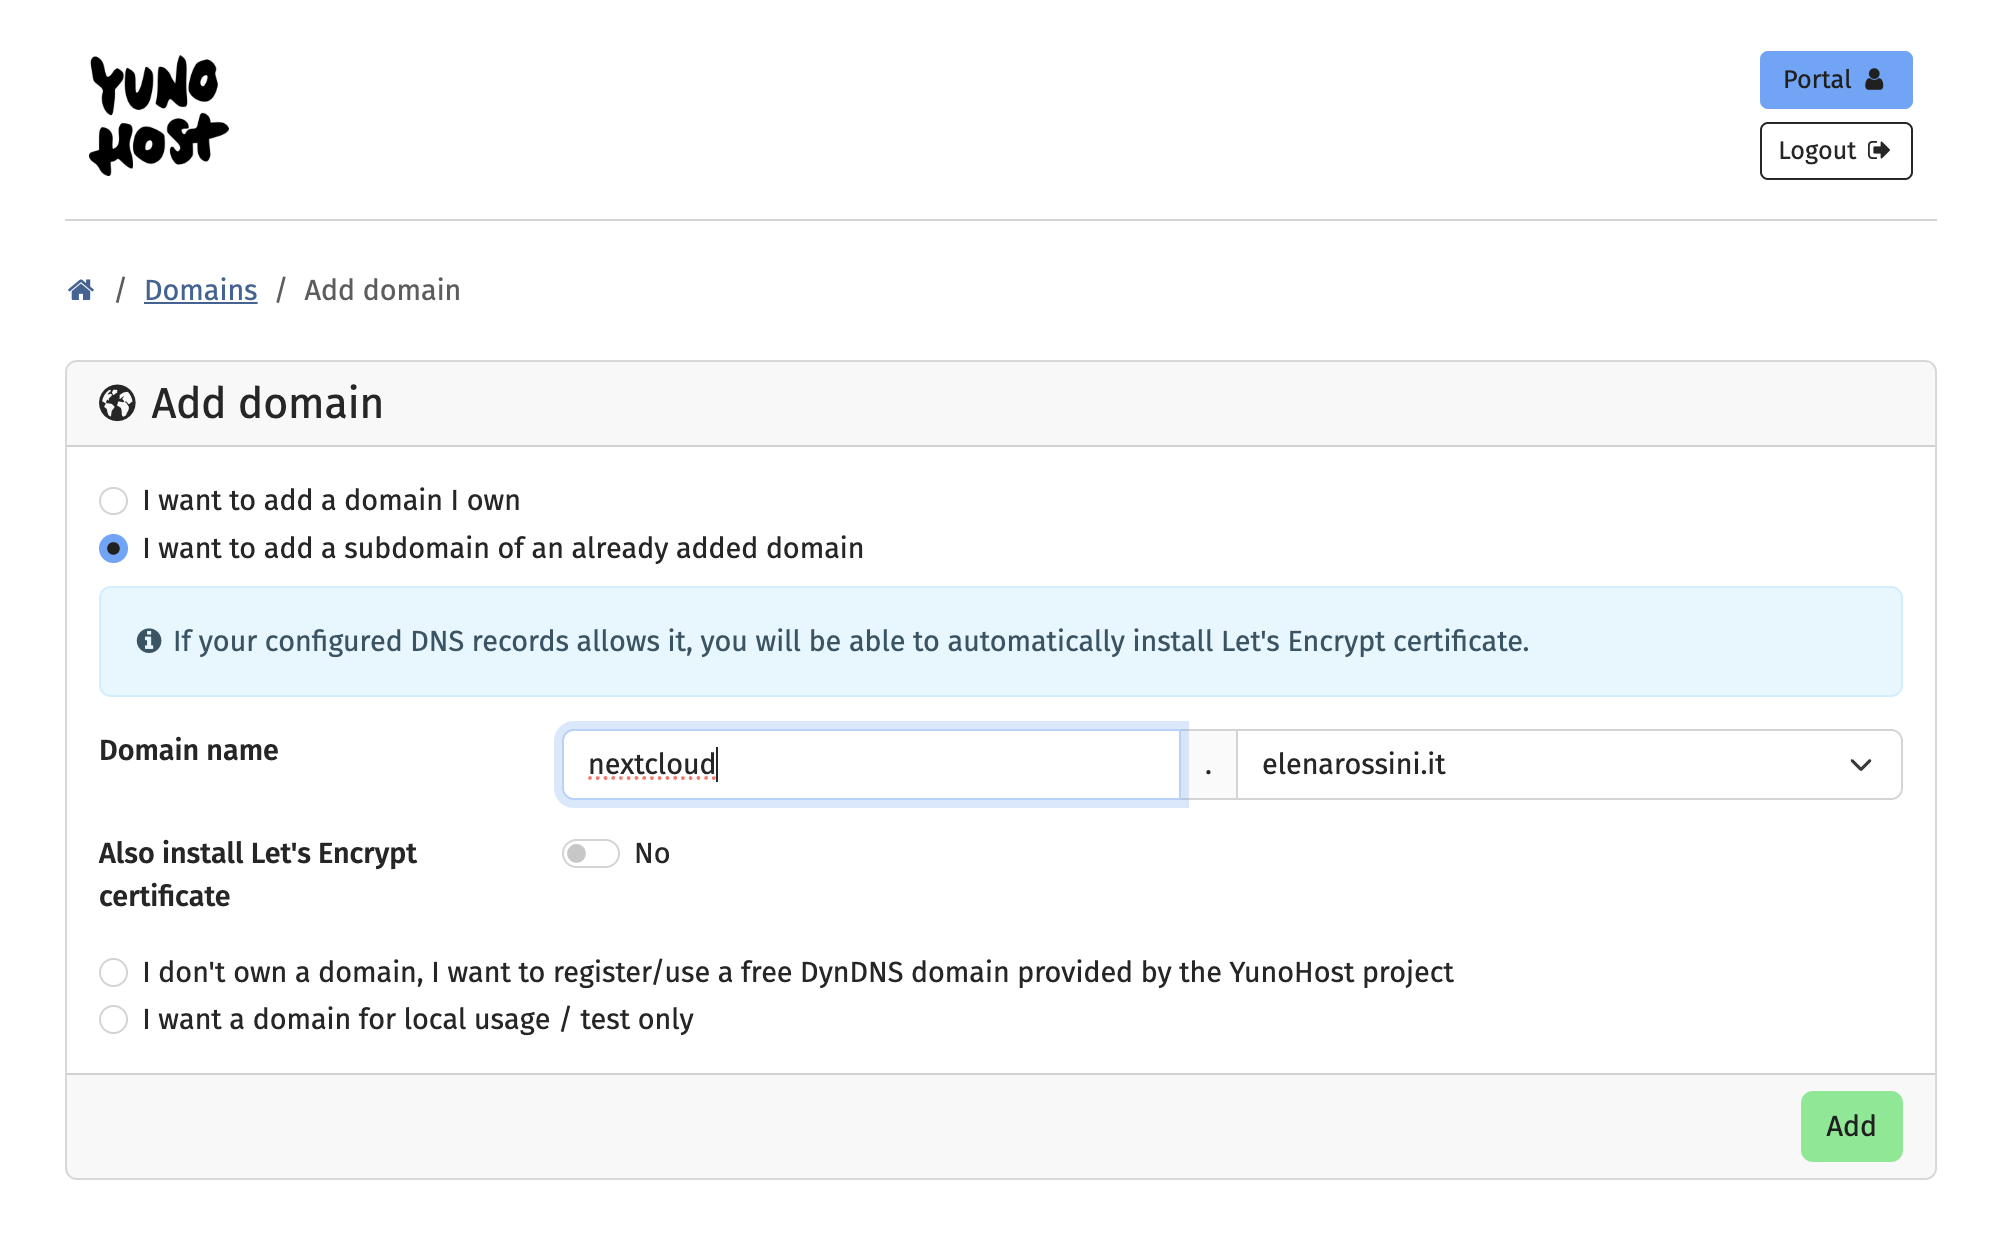
You can call this whatever you'd like: nextcloud, drive, cloud, docs, nc - it doesn't really matter. Then click on the green button "Add."
When you do that, YunoHost will start its magic and take care of things:
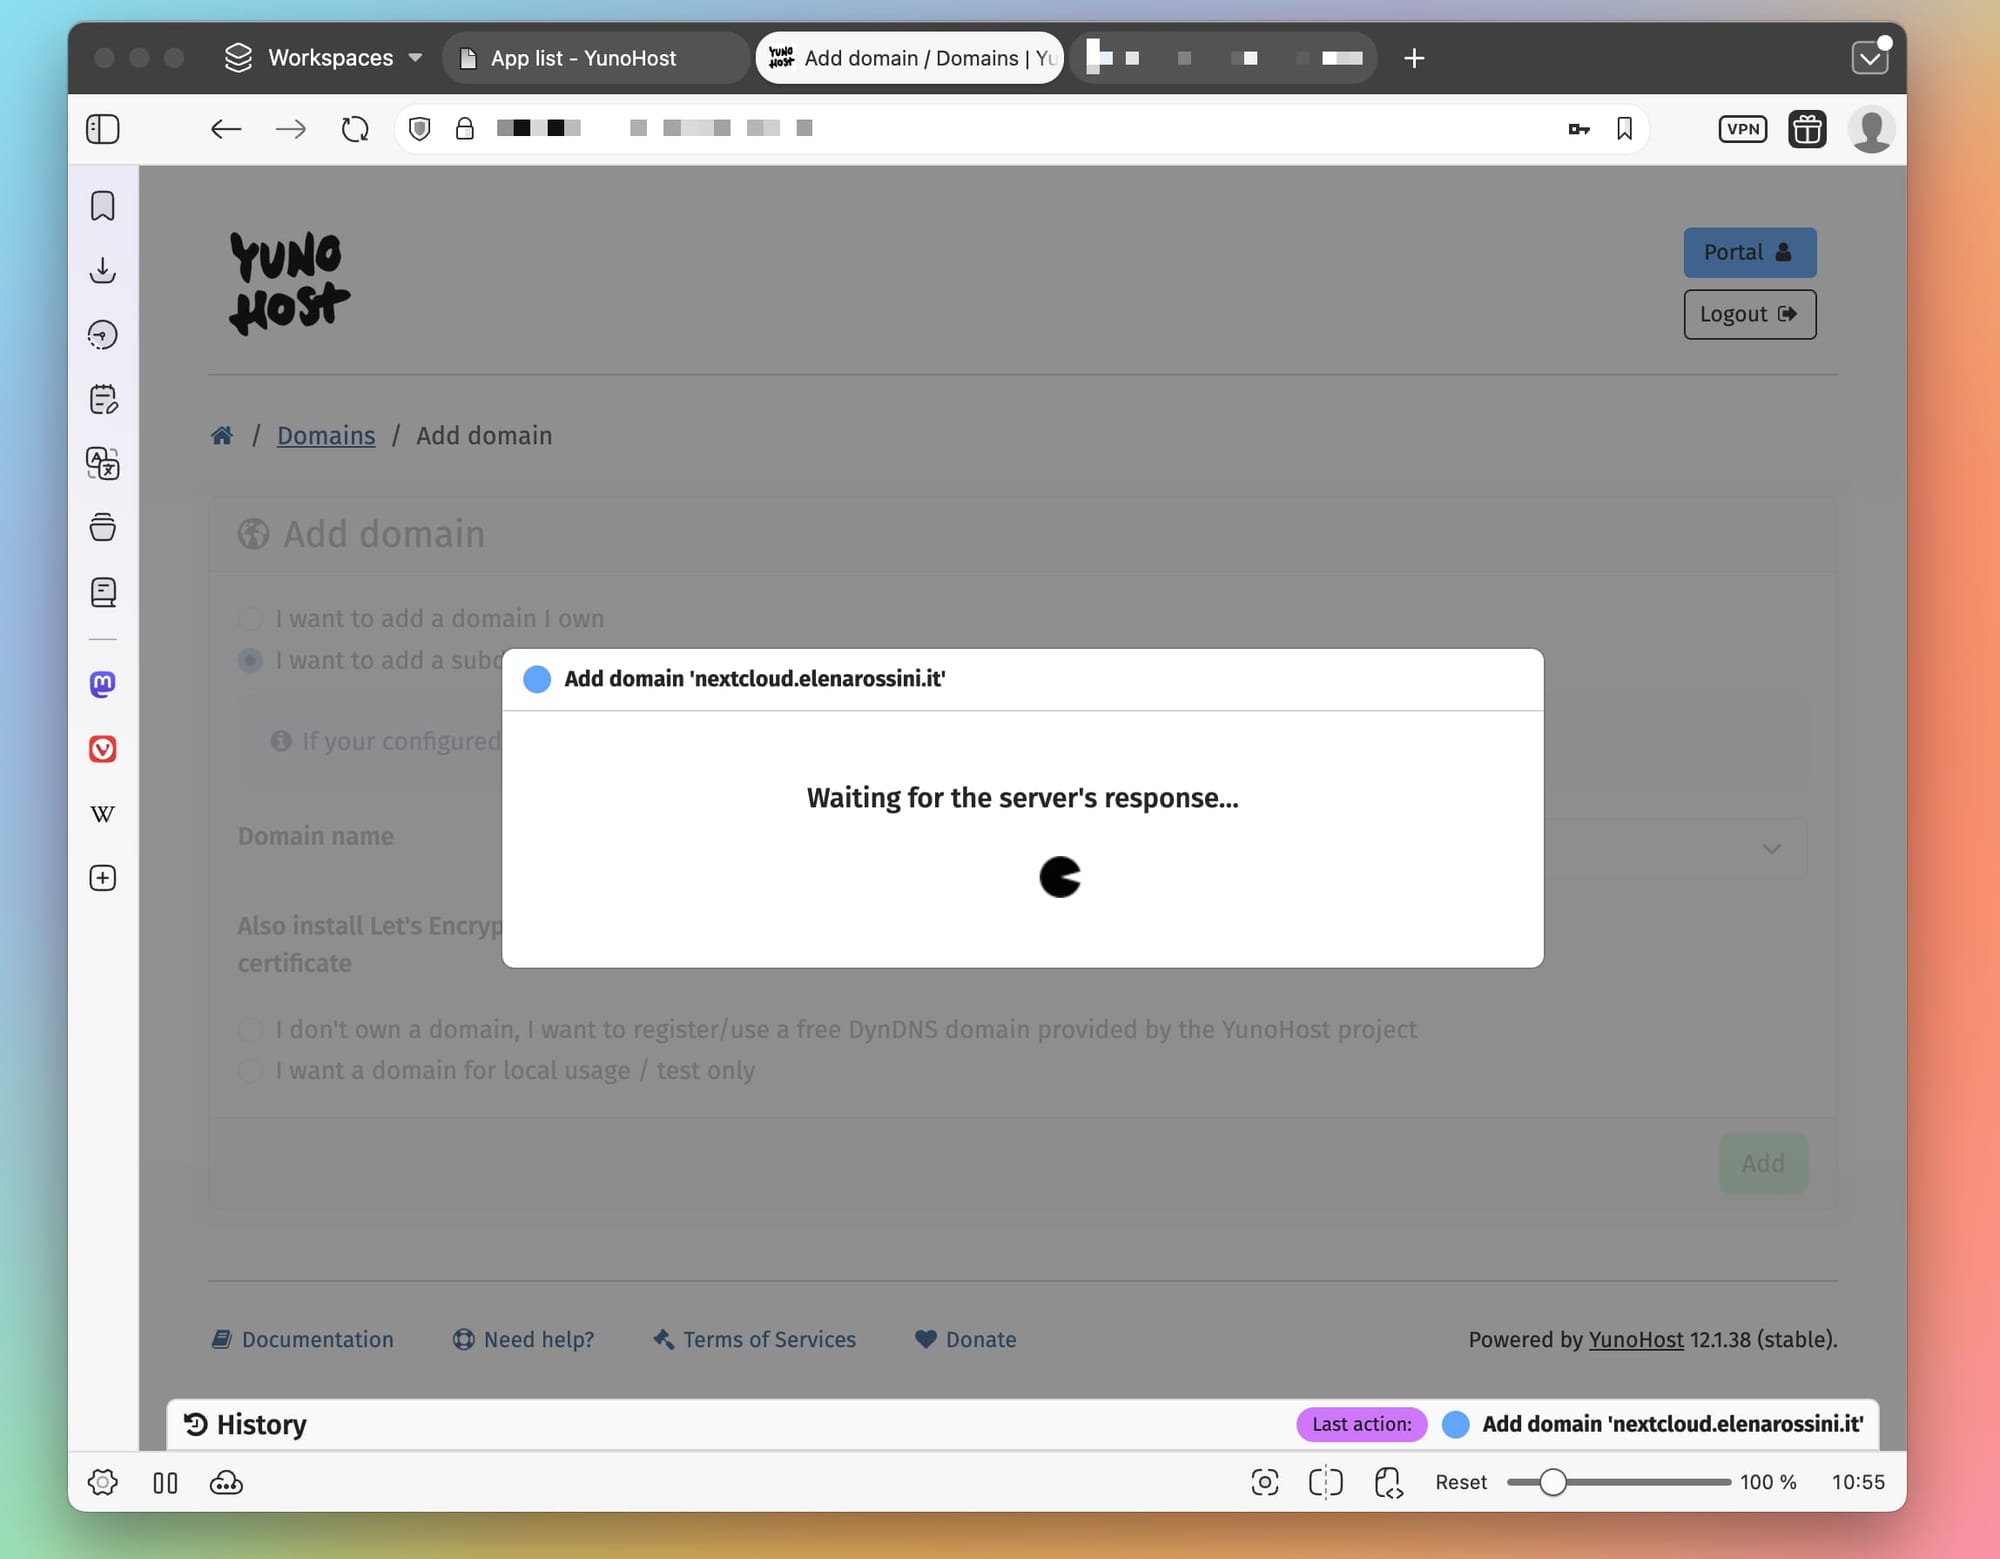
The process may take a while. It's typical to see this on screen:
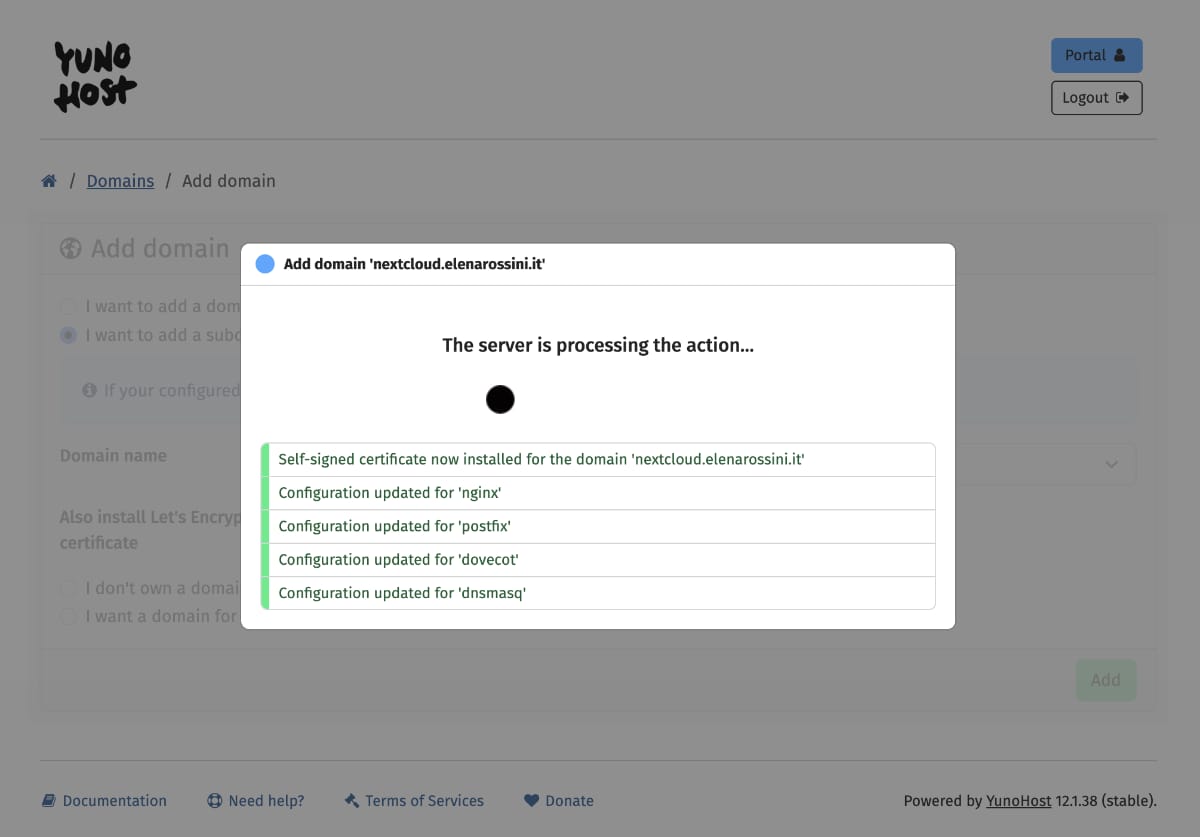
When the process completes, your new subdomain - which you will use for NextCloud - should appear in your "Domains" list.
Click on it and then when you are on the subdomain's page click on "DNS":
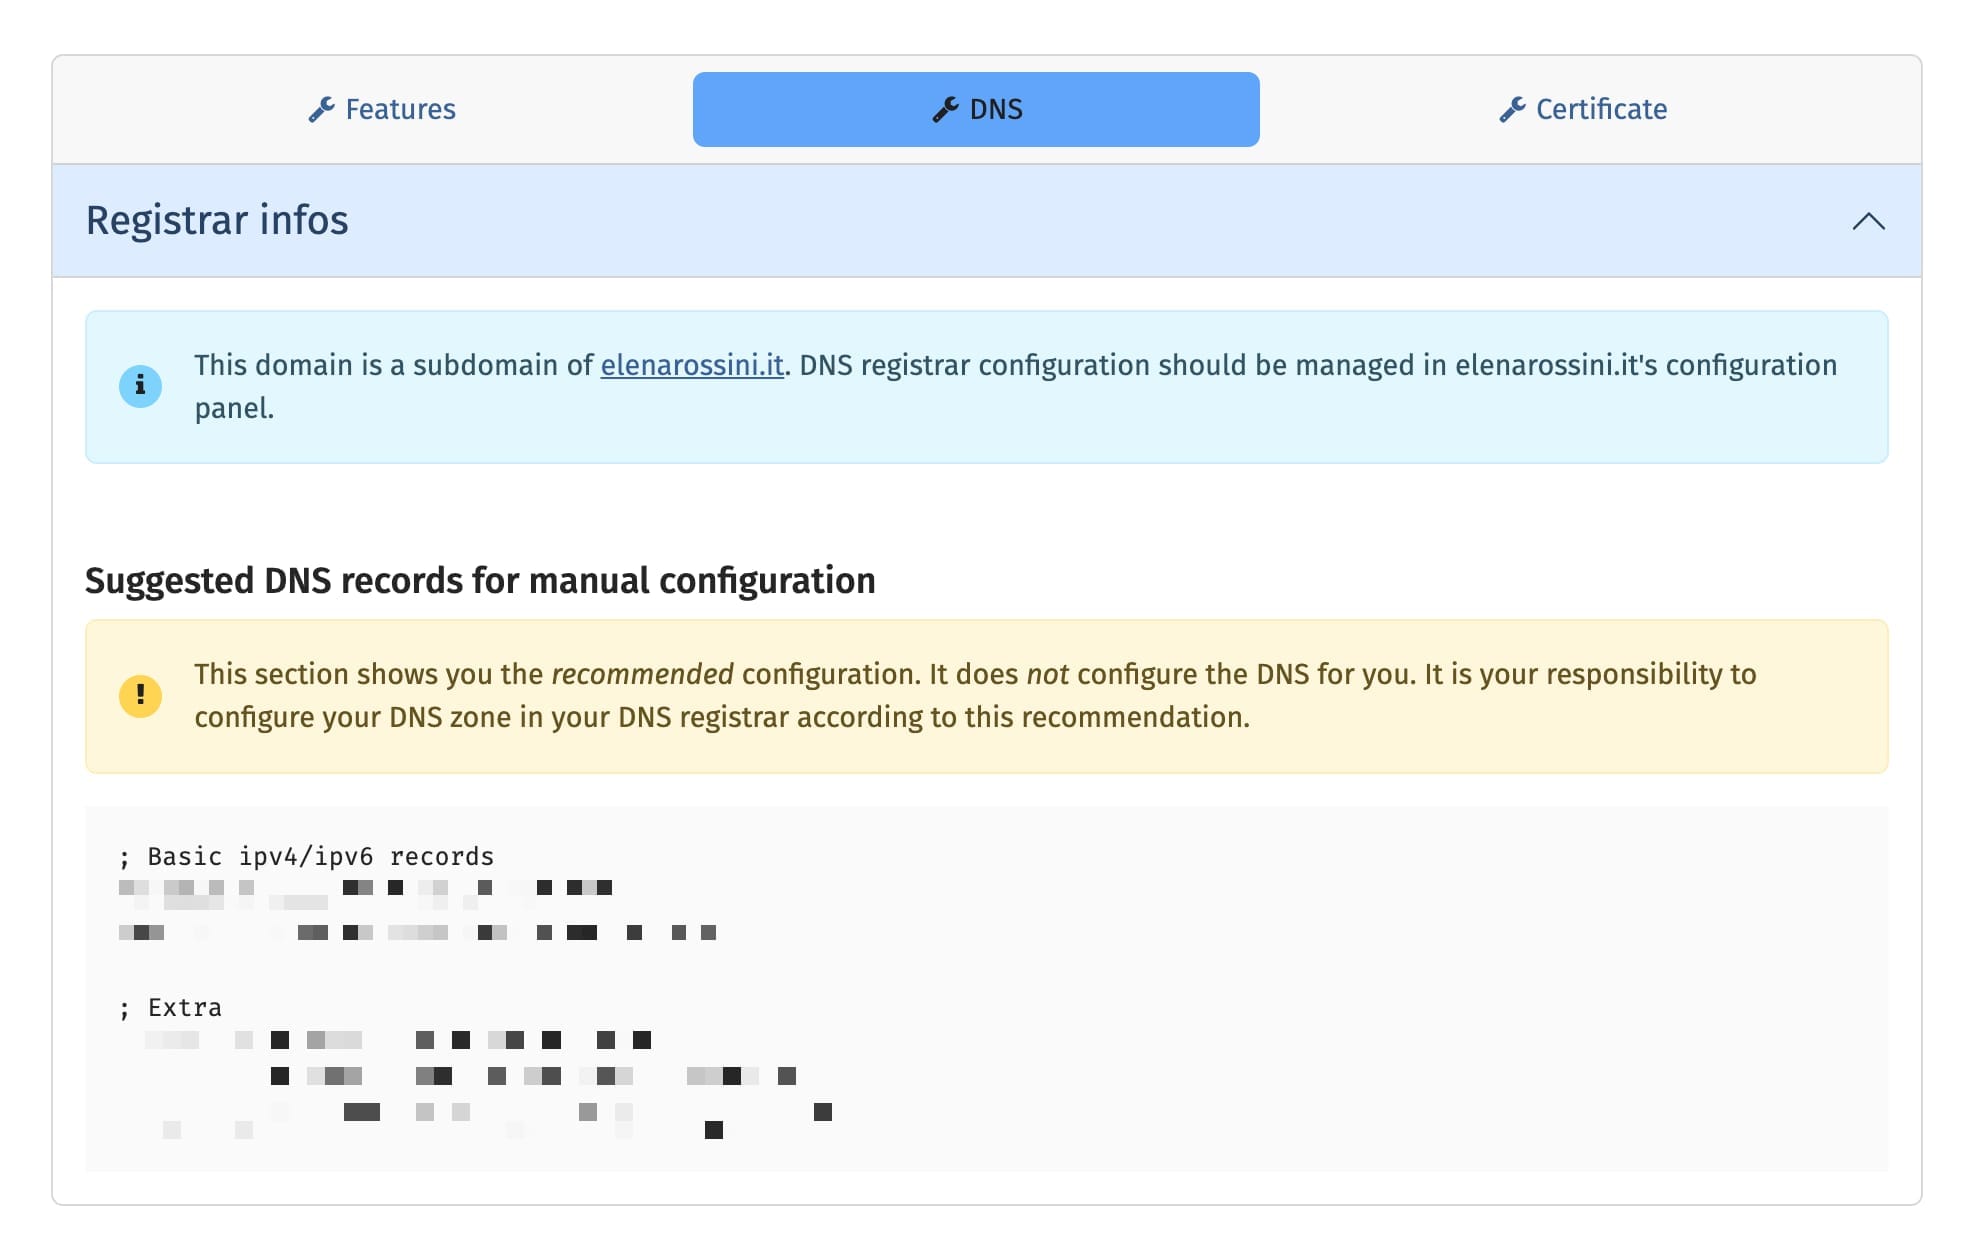
I have email sending and reception turned off; I simply add:
- A
- AAAA
- CAA
records for that subdomain (CAA is the SSL certificate). Just log onto your domain name registrar, go to the "Manage DNS" page and add the records according to YunoHost's instructions.
Once you've added the CAA record, go back to the YunoHost page for your subdomain and click on "Certificate." Then proceed to ignore diagnostics checks and click on the button to install the Let's Encrypt certificate. Within a few seconds, you should see a green line with a thumbs up and the confirmation message that you're now using a valid Let's Encrypt certificate.
Great! Now you have a subdomain ready for the installation of a YunoHost app.
Step 2: install NextCloud
⏳ Estimated time: 5-10 minutes*
And now we get to the exciting part: installing our first app with YunoHost!
Please do not be intimidated by the "estimated time: 5-10 minutes" because all you have to do is click on a couple of buttons, sit back, and let YunoHost do the heavy lifting in the background. So a more accurate estimate for the time it would take YOU dear newbie to install an app is... less than a minute.
From your server's Dashboard go to "Applications" and click on the green button "Install an app".
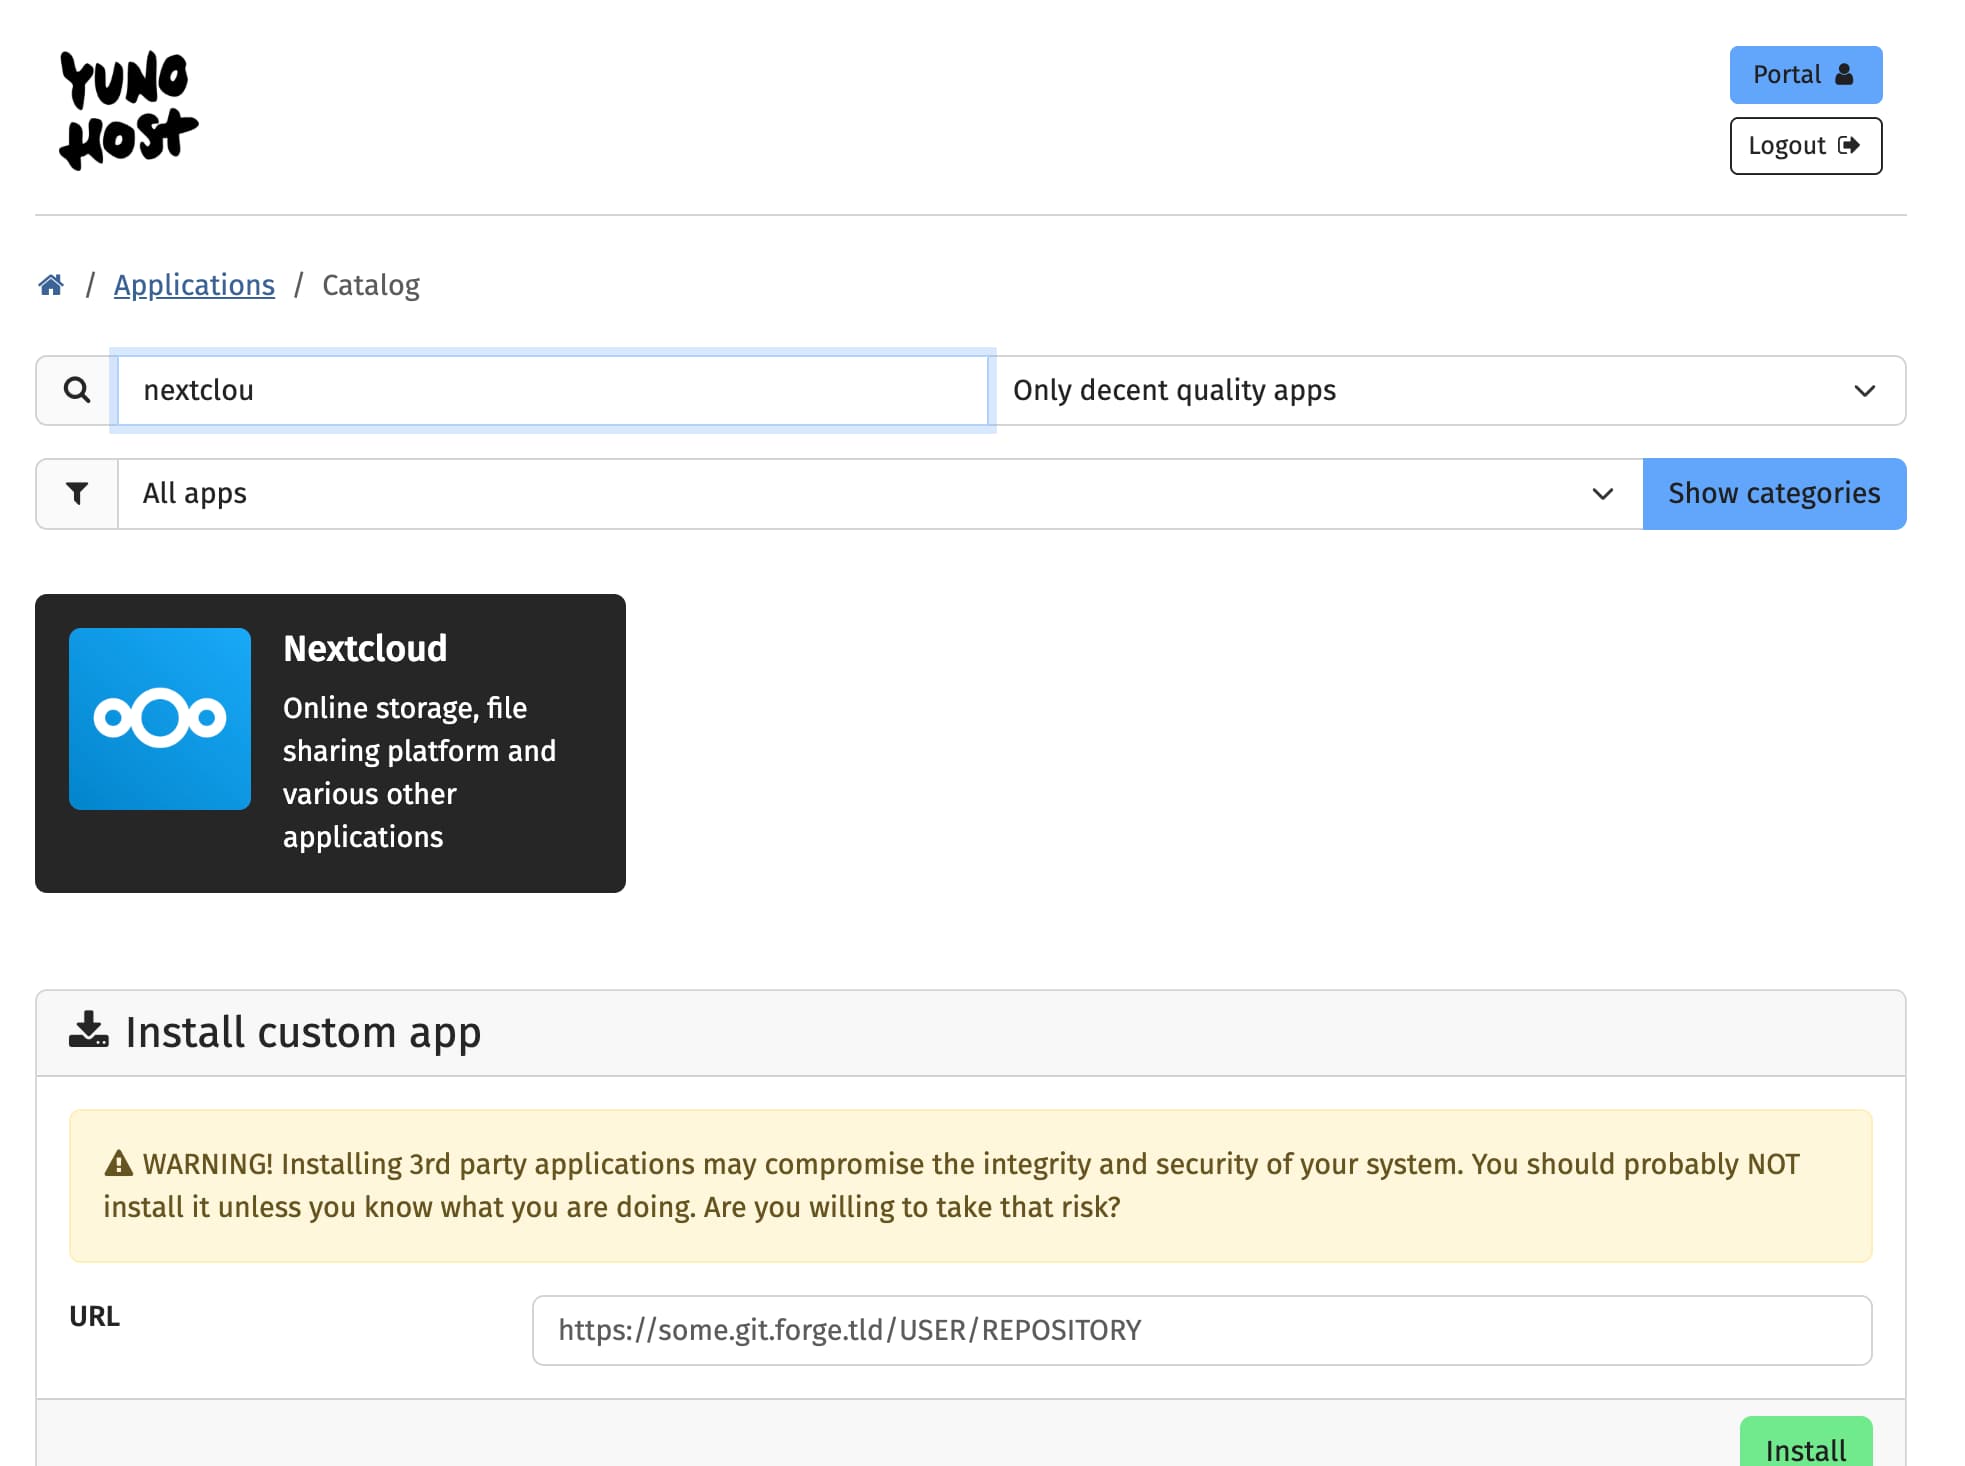
You'll be directed to YunoHost's app catalog:

In the search bar at the top (there's a greyed out box with the message "search for apps") type "Nextcloud" and then click on it.
You're now getting ready to install NextCloud on your VPS. All you have to do is adjust a few more settings:
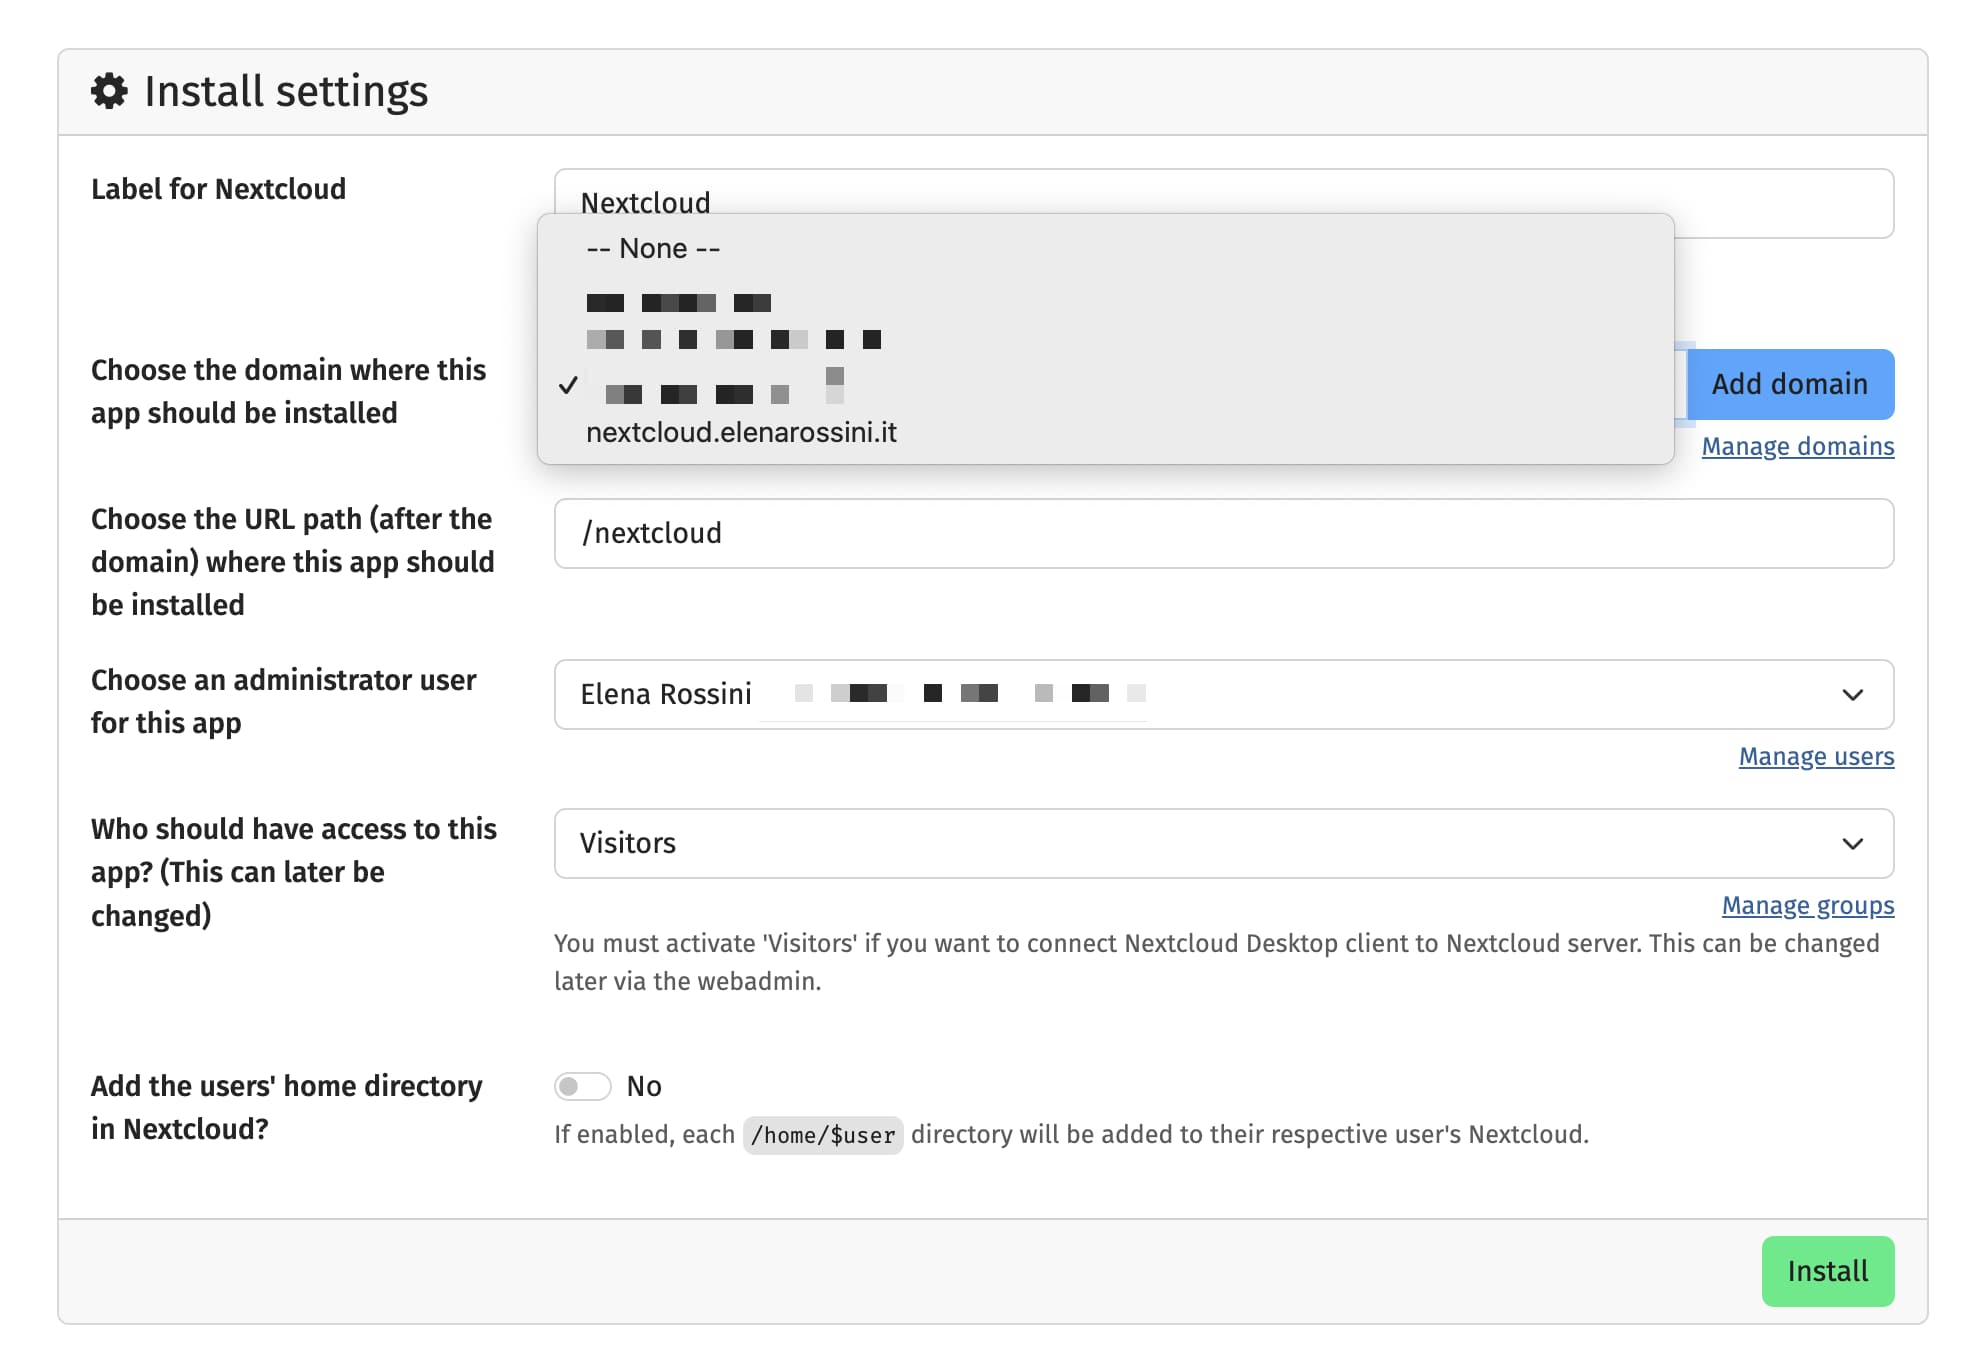
Choose the domain where this app should be installed:
Important: select the subdomain you just set up for NextCloud in step 1. Do NOT put it on the domain you use to log onto your YunoHost.
Choose the URL path where the app should be installed:
Totally up to you; you're free to keep "nextcloud" or name the directory whatever you wish.
Choose an administrator user for this app:
Nothing to change here, it's your YunoHost admin account.
Who should have access to this app?
I change access privileges from "Visitors" to "Admin" - but you can still share files from your NextCloud with the instance set up like this.
Add the users' home directory in Nextcloud?
Just keep "no" here for now.
And you're ready. All you have to do now is click on the green button "Install" and let YunoHost do its magic.
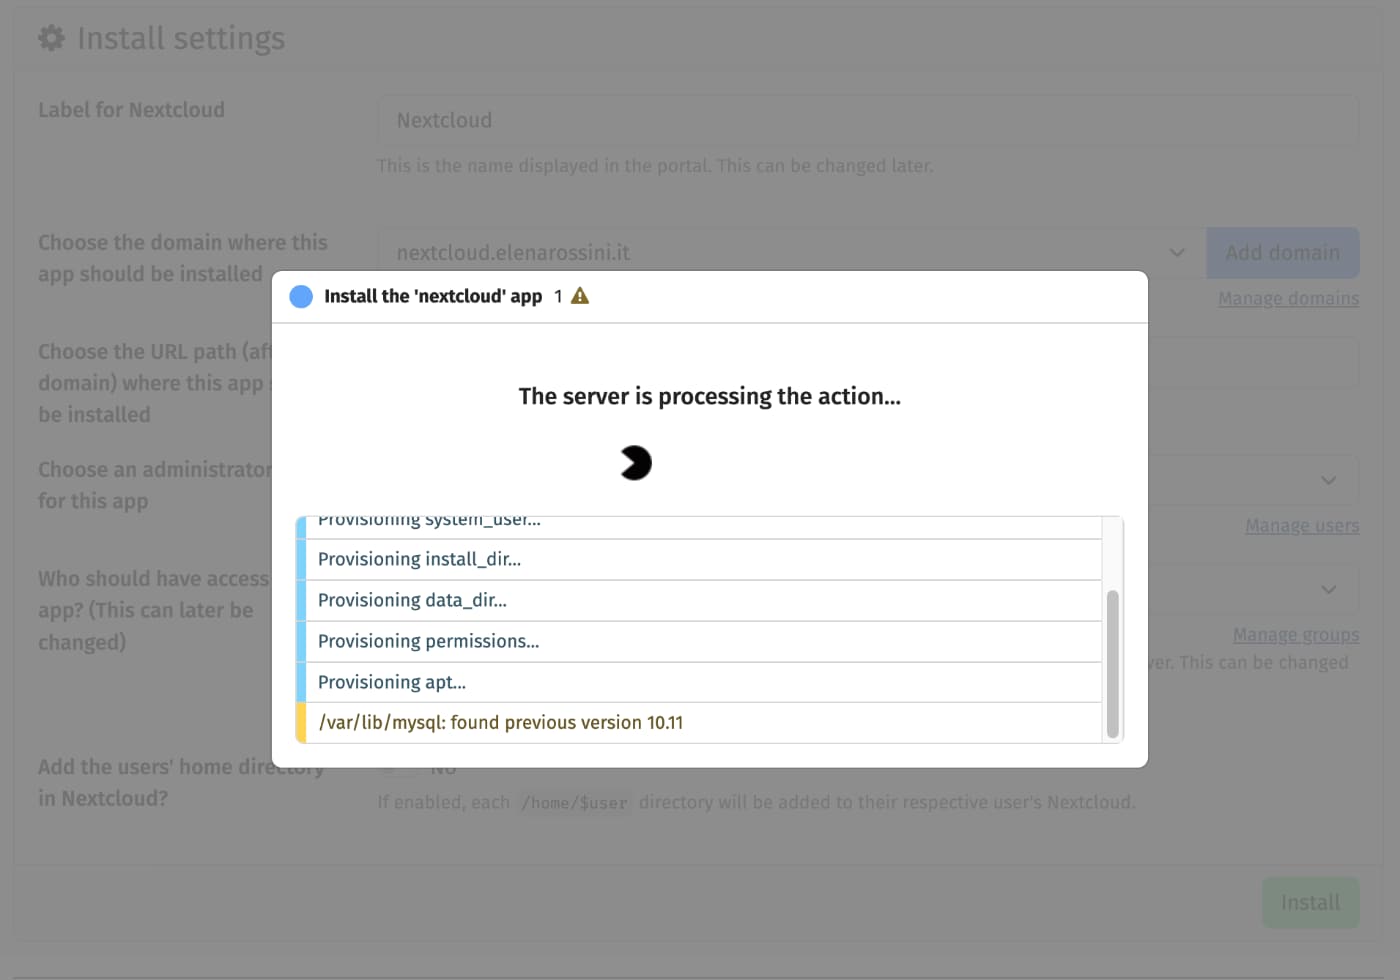
It's typical for the process to take anywhere from 5 to 10 minutes. Just sit back, relax and don't press any keys.
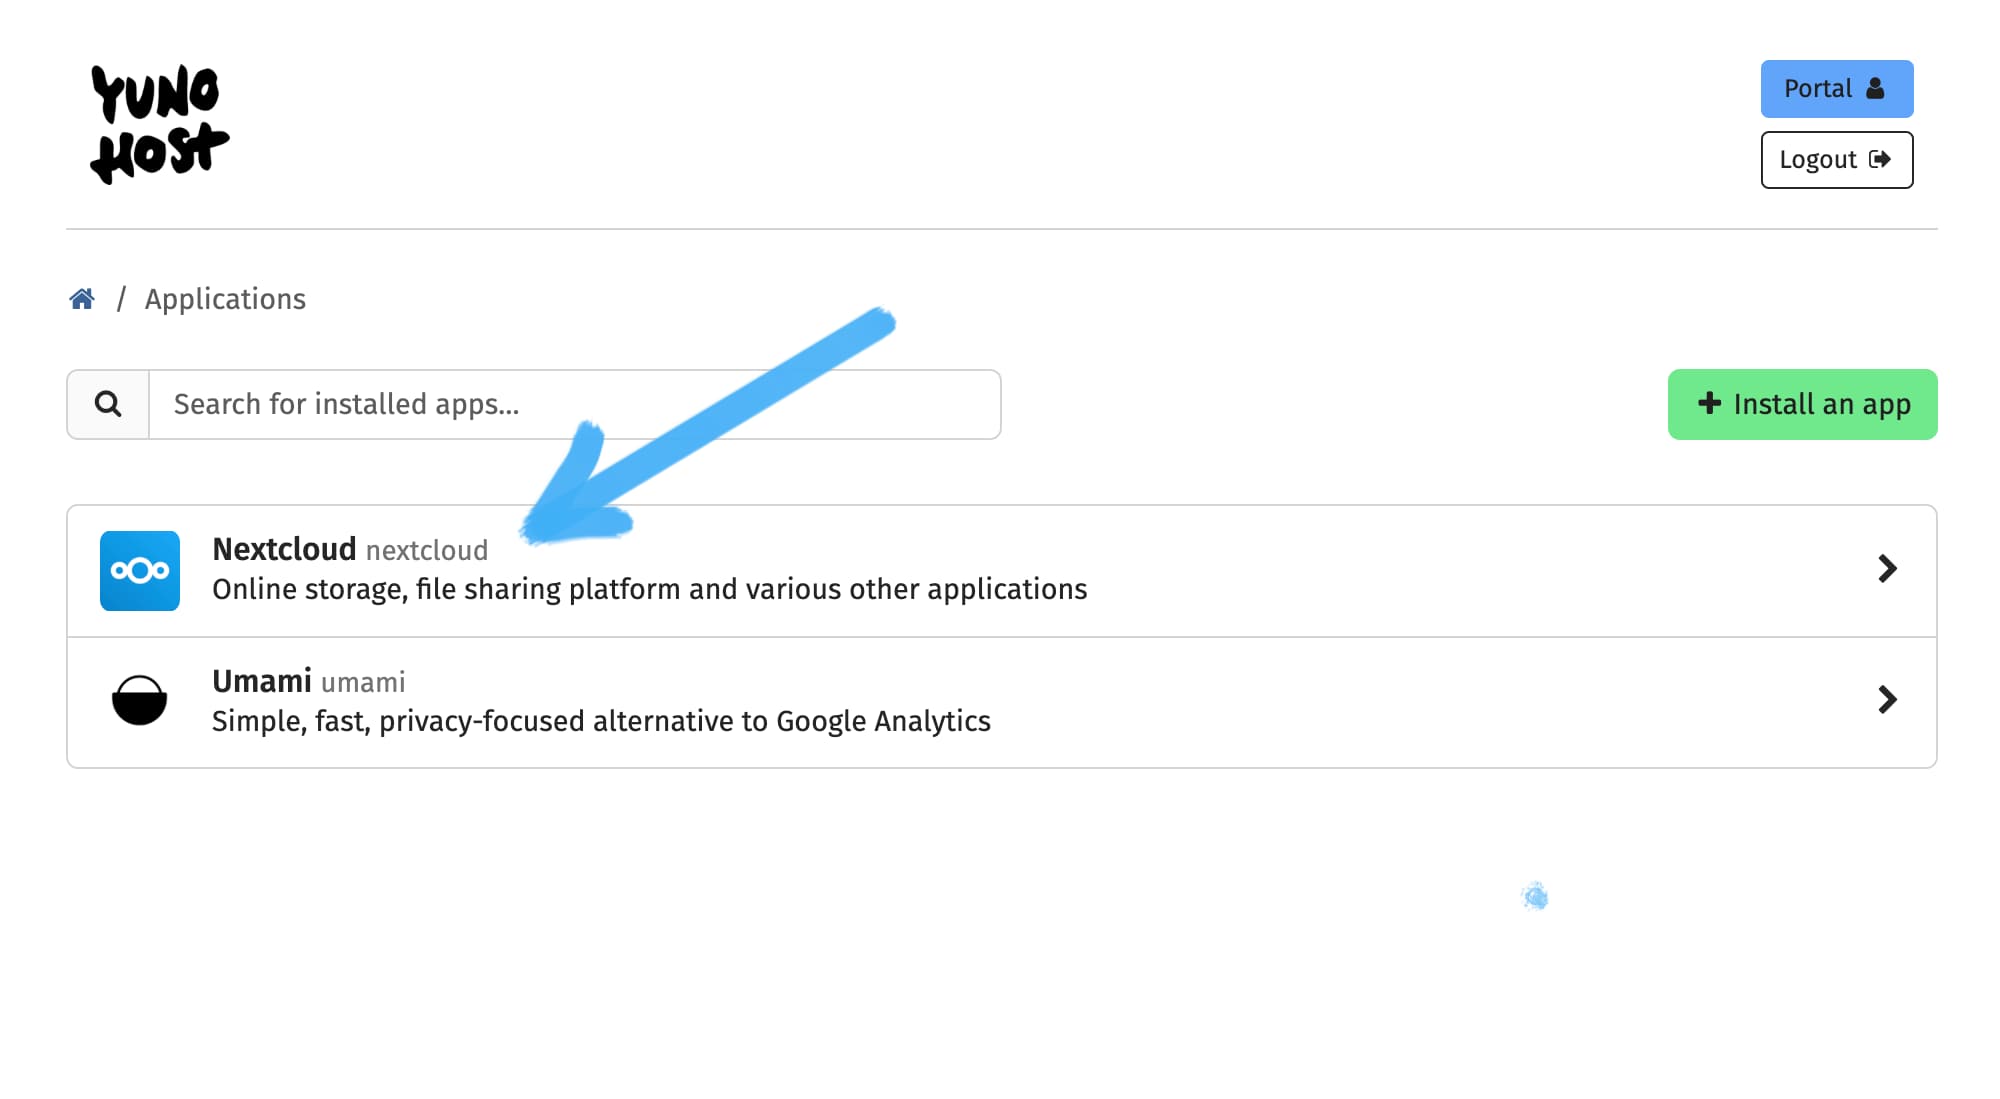
After NextCloud is successfully installed on your server, it will automatically appear here in your Applications list.
Step 3: set up your NextCloud
Congratulations! You just installed your first self-hosted app! Now let's dive in.
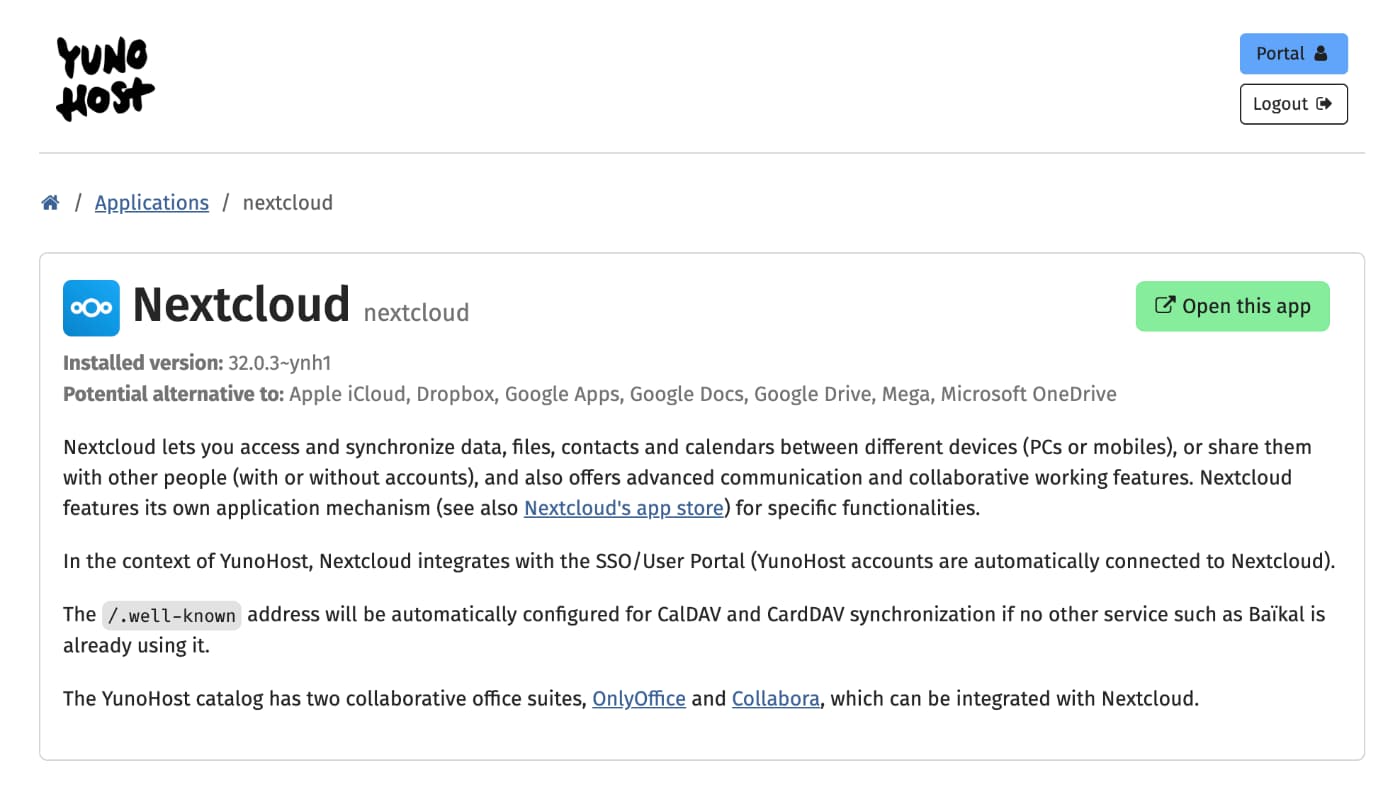
Click on NextCloud in the Applications page. You will be directed to the settings page, which tells you which version of NextCloud you are running and lets you adjust various parameters. No more tweaking for now: all you have to do is click on the green button at the top of the page that reads "Open this app":
NextCloud then offers you a quick orientation to show some of its latest features. You can skip through the steps or watch the videos - up to you:
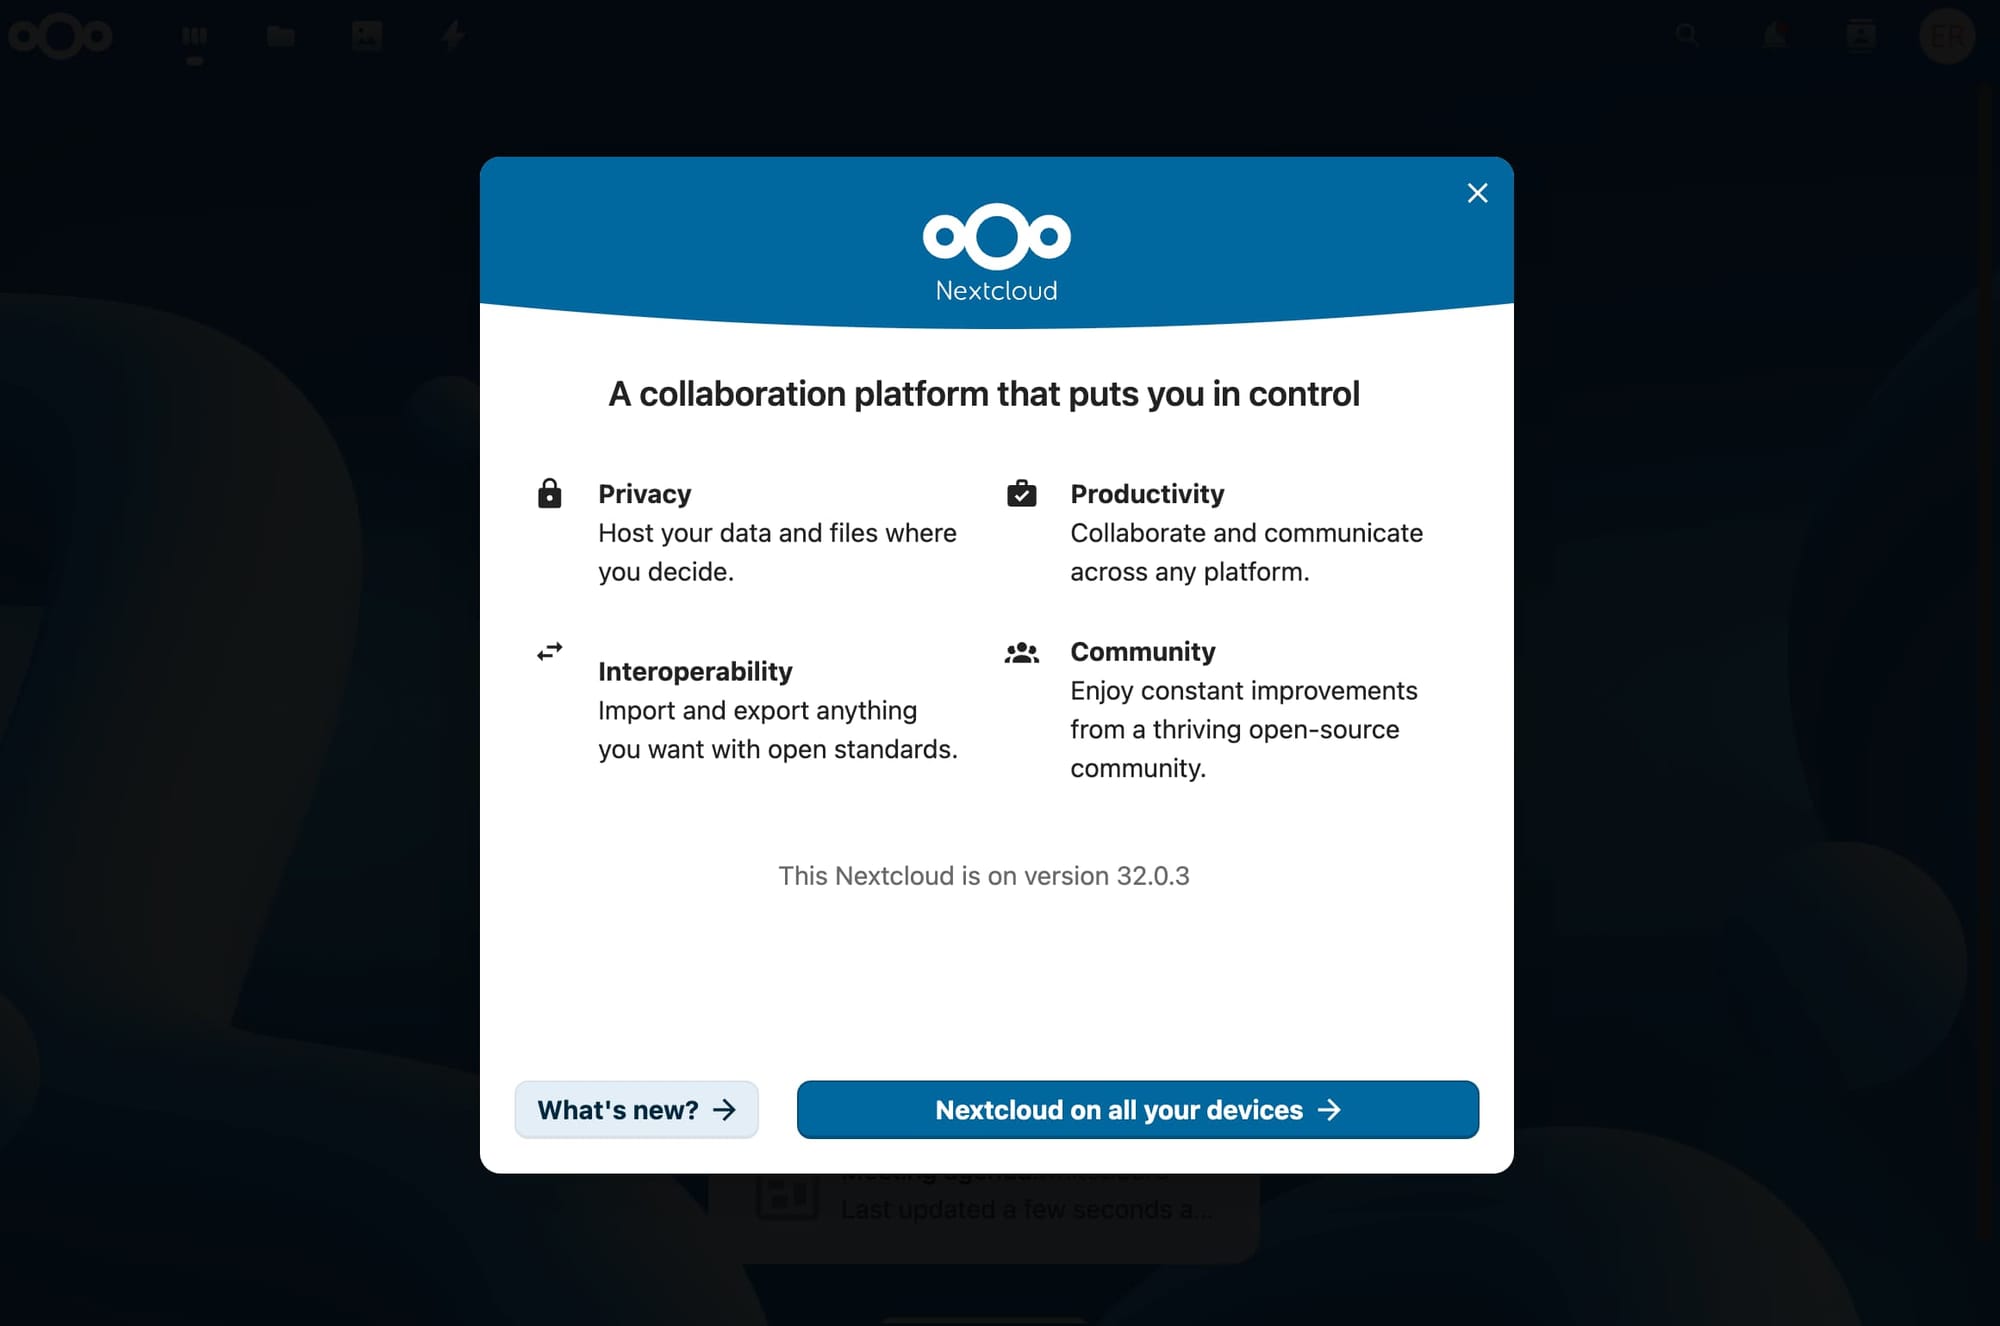
screenshots showing the walkthrough when you first log onto your NextCloud instance
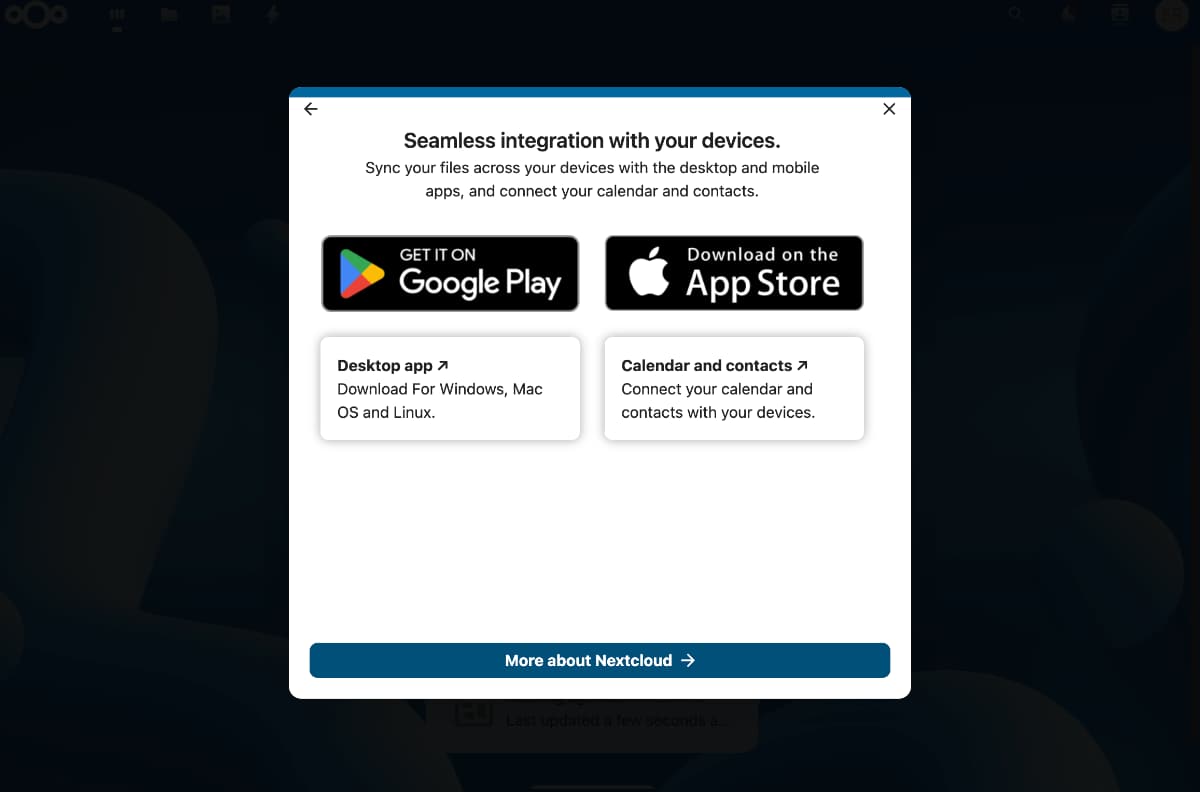
NextCloud offers apps for iOS and Android devices, as well as a desktop app for Windows, MacOS and Linux (yay).
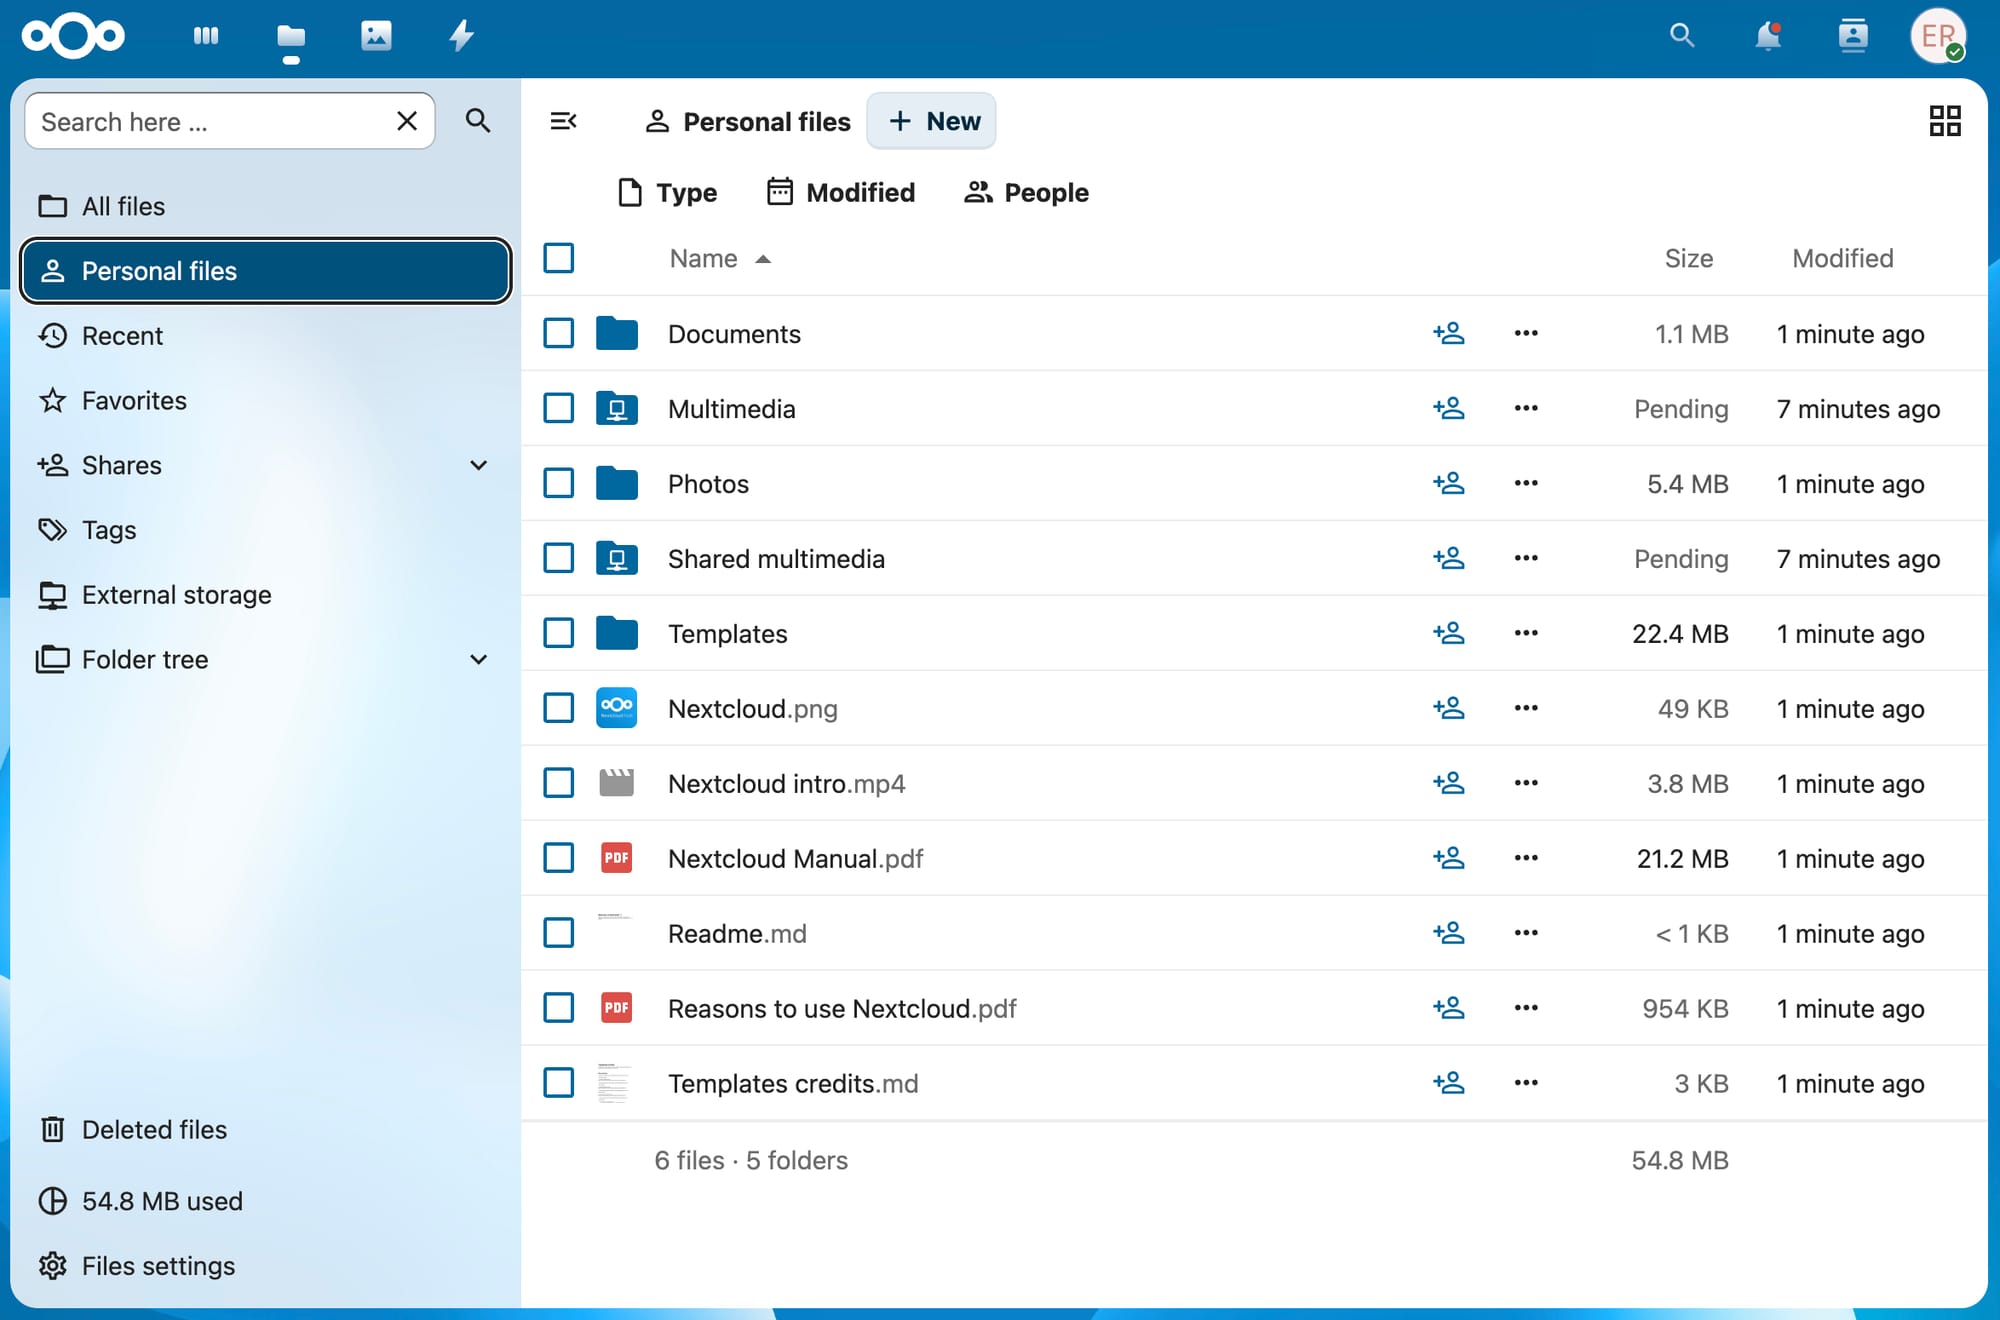
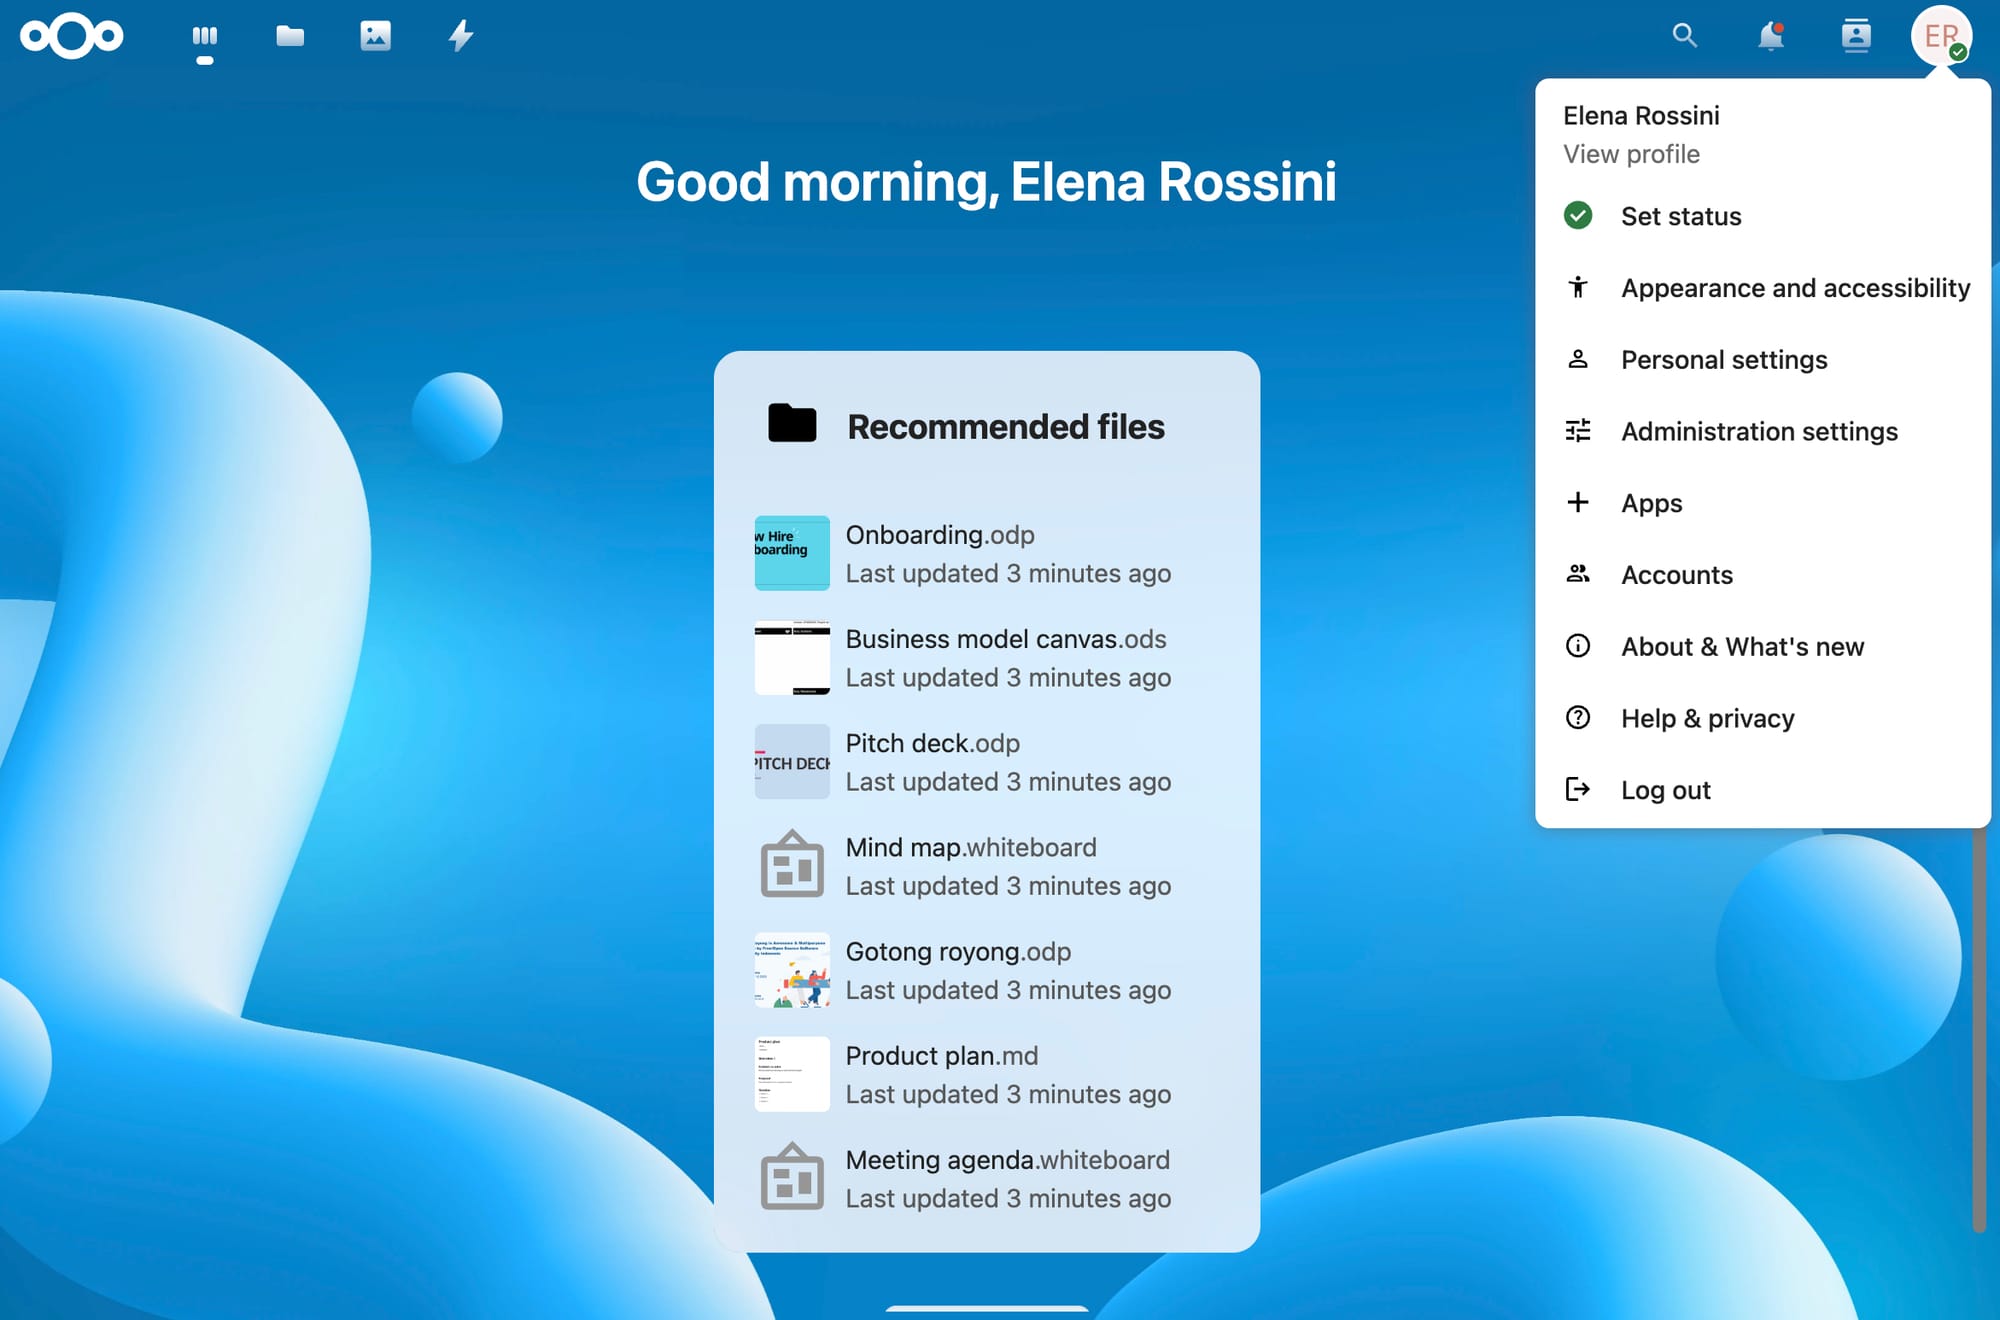
Once you've completed this walkthrough, you will find yourself on the home page for your NextCloud, which lists several "recommended files" - pre-installed onboarding files that you are safe to delete... or go through, if you're curious to see the file types that NextCloud supports.

If you click on the folder icon in the top left corner of the screen, you will see a classic file view:
And if you click on the circle with your initials in the upper right corner, you will see a settings menu:
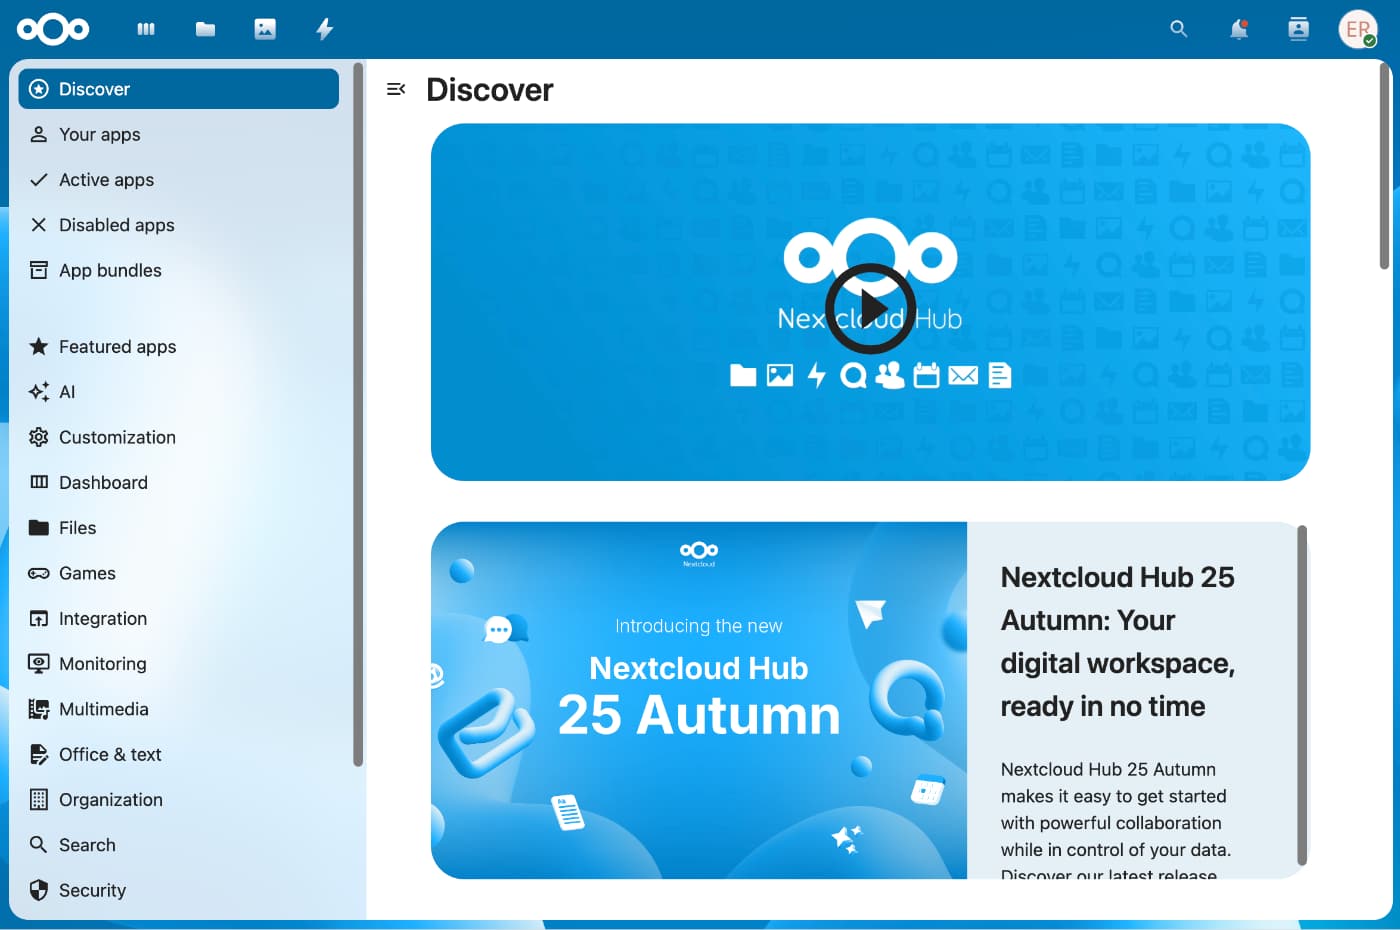
If you click on Apps, you'll be directed to NextCloud's "App Store" where you can install a lot of add-ons. As you can see from the menu in the left column, the apps are organized by category:
- Files
- Games
- Integration
- Monitoring
- Multimedia
- Office & text
- Organization
- Search
- Security
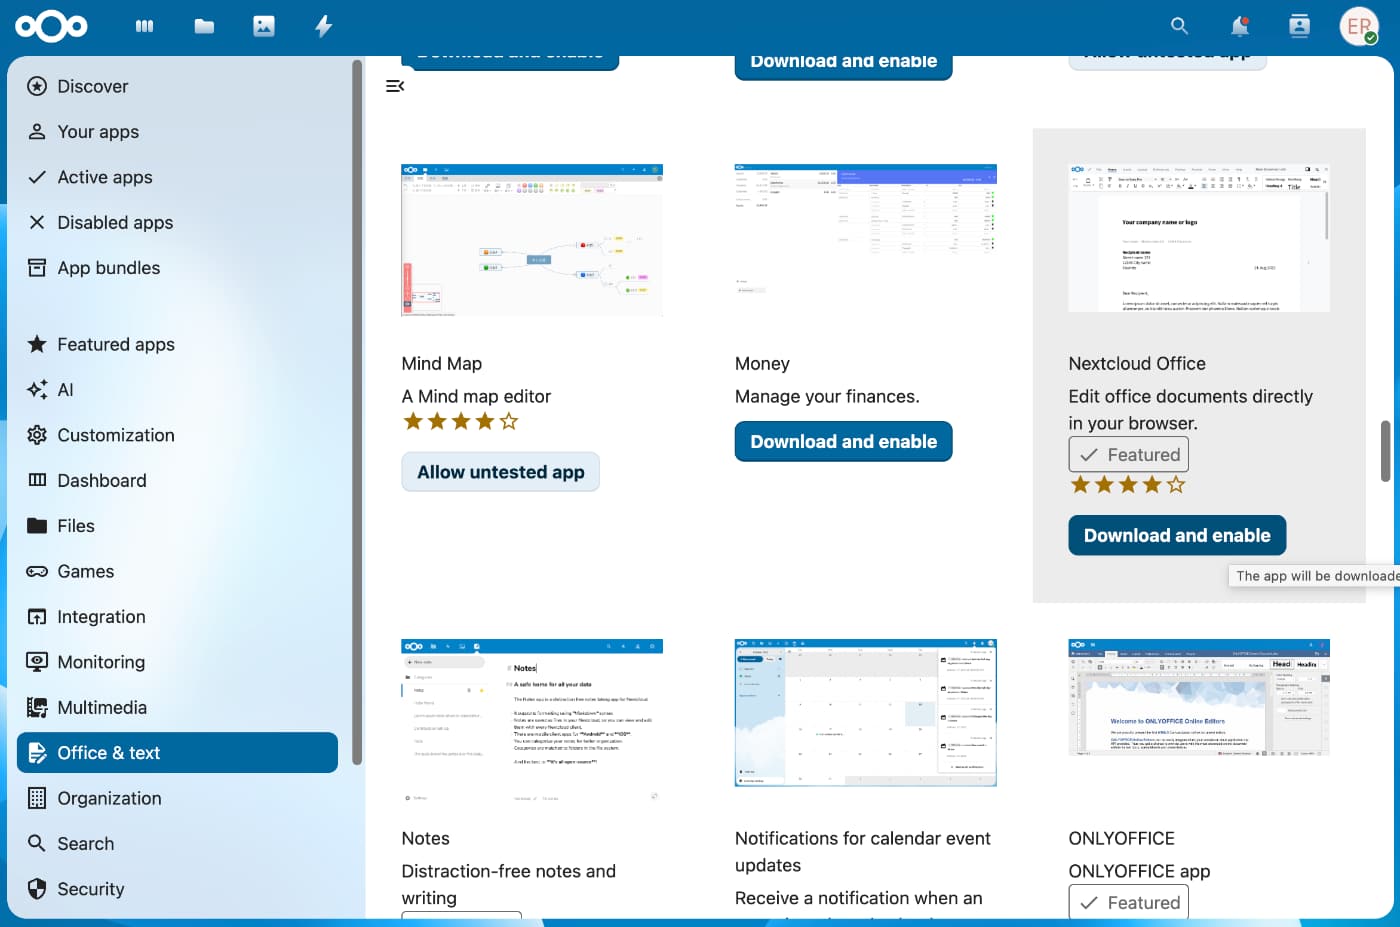
If you click on a category - let's say "office & text" - you can find useful add-ons like NextCloud office, which allows you to create, edit and share documents directly in your browser. All you have to do is to click on the "Download and enable" button.
This is by no means meant to be a NextCloud tutorial, but rather a show and tell of how to install an app via YunoHost. I could spend hours showing off what NextCloud can do and feel like I forgot something. It's such a powerful, versatile tool that no short blog post could do it justice. I simply invite you to explore it as it truly is a wonderful tool and an amazing first step in the quest for digital sovereignty.
I hope you found this guide useful. Next time I will write about backups and security!
Thanks for being here,
Elena
P.S.: I set up a test NextCloud instance to take screenshots of the whole process for this article, but for security reasons I have now deleted it - along with DNS records. So if you attempt to visit the URL I show off in this tutorial, you will get an error message

💓 Did you enjoy this post? Share it with a friend!
👫 Follow me on Mastodon. All my other links are available here: elena.social
📽️ If you'd like to support my work, you could buy or rent my documentary The Illusionists on the globalization of beauty:

The Illusionists
THE ILLUSIONISTS is an award-winning documentary about the globalization of beauty and the dark side of advertising.
💌 If you'd like to say hi, my contact information is here
✏️ If this post resonated with you, leave a comment!